Front Suspension
Control Arm Replacement
Tools Required
KM-333-A Ball Joint Remover
Removal Procedure
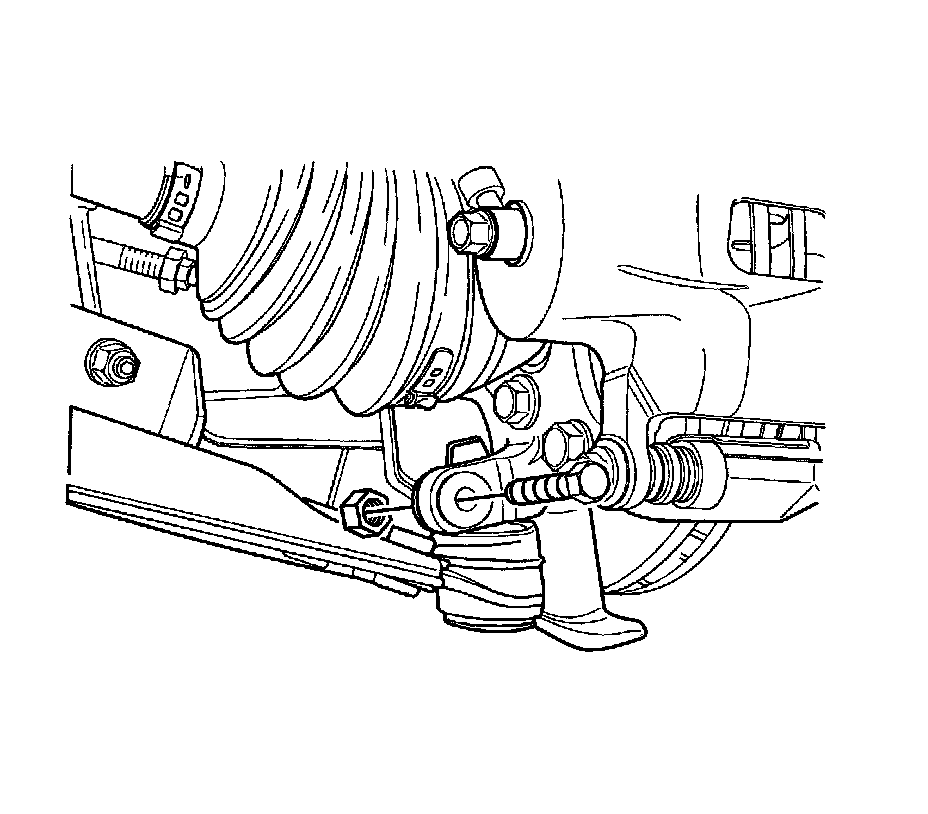
1. Raise and suitably support the vehicle. Refer to Lifting and Jacking the Vehicle Service and Repair in General Information. Let the control arms hang free.
2. Remove the wheel. Refer to Tire and Wheel Removal and Installation Service and Repair in Tires and Wheels.
3. Remove the control arm joint bolt.
4. Disconnect the ball joint from the knuckle assembly using the KM-333-A .
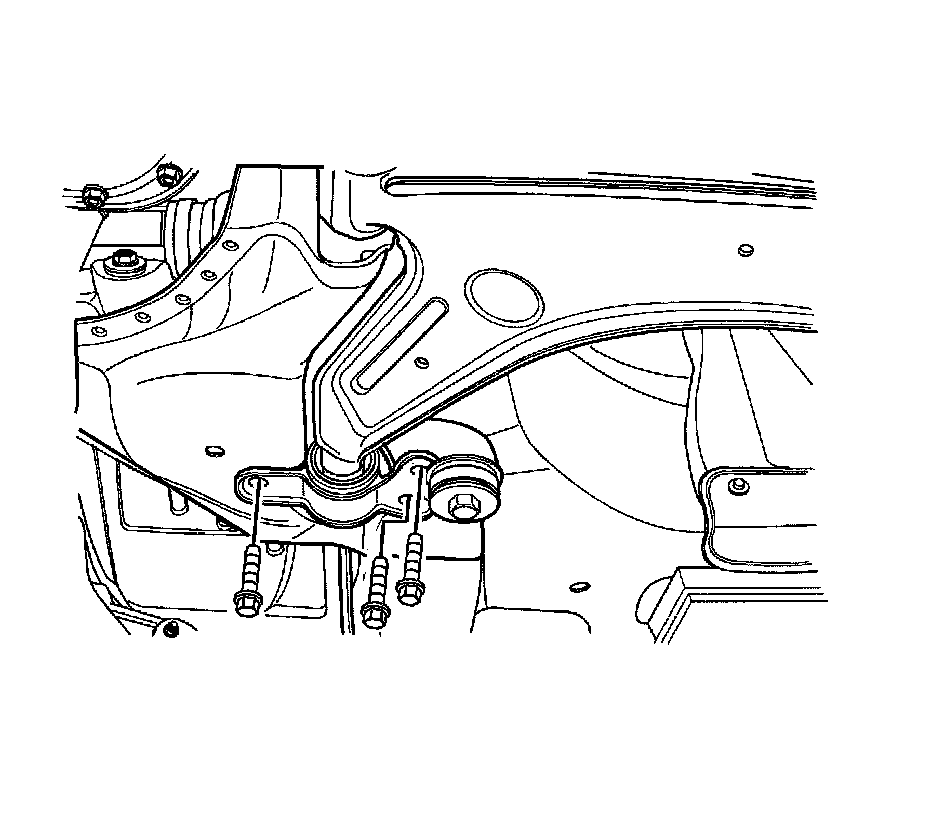
5. Remove the control arm bracket bolts.
6. Remove the stabilizer link.
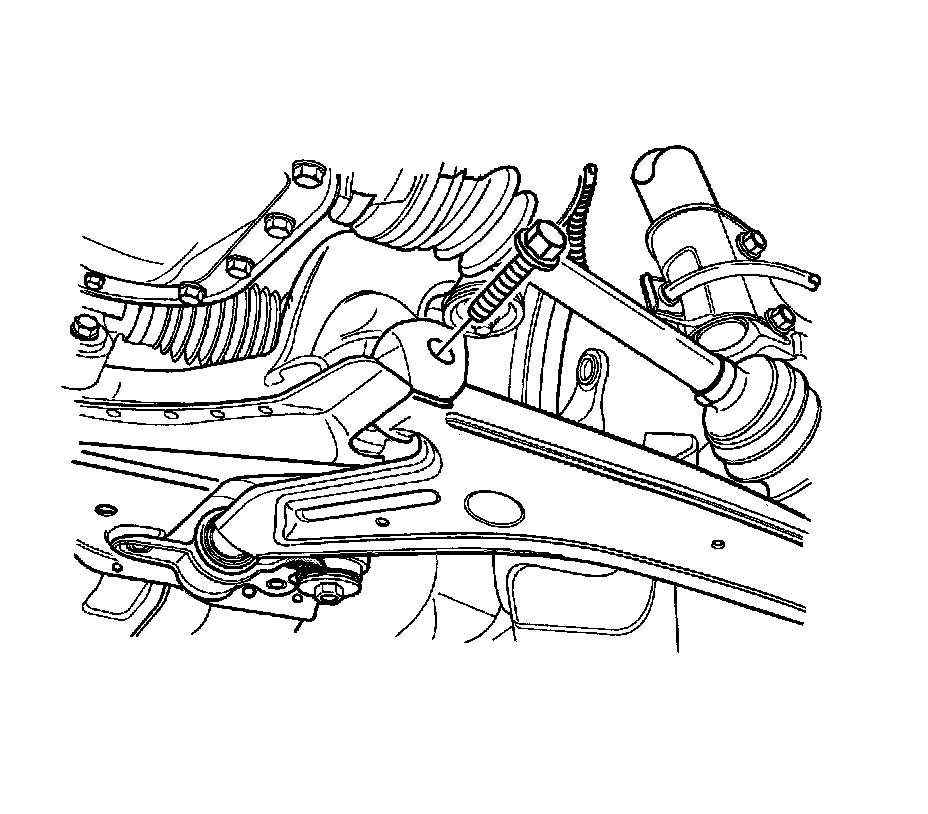
7. Remove the control arm bolt and control arm assembly.
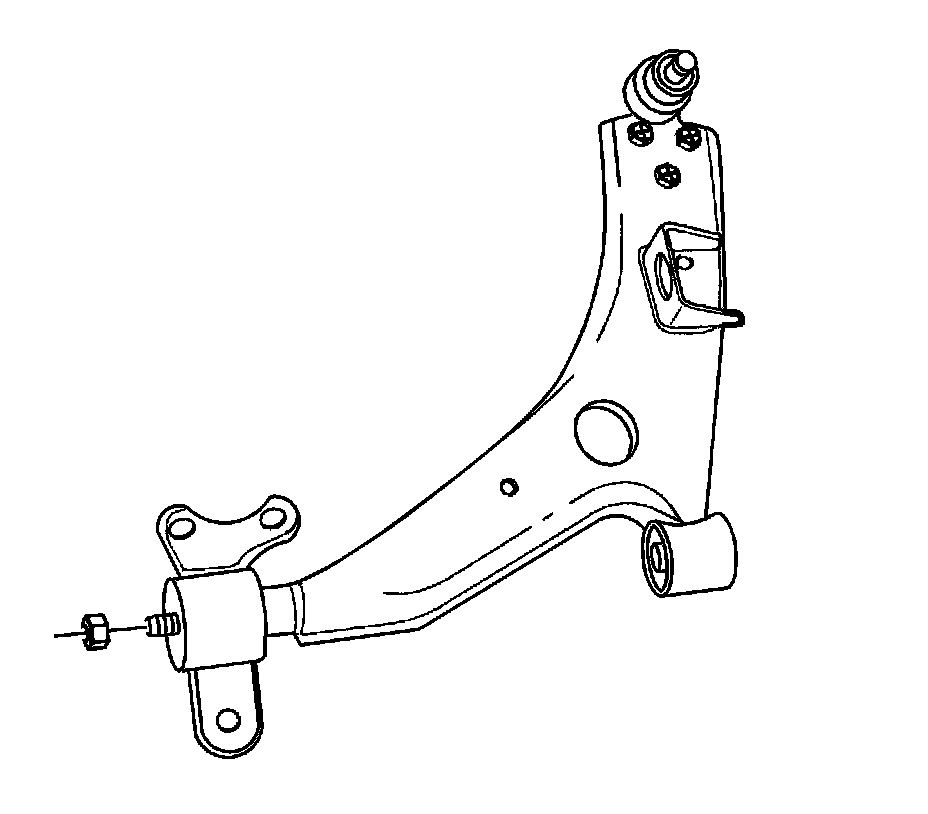
8. Remove the control arm bracket from the control arm by removing the nut.
Installation Procedure
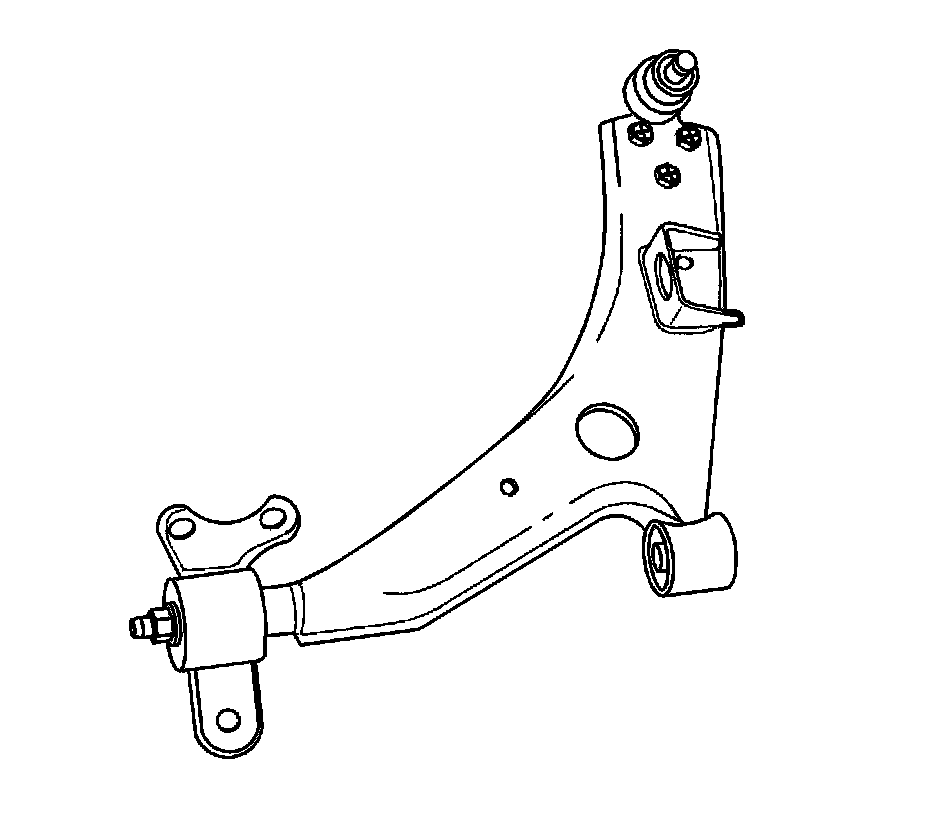
Notice: Refer to Fastener Notice Fastener Notice in Cautions and Notices.
Important: The weight of the vehicle must be supported by the control arms before the stabilizer link-to-control arm nuts or the stabilizer shaft-to-stabilizer link nuts are tightened. This can be done by lowering the vehicle onto jackstands under the control arms have been installed.
1. Install the control arm bracket bolt.
Tighten the control arm bracket bolt to 110 Nm (81 lb ft).
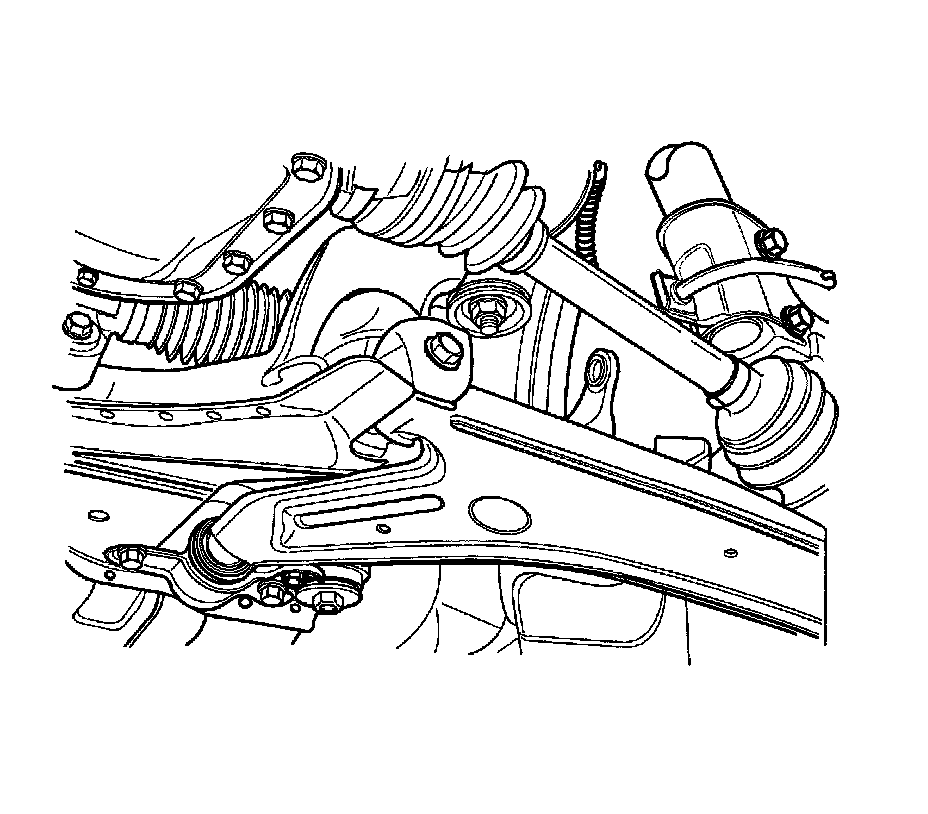
2. Install the control arm bracket bolts and control arm bolt.
* Tighten the control arm bracket bolts to 90 Nm (66 lb ft).
* Tighten the control arm bolt to 180 Nm (133 lb ft).
3. Install the stabilizer link.
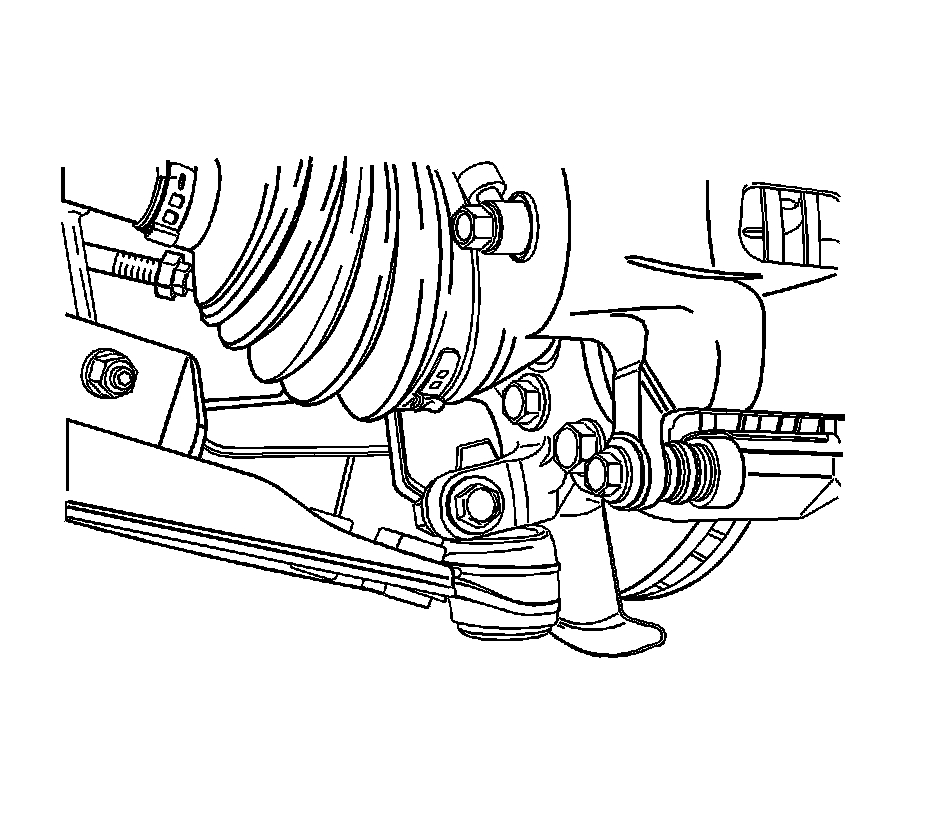
4. Install the control arm joint bolt.
Tighten the control arm joint bolt to 110 Nm (81 lb ft).