DVD Player: Service and Repair
Replacing the fax and DVD
Removal
Removing the fax
Note! As the illustrations in this service information are used for different model years and / or models, some variation may occur. However, the essential information in the illustrations is always correct.
Lift up the armrest on the center console.
Remove
- the fax. Lift straight up
- the connector.
Removing the DVD player (Panasonic)
Lift up the armrest on the center console.
Fold down the plate for the DVD
Remove
- The DVD. Lift straight up
- the connector.
Installation
Fax and DVD
Install:
- the connector
- The DVD player. Press into place on the Velcro mounting.
Note! The make of replacement DVD players has been changed. See the conversion method below.
Replacing the DVD player (Pioneer)
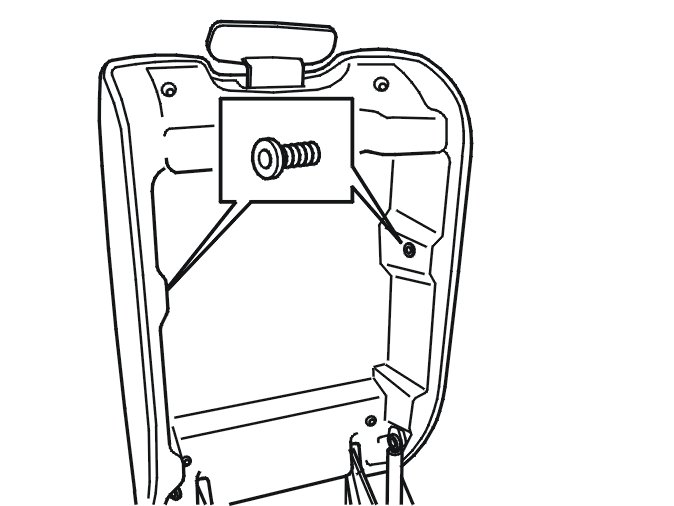
Replace the screws in the cover with new screws with flat heads that will not catch in the DVD player.
Remove the old shelf.
Cut off the tie strap holding the wiring.
Screw the new Velcro mountings into place in the new shelf.
Screw the new shelf into place. Secure the wiring using a tie strap.
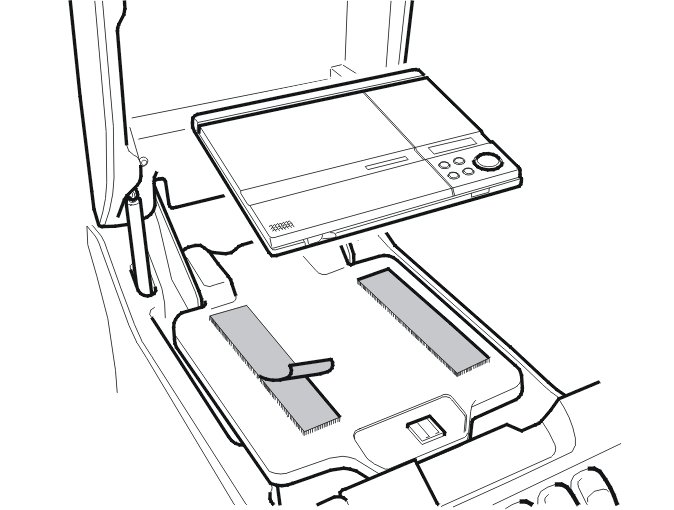
Press the long Velcro strip into place on the shelf. It must be positioned so the it is facing from front to rear of the car.
Pull off the backing and align the DVD player on the center of the shelf. See the illustration.
Press into place.
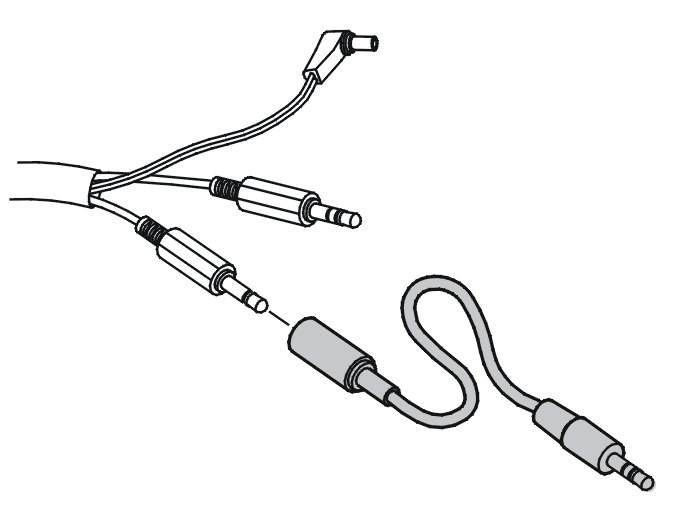
Install the loose adapter connector on the connector with a black dash on the terminal pin.
Connect the connectors to the DVD player.
The adapter must be in the yellow connector.
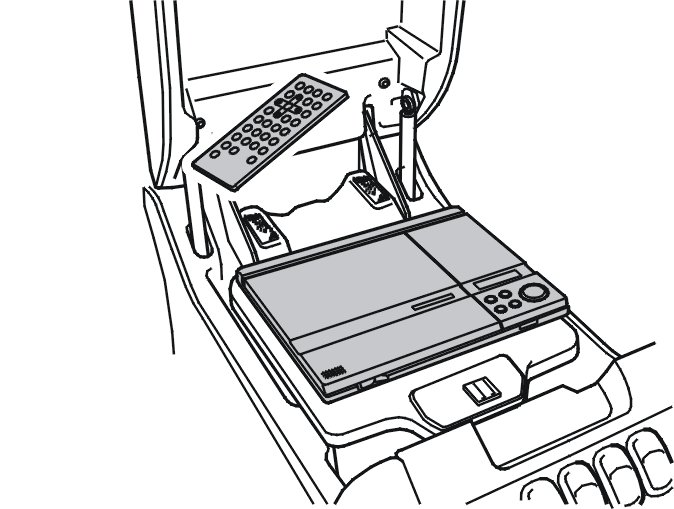
There is a storage position for the new remote control behind the DVD player.
Secure the hard part of the Velcro pieces supplied. Pull the backing off the Velcro.
Align the remote control. Press the remote control into place.
Check the function of the DVD player and the remote control.
Note! The car stereo must be on and in TV mode. Switch on the DVD player by holding the On/Off button down for approximately 2 seconds. Press the same button again to start the DVD disc.