Front Fender Assembly Overview
Front Fender Assembly Overview
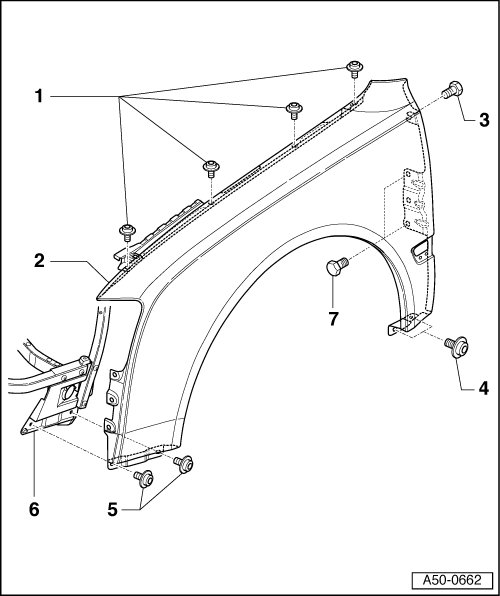
1 - Combination Screw
• 10Nm
2 - Fender
• Remove bumper cover. Refer to => [ Front Bumper Cover Assembly Overview ] Front Bumper Cover Assembly Overview
• Remove wheel housing liner. Refer to => [ Front Wheel Housing Liner Front Section ] Service and Repair.
• Remove headlights
• Disconnect side blinker electrical connections.
• Remove rear bracket for fender. Refer to => [ Fender Lower Bracket Assembly Overview ] Fender Lower Bracket Assembly Overview.
• Remove bolts - 1 -, - 3 -, - 4 -, - 5 - and - 7 - and remove fender.
3 - Combi Bolt, Quantity 2
• 8 Nm.
4 - Combination Screw
• 8 Nm
• Bolts are accessible only after removing lower bracket for fender. Refer to => [ Fender Lower Bracket Assembly Overview ] Fender Lower Bracket Assembly Overview.
5 - Combination Screw
• 8 Nm
6 - Front brace
• Bolting points. Refer to => [ Front Brace Assembly Overview ] Front Brace Assembly Overview.
7 - Combination Screw
• 8 Nm
• Bolts on the left side are located behind pump for level control system
• Bolts on the left side are located behind washer fluid reservoir.
Opening for the S8 cover
Special tools, testers and auxiliary items required
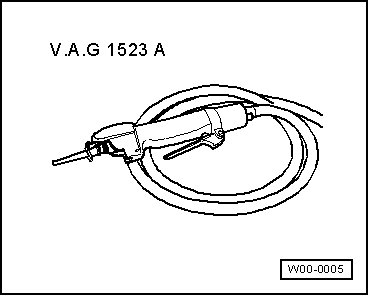
• Body Repair Saw (V.A.G 1523A)
• The template is provided with the new cover.
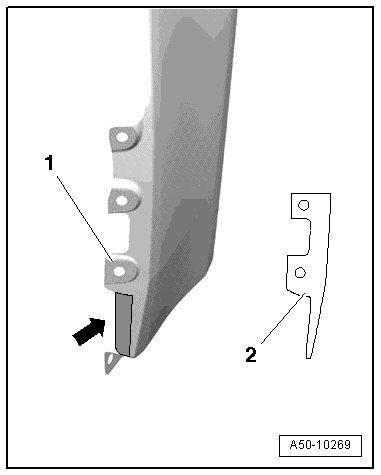
- Align template with the holes and the outer contour and mark off the area that needs to be cut out.
- Cut out the marked area - arrow - using a (V.A.G 1523A) and then apply anti-corrosion.