Control Assembly: Service and Repair
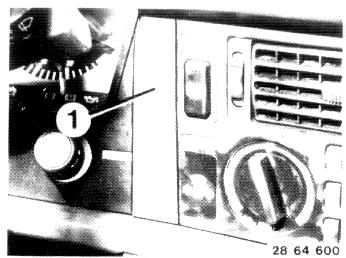
- Pry out plate (1) with a small screwdriver.
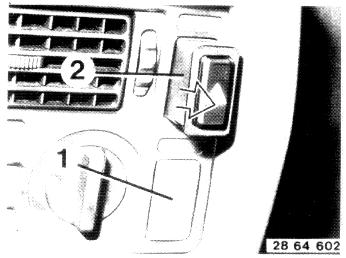
- Pull out plate (1) and switch (2) forward with a small screwdriver (or knife).
- Pull off plug on switch (2) and remove switch (2).
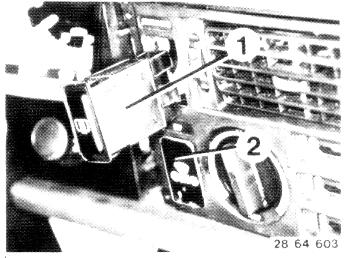
- Pull out plate (1) and switch (2) forward with a small screwdriver (or knife).
- Pull off plug on switch (2) and remove switch (2).
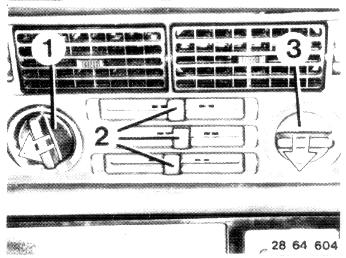
- Pull off knobs on sliding controls (2).
- Pull off rotary knobs on temperature control (1) and blower control (3).
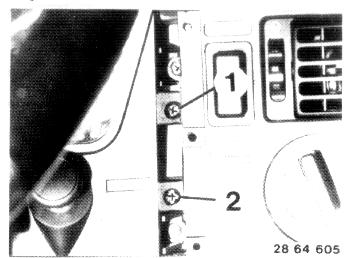
- Unscrew bolts (1 and 2).
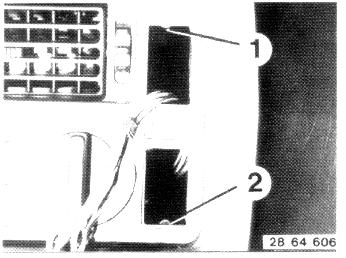
- Unscrew bolts (1 and 2).
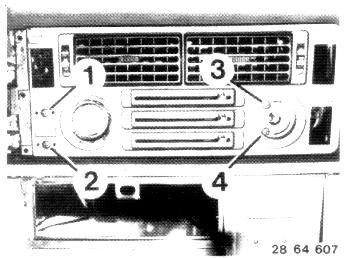
- Unscrew bolts (1...4).
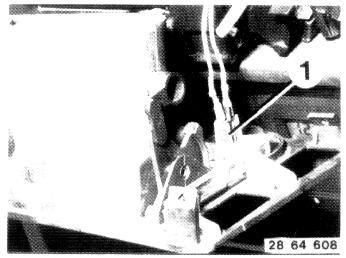
- Tilt plate forward.
- Pull off left and right lights (1) and remove plate.
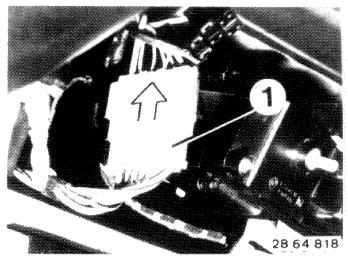
- Pull off plug (1).
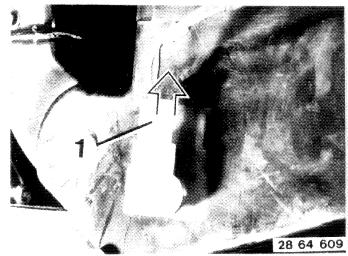
Until 9/85 models:
- Pull off plug (1) on heater sensor.
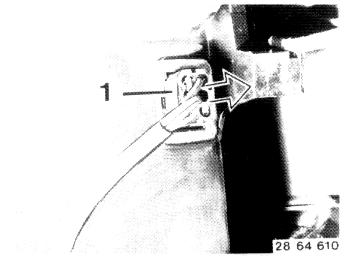
- Pull off plug (1).
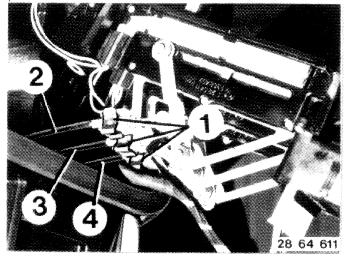
- Remove clamps (1) and disconnect cables (2...4).
- Remove heater controls.
Installation:
• Cable 2 - blue paint ring
• Cable 3 - red paint ring
• Cable 4 - green paint ring
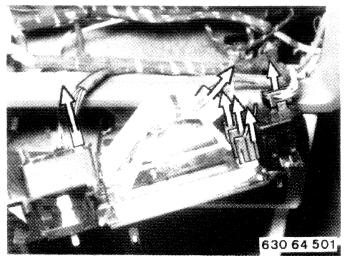
From 10/85 models on:
- Remove control unit and pull off plugs.
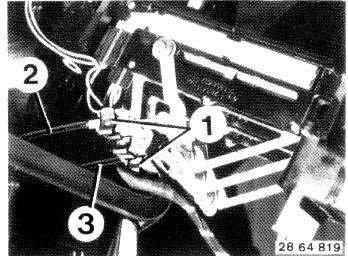
- Remove clamps (1) and disconnect cables (2...3).
Installation:
• Cable 2 - blue paint ring
• Cable 3 - green paint ring
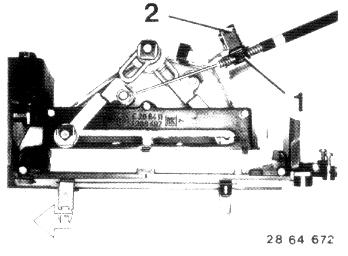
• Connect cable in sliding control.
• Push sliding control against stop.
• Turn adjusting ring (1) until it can be engaged in opening.
• Secure cable with clip (2).
- Reverse procedure to install.