Plastic Collar
REMOVAL PROCEDURECAUTION:
^ Relieve the fuel system pressure before servicing fuel system components in order to reduce the risk of fire and personal injury.
^ After relieving the system pressure, a small amount of fuel may be released when servicing the fuel lines or connections. in order to reduce the chance of personal injury, cover the regulator and the fuel line fittings with a shop towel before disconnecting. This will catch any fuel that may leak out. Place the towel in an approved container when the disconnection is complete.
^ Wear safety glasses when using compressed air, as flying dirt particles may cause eye iinjury0m.
NOTE:
^ Before attempting any On-Vehicle Service, place a dry chemical (Class B) fire extinguisher near work area.
^ Cap the fittings and plug the holes when servicing the fuel system in order to prevent dirt and other contaminants from entering the open pipes and passages.
IMPORTANT: Always maintain cleanliness when servicing fuel system components.
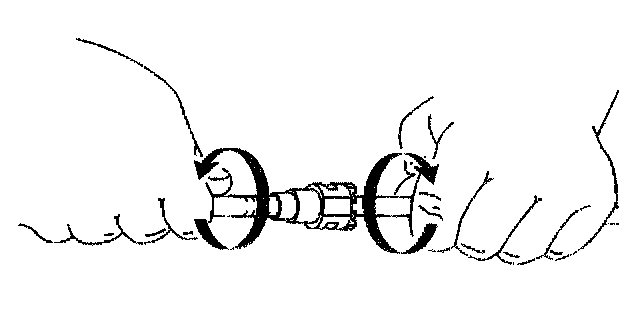
1. Relieve the fuel system pressure. Refer to Fuel Pressure Relief Procedure.
2. Grasp both sides of the quick connect fitting. Twist the quick connect fitting 1/4 turn in each direction to loosen any dirt within the fitting.
3. Repeat for the other fuel pipe fitting.
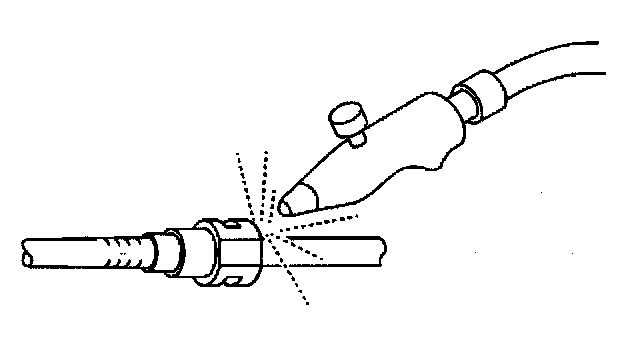
4. Using compressed air, blow out dirt from the quick connect fittings at both ends.
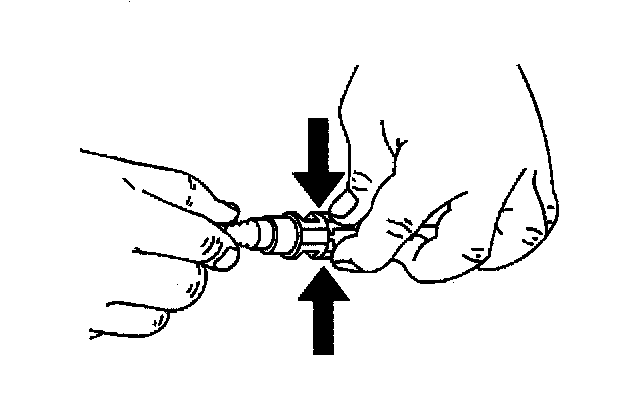
5. Squeeze plastic tabs of male end connector.
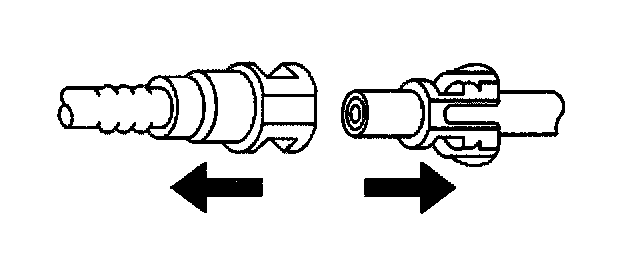
6. Pull connection apart. Repeat for the other fitting.
7. Wipe off the male pipe end using a clean shop towel.
8. Clean or replace components/assemblies as required.
INSTALLATION PROCEDURE
CAUTION:
^ In order to reduce the risk of fire and personal injury, before connecting fuel pipe fittings, always apply a few drops Of clean engine oil to the male pipe ends.
^ This will ensure proper reconnection and prevent a possible fuel leak.
^ During normal operation, the O-rings located in the female connector will swell and may prevent proper reconnection if not lubricated.
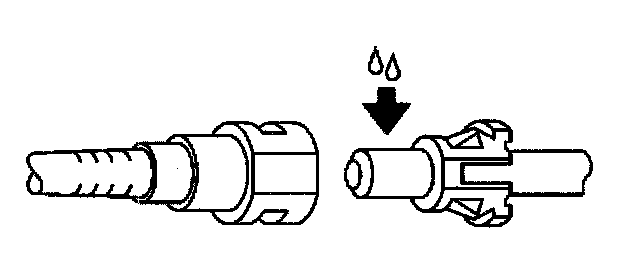
1. Apply a few drops of clean oil to the male pipe end.
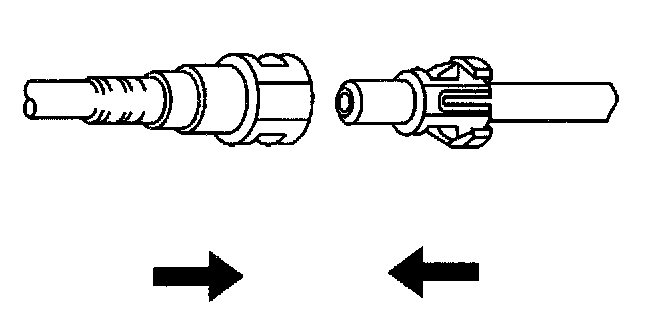
2. Push both sides of the quick connect fitting together in order to cause the retaining tabs/fingers to snap into place.
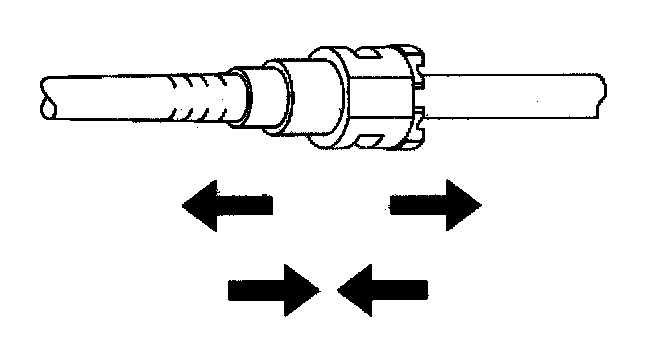
3. Pull on both sides of the quick connect fitting in order to make sure the connection is secure.
4. Reconnect the negative battery cable.
5. Inspect for leaks.
5.1. Turn ON the ignition for 2 seconds.
5.2. Turn OFF the ignition for 10 seconds.
5.3. Turn ON the ignition.
5.4. Check for fuel leaks.
6. Install the fuel injection sight shield.