Brake Caliper Bracket Replacement
REMOVAL PROCEDURE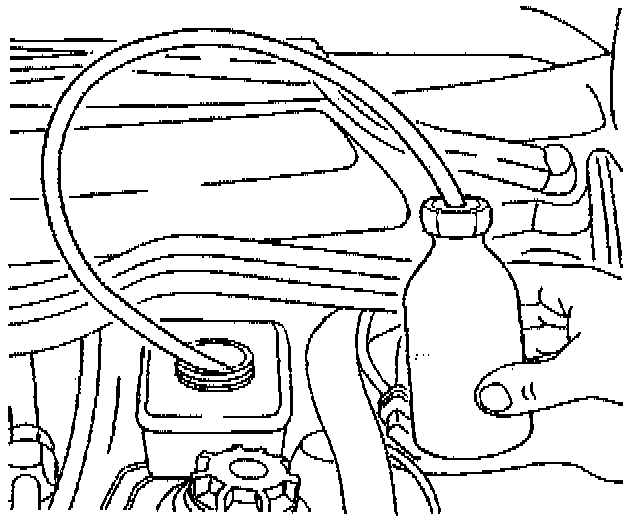
1. Raise and suitably support the vehicle.
2. Remove the tire and the wheel.
3. Remove two thirds of the fluid from the master cylinder reservoir.
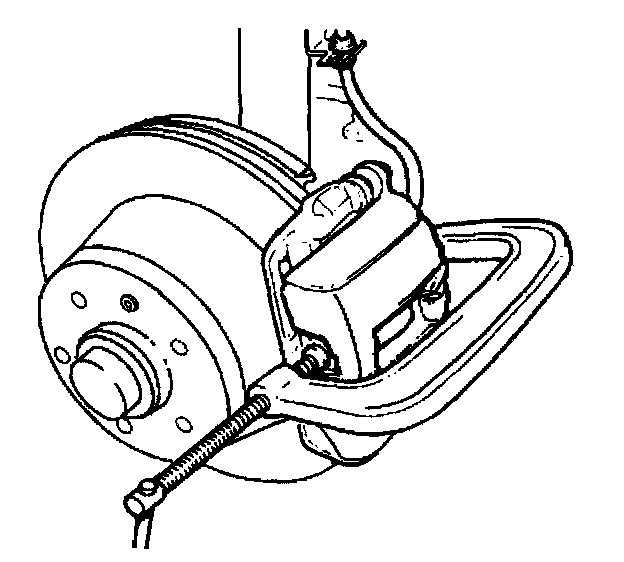
4. Compress piston into caliper housing bore to provide clearance between linings and rotor.
^ Ensure one end of C-clamp rest on brake hose fitting bolt and the other end against the outer pad.
^ Tighten C-clamp slowly to press piston into caliper housing bore.
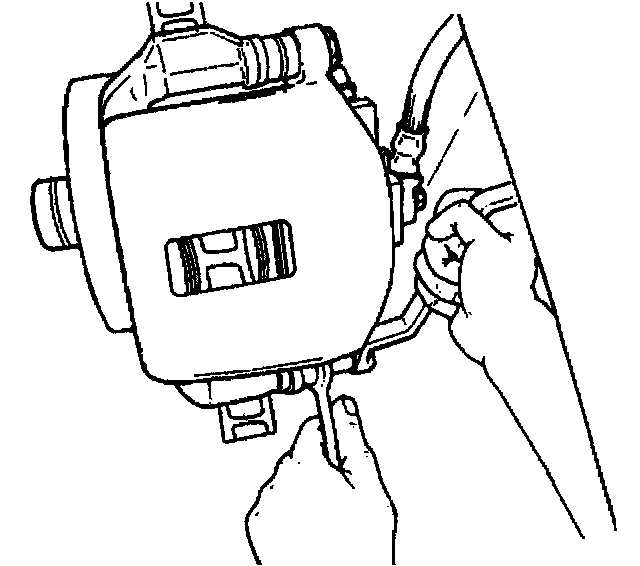
5. Remove the guide pin bolts (discard bolts).
6. Remove the caliper from the caliper bracket. Suspend with mechanic's wire.
IMPORTANT: Do not attempt to pry or pull the brake pad wear sensor out of the brake pad. The brake pad wear sensor must be pushed out of the brake pad.
7. Remove the inner brake pad from the caliper bracket with the brake pad wear sensor.
8. Remove the brake pads (1) from the caliper bracket (2).
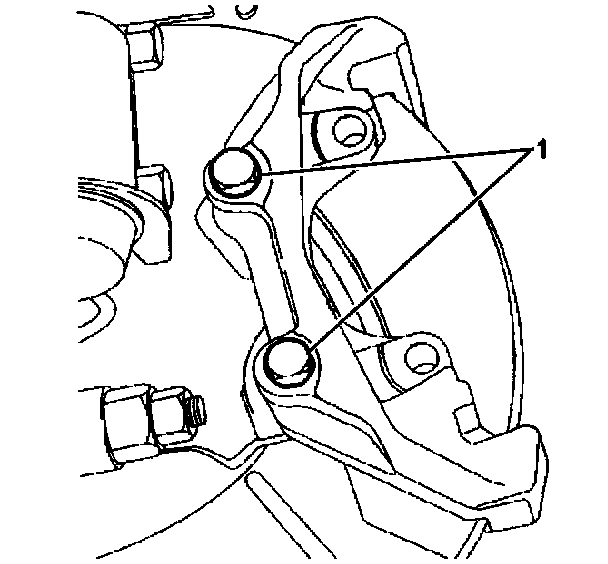
9. Remove front brake caliper bracket bolts (1) and discard.
10. Remove the front brake caliper bracket from the steering knuckle.
INSTALLATION PROCEDURE
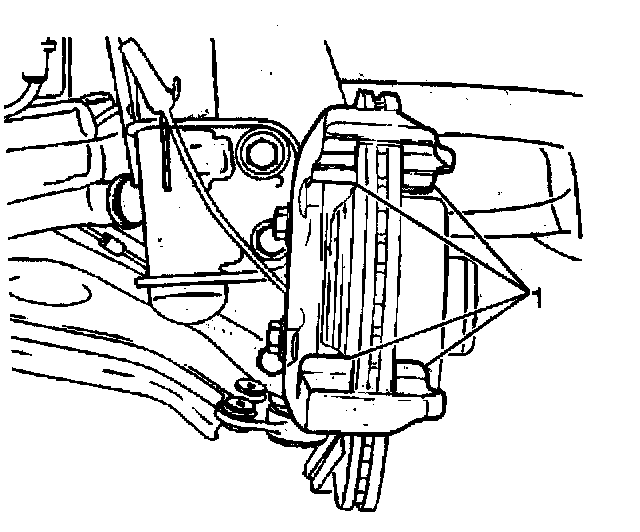
1. Ensure the front brake caliper bracket mounting surfaces (1) are clean.
2. Chase the caliper bracket mounting threads in the steering knuckle to remove any residual locking compound.
3. Install the caliper bracket to the steering knuckle.
NOTICE: Refer to Fastener Notice in Service Precautions.
4. Coat the new caliper bracket bolts (1) with 272 Threadlocker, GM P/N 12345493 or equivalent.
5. Install the new caliper bracket bolts (1).
^ Tighten the caliper bracket bolts (1) to 95 Nm (70 lb ft) on the first pass and additional 37 degrees on the second pass.
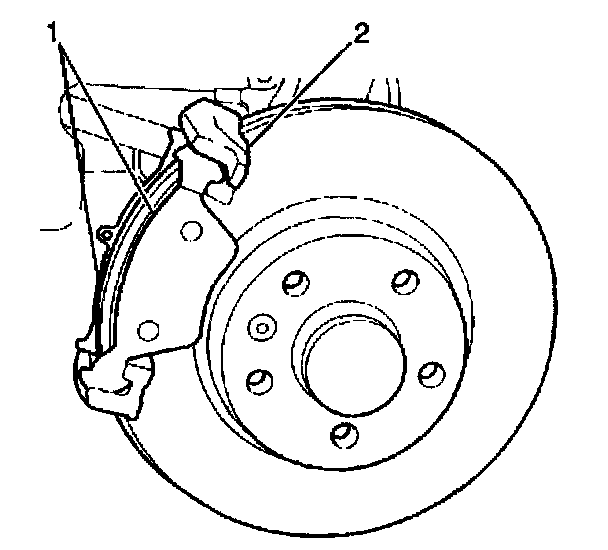
6. Install the inner and outer pads (1) into caliper bracket (2).
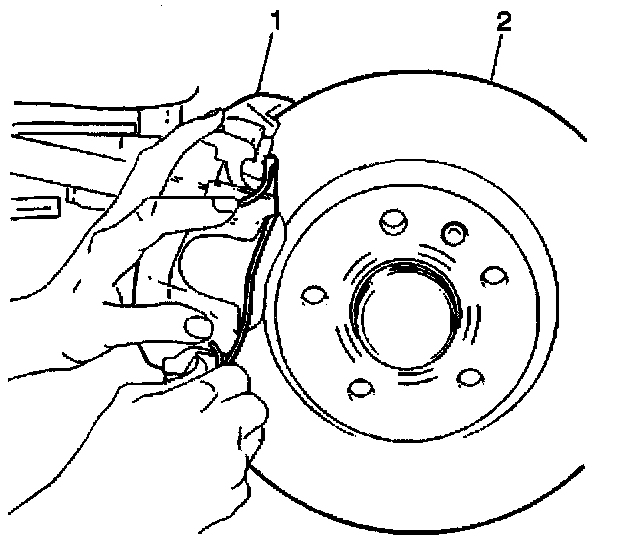
7. Install the caliper (1).
8. Install new guide pin bolts.
^ Tighten guide pin bolts to 30 Nm (22 lb ft).
9. Install the tire and wheel assembly.
10. Lower the vehicle.
11. Fill the master cylinder reservoir.