Evaporator Hose Assembly Replacement
EVAPORATOR HOSE ASSEMBLY REPLACEMENTREMOVAL PROCEDURE
TOOLS REQUIRED
J 39500-B A/C Refrigerant Recovery, Recycling and Recharging System
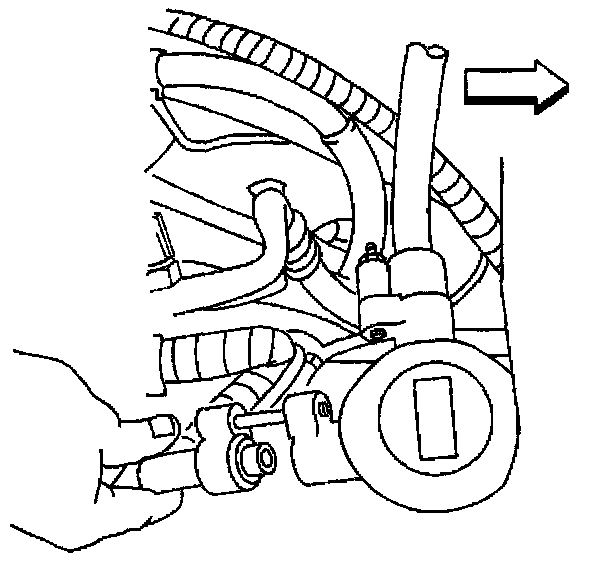
1. Recover the refrigerant from the system. Refer to Refrigerant Recovery and Recharging. Service and Repair
2. Disconnect the evaporator hose assembly from the accumulator.
3. Disconnect the evaporator hose assembly from the strut tower.
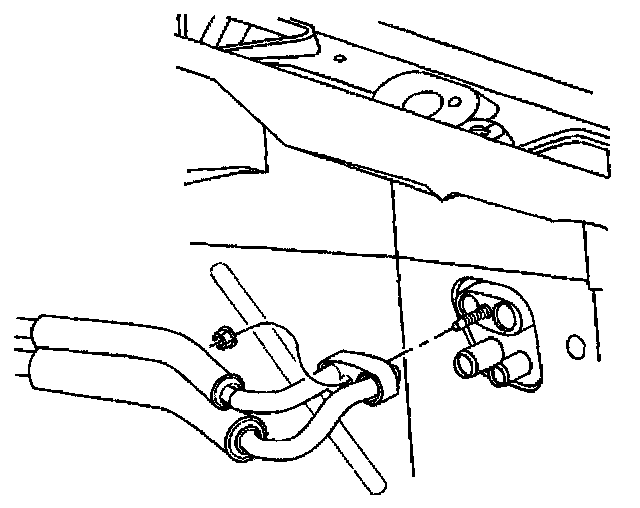
4. Disconnect the evaporator hose assembly from the evaporator core line fitting.
5. Disconnect the temperature sensor electrical connector.
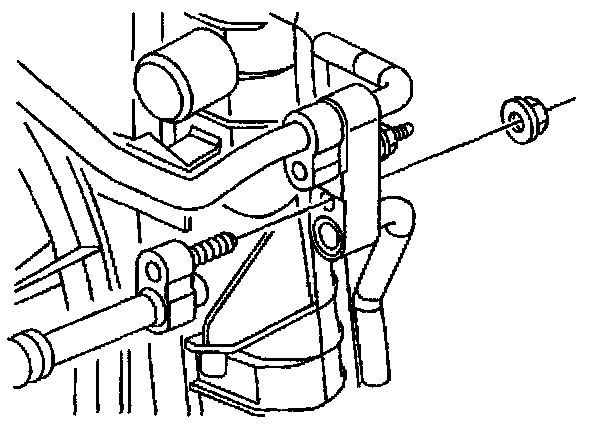
6. Remove the upper filler panel.
7. Disconnect the evaporator hose assembly from the condenser.
8. Remove the evaporator hose assembly.
INSTALLATION PROCEDURE
TOOLS REQUIRED
J 39400-A Electronic Halogen Leak Detector
1. Install the evaporator hose assembly to the vehicle.
2. Connect the evaporator hose assembly to the condenser.
NOTE: Refer to Fastener Notice in Service Precautions. Service Precautions
Tighten
Tighten the evaporator hose assembly to 20 N.m (15 lb ft).
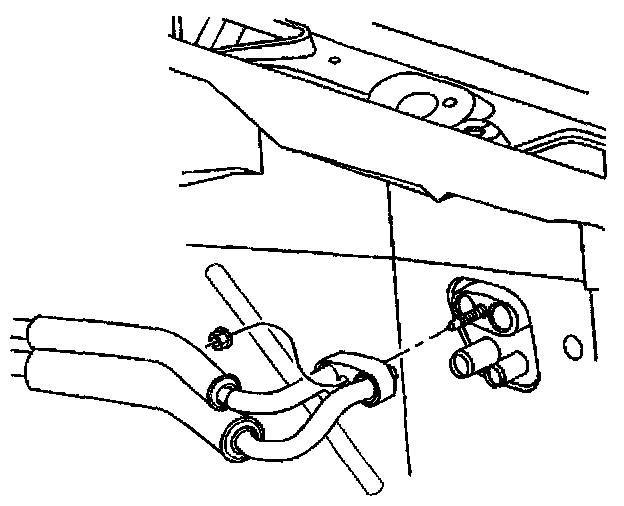
3. Connect the evaporator hose assembly to the evaporator core.
Tighten
Tighten the evaporator hose assembly to 20 N.m (15 lb ft).
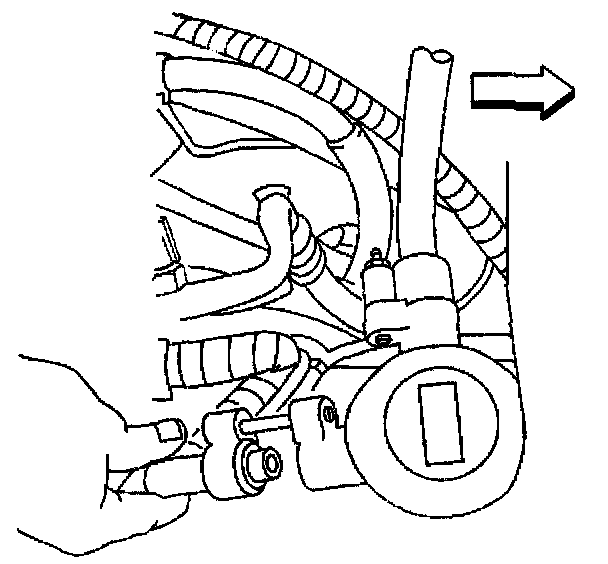
4. Connect the evaporator hose assembly to the accumulator.
Tighten
Tighten the evaporator hose assembly to 20 N.m (15 lb ft).
5. Connect the evaporator hose assembly to the strut tower.
6. Connect the temperature sensor electrical connector.
7. Recharge the A/C system. Refer to Refrigerant Recovery and Recharging. Service and Repair
8. Leak test the A/C system. Refer to Leak Testing. Leak Testing - HVAC System - Automatic
9. Remove the upper filler panel.