Resonator: Service and Repair
INTAKE AIR RESONATOR REPLACEMENTREMOVAL PROCEDURE
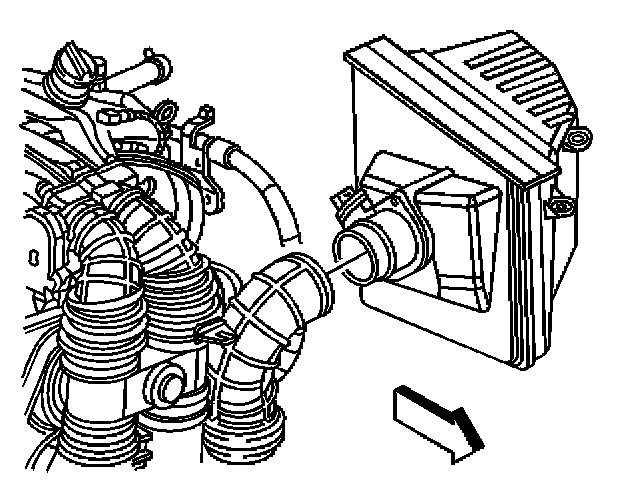
1. Disconnect the air intake duct hose from the Mass Air Flow (MAF)/Intake Air Temperature (IAT) sensor.
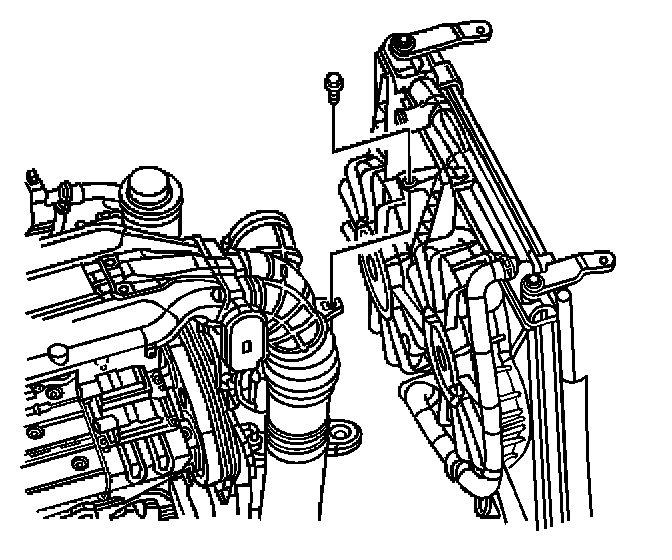
2. Remove the bolt securing the intake air resonator to the cooling fan assembly.
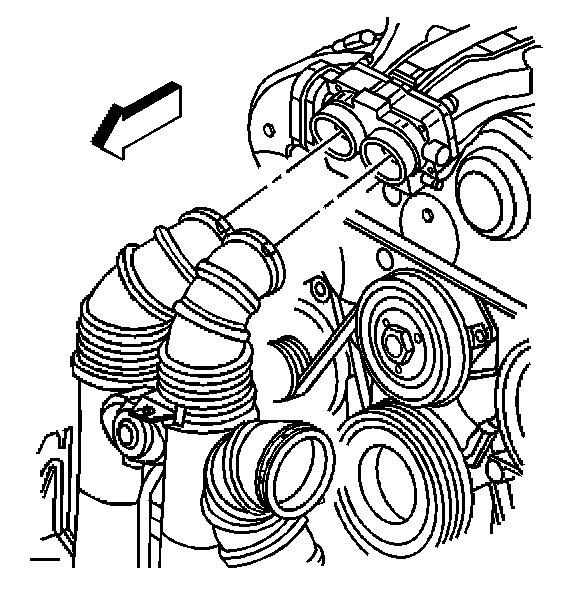
3. Disconnect the air intake duct hoses from the throttle body.
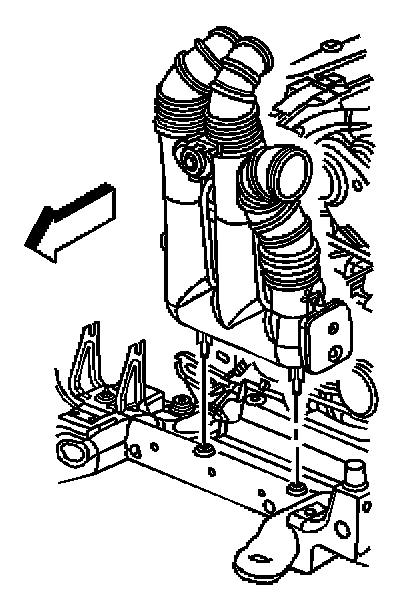
4. Lift the intake air resonator from the front frame in order to access the electrical connector and vacuum hoses.
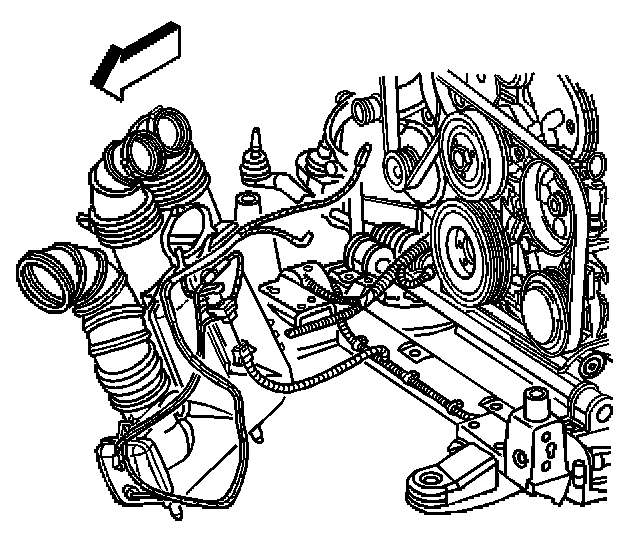
5. Disconnect the electrical connector from the intake resonance switchover solenoid.
IMPORTANT: Note the routing of the vacuum hoses.
6. Disconnect the vacuum hoses from the following components:
- The coolant bypass solenoid
- The intake plenum switchover solenoid
- The vacuum brake booster hose
7. Carefully position aside the following while removing the intake air resonator from the vehicle:
- The surge tank inlet hose
- The upper radiator hose
INSTALLATION PROCEDURE
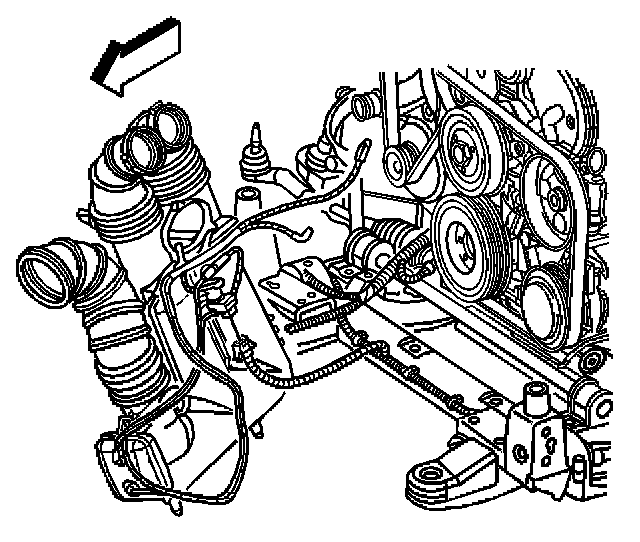
1. Carefully position aside the following while installing the intake air resonator in the engine compartment:
- The surge tank inlet hose
- The upper radiator hose
2. Route the vacuum hoses as previously noted.
3. Connect the vacuum hoses to the following components:
- The coolant bypass solenoid
- The intake plenum switchover solenoid
- The vacuum brake booster hose
4. Connect the electrical connector to the intake resonance switchover solenoid.
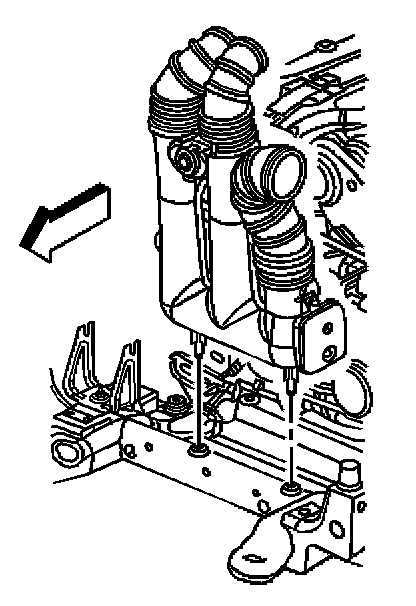
5. Insert the intake air resonator guide pins into the rubber mounts located in the front frame.
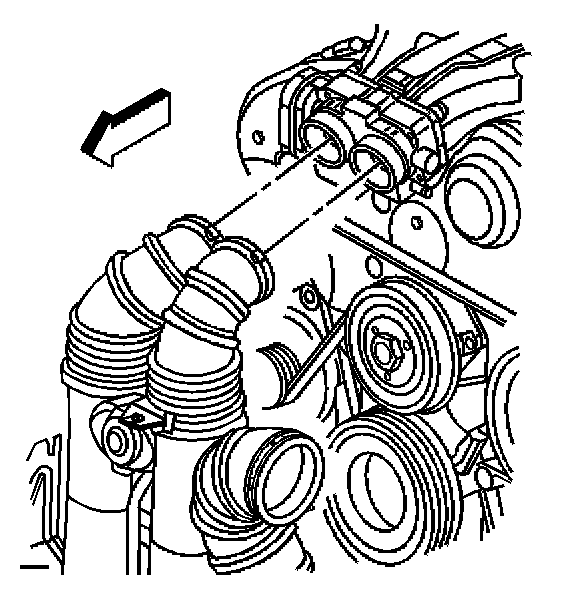
6. Connect the air intake duct hoses to the throttle body.
NOTE: Refer to Fastener Notice in Service Precautions.
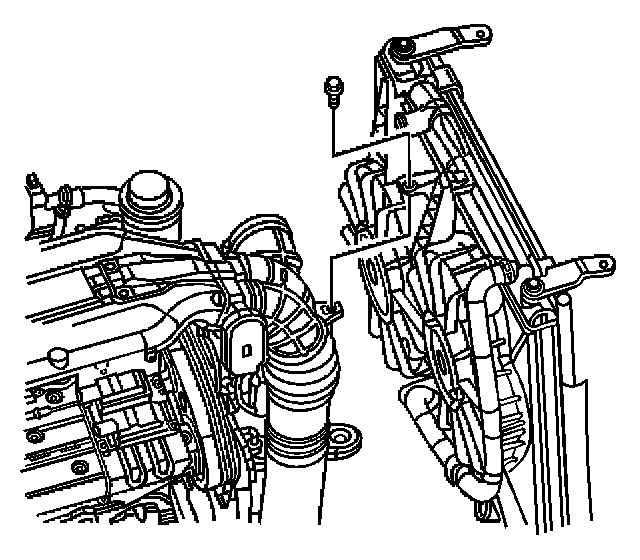
7. Install the bolt securing the intake air resonator to the cooling fan assembly.
Tighten
Tighten the intake air resonator retaining bolt to 9 N.m (80 lb in).
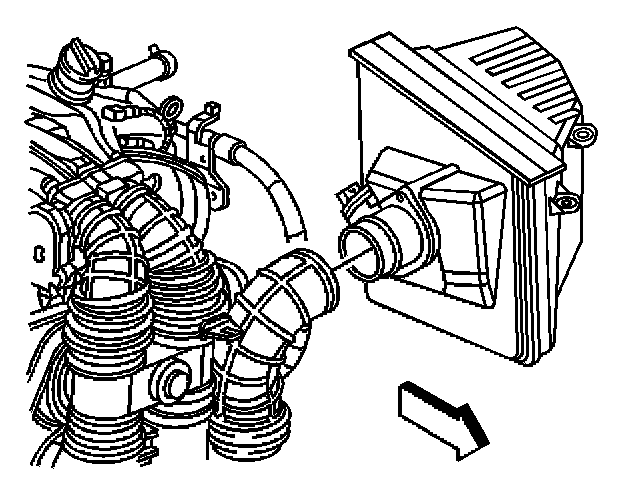
8. Connect the air intake duct hose to the MAF/IAT sensor.