Accumulator HVAC: Service and Repair
ACCUMULATOR REPLACEMENTTOOLS REQUIRED
J 39400-A Halogen Leak Detector
REMOVAL PROCEDURE
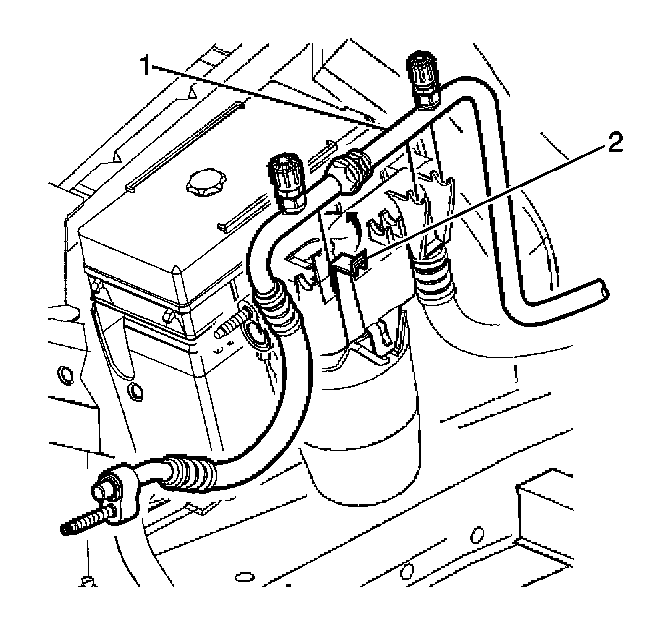
1. Recover the refrigerant. Refer to Refrigerant Recovery and Recharging.
2. Unclip the positive battery cable from the top of the accumulator cover.
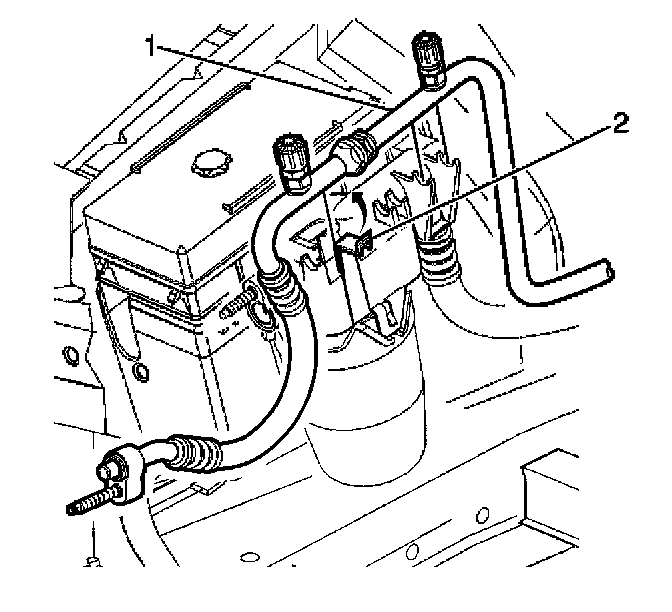
3. Release the snap clamp (2) retaining the evaporator hose to the accumulator cover (1).
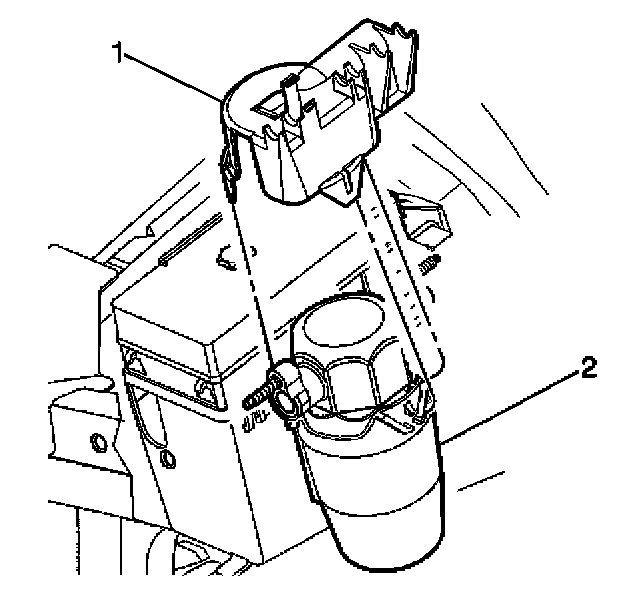
4. Remove the accumulator cover (1) from the accumulator (2).
5. Remove the evaporator hose nut from the accumulator.
6. Remove the evaporator hose from the accumulator.
7. Remove the suction hose nut from the accumulator.
8. Remove the suction hose from the accumulator.
9. Remove and discard the sealing washers from the evaporator hose and the suction hose.
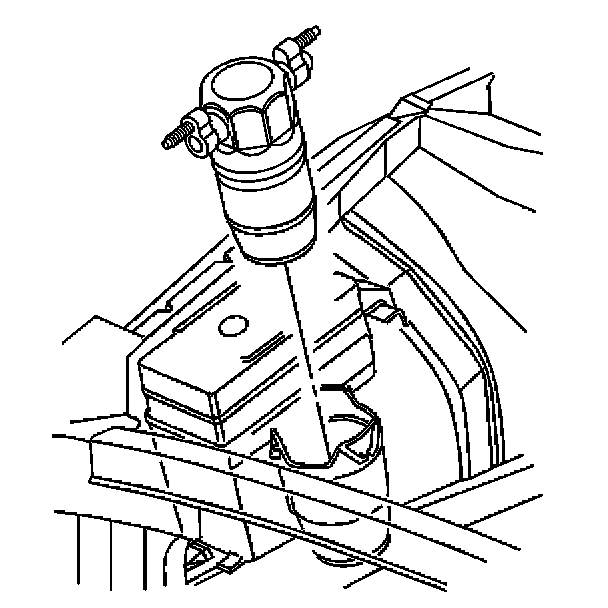
10. Release the accumulator retainer.
11. Remove the accumulator.
12. Drain the oil from the accumulator.
INSTALLATION PROCEDURE
IMPORTANT: If replacing the accumulator, add oil to accumulator. Refer to Refrigerant System Capacities.
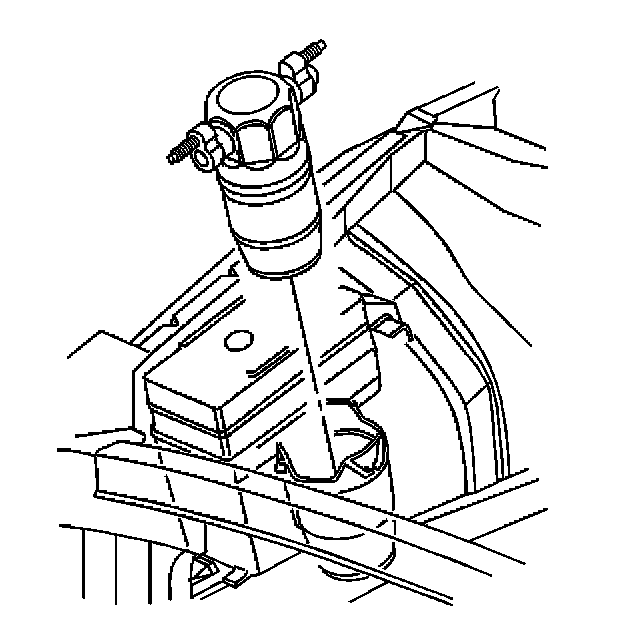
1. Install the accumulator.
2. Engage the accumulator retainer.
3. Install new sealing washers to the evaporator hose and the suction hose.
4. Install the evaporator hose to the accumulator.
NOTE: Refer to Fastener Notice in Service Precautions.
5. Install the evaporator hose nut to the accumulator.
Tighten
Tighten the nut to 20 N.m (15 lb ft).
6. Install the suction hose to the accumulator.
7. Install the suction hose nut to the accumulator.
Tighten
Tighten the nut to 20 N.m (15 lb ft).
IMPORTANT: Ensure that all the snap fasteners on the accumulator cover are engaged.
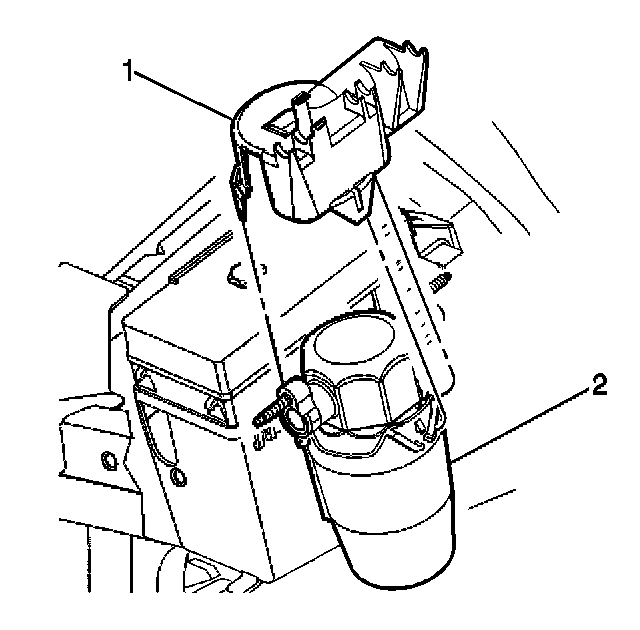
8. Install the accumulator cover (1) to the accumulator (2).
9. Position the evaporator hose (1) to the accumulator cover and engage the snap clamp (2).
10. Recharge the refrigerant system. Refer to Refrigerant Recovery and Recharging.
11. Clip the positive battery cable into the clip on the top of the accumulator cover.
12. Leak test the fittings using the J 39400-A.