Condenser HVAC: Service and Repair
CONDENSER REPLACEMENT
TOOLS REQUIRED
J 39400-A Halogen Leak Detector
REMOVAL PROCEDURE
1. Recover the refrigerant. Refer to Refrigerant Recovery and Recharging.
2. Remove the upper filler panel.
3. Remove the hood latch support.
4. Remove the discharge hose nut from the condenser.
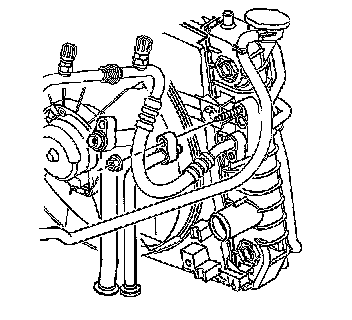
5. Remove the discharge hose from the condenser.
6. Remove the evaporator hose nut (1) from the condenser.
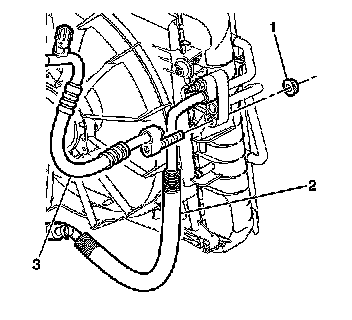
7. Remove the evaporator hose (3) from the condenser.
8. Remove and discard the sealing washers from the discharge hose and the evaporator hose.

9. Remove the condenser mounting bolts.
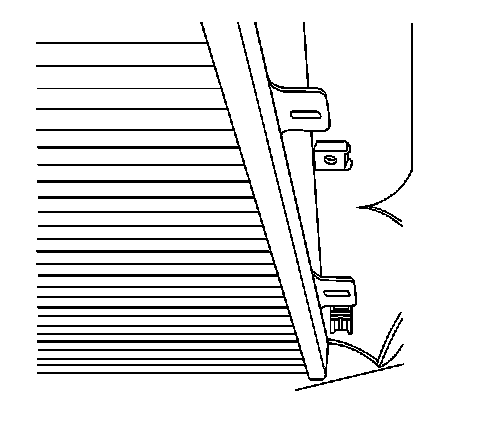
10. Remove the left side of the condenser from the retainer.
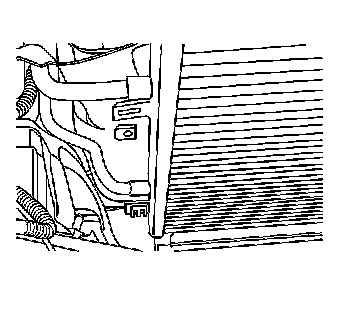
11. Remove the right side of the condenser from the retainer.
12. Remove the condenser from the vehicle.
INSTALLATION PROCEDURE
1. Install the right side of the condenser into the retainer.
IMPORTANT: If replacing the condenser, add refrigerant oil to condenser. Refer to Refrigerant System Capacities for system capacity information.
2. Install the left side of the condenser into the retainer.
3. Position the condenser in the vehicle.
4. Install the condenser mounting bolts.
Tighten the bolts to 13 N.m (115 lb in).
NOTE: Refer to Fastener Notice in Service Precautions.
5. Install new sealing washers to the evaporator hose and the discharge hose.
6. Install the evaporator hose (3) to the condenser.
7. Install the evaporator hose nut (1) to the condenser.
Tighten the nut to 20 N.m (15 lb ft).
8. Install the discharge hose to the condenser.
9. Install the discharge hose nut to the condenser.
Tighten the nut to 20 N.m (15 lb ft).
10. Install the hood latch bracket.
11. Recharge the A/C system. Refer to Refrigerant Recovery and Recharging.
12. Leak test the fittings using the J 39400-A.
13. Install the upper filler panel.