Balance Shaft: Service and Repair
Fig. 9 Force Balancer Tightening Sequence:

Fig. 8 Exploded view of balance shaft assembly:
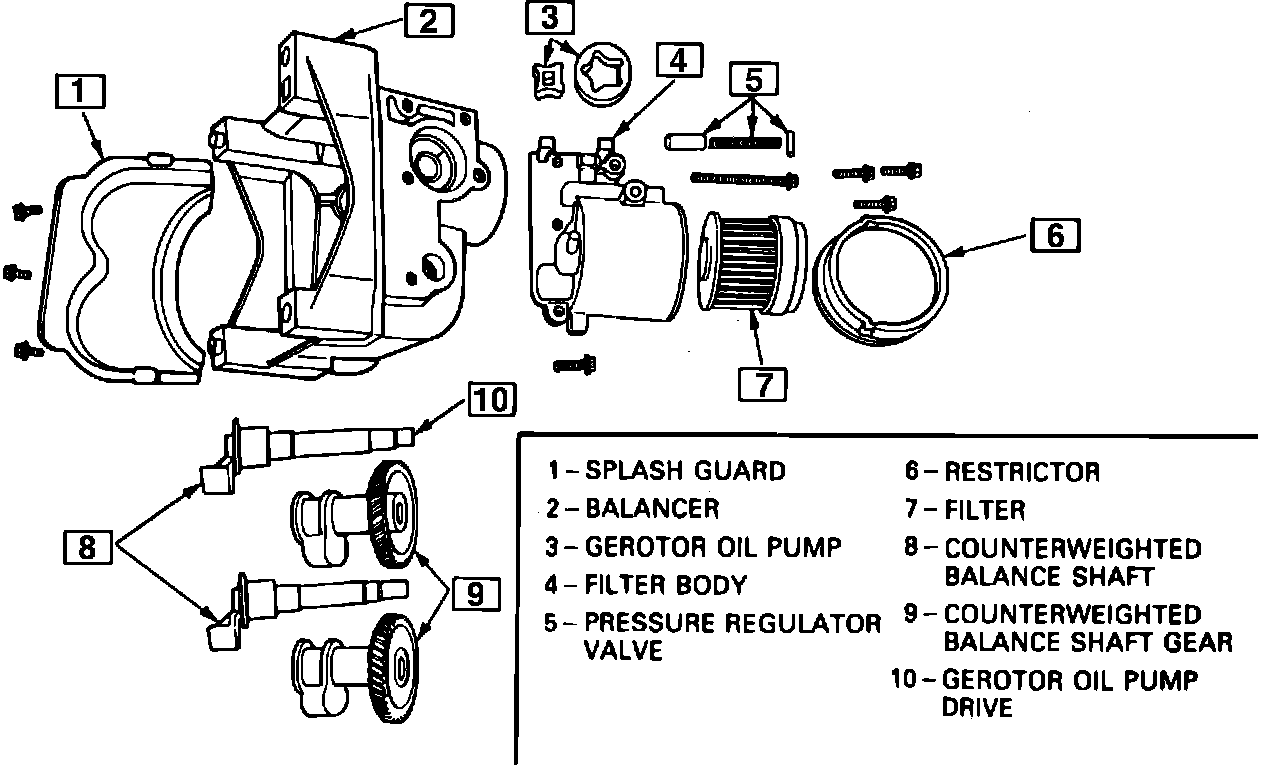
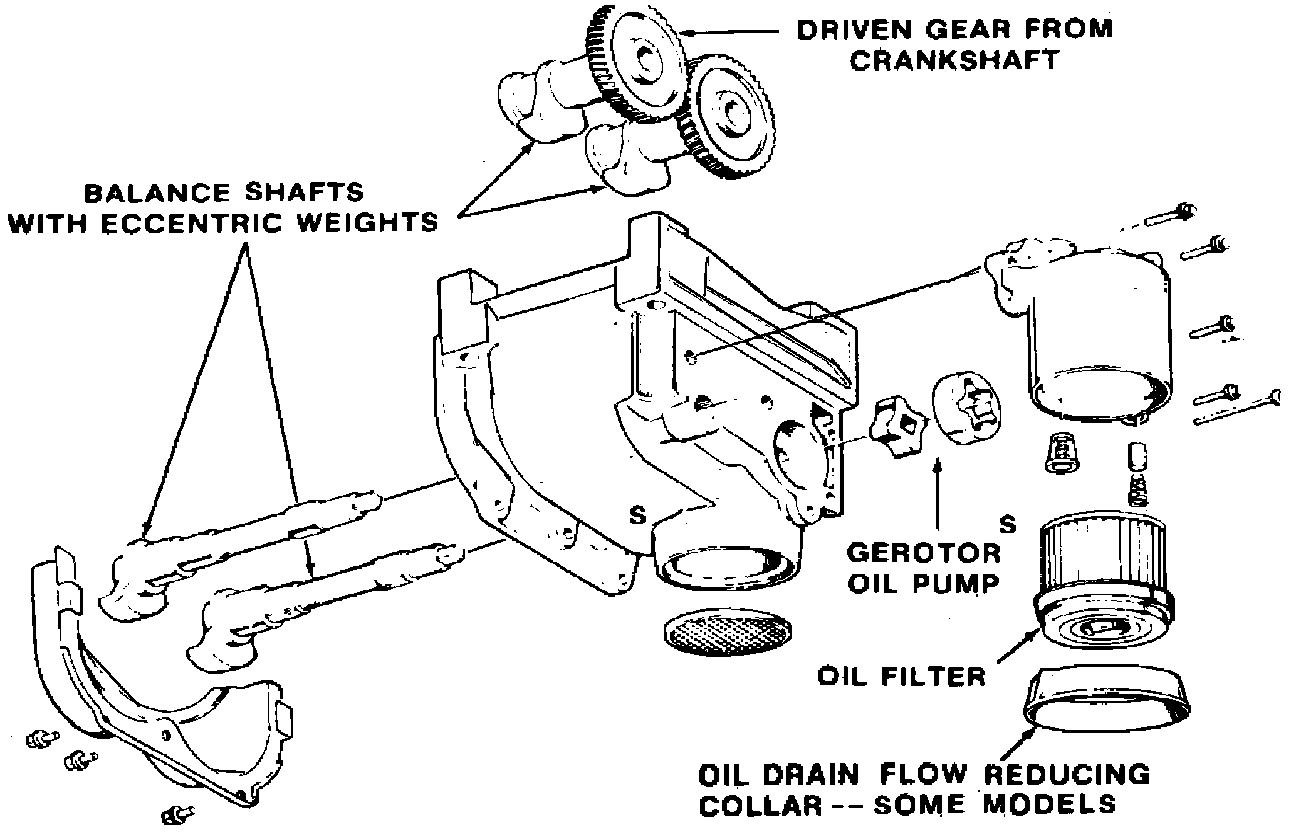
Typical Balance Shaft Components:
1. Remove oil pan as outlined further on.
2. Remove balancer assembly to crankcase attaching bolts, then balancer assembly.
3. To install, proceed as follows:
a. Position No. 1 and No. 4 cylinders at TDC (crank counterweights at BDC).
When installing balancer, the end of the housing without dowel pins must remain in contact with block surface. If it loses contact, gear engagement may be lost and permanent damage to either the crank or balancer gears may result.
b. Install balancer onto crankshaft with balance weights at BDC (plus or minus one half gear tooth).
c. Install balancer attaching bolts. Torque bolts to 9 ft. lbs. in sequence shown in Fig. 9.
d. Following sequence shown in Fig. 9, tighten short bolts to 11 ft. lbs. plus 75° and long bolts to 11 ft. lbs. plus 90°.
e. Rotate crankshaft four times and check for clearance between the fourth counterweight and balancer weights.
f. Reinstall oil pan.