Accumulator HVAC: Service and Repair

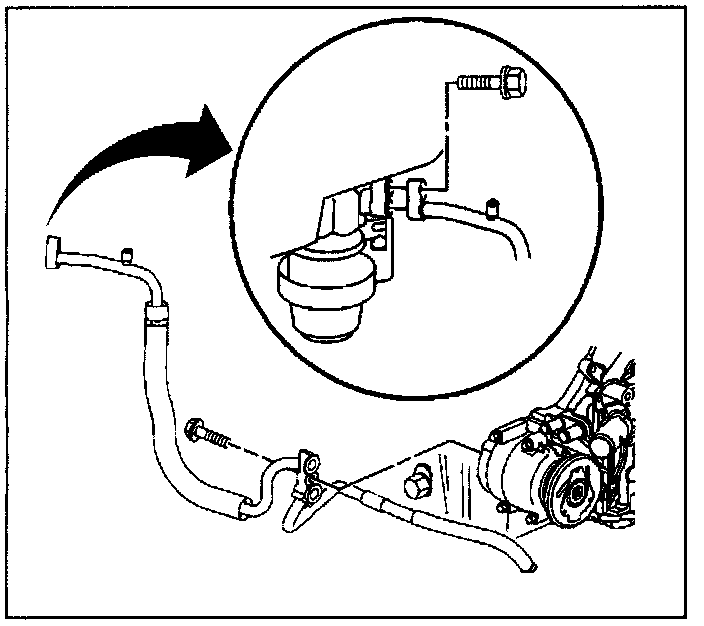
REMOVAL PROCEDURE
CAUTION: Refer to Battery Disconnect Caution in Service Precautions.
1. Disconnect the negative battery cable from the battery.
2. Remove the battery heatshield.
3. Discharge the A/C system. Refer to Refrigerant Recovery
4. Remove the accumulator hose assembly at the accumulator. Refer to Evaporator and Accumulator Hose Assembly.
5. Remove the compressor hose from the accumulator.
6. Remove the accumulator bracket from the dash panel.
7. Remove the bolt/screw from the accumulator bracket.
8. Remove the accumulator and insulator from the accumulator bracket.
9. Remove the insulator from the accumulator.
INSTALLATION PROCEDURE
1. Install the insulator onto the accumulator.
2. Install the accumulator and insulator into the accumulator bracket.
3. Install the bolt into the accumulator bracket.
- Tighten the accumulator bracket bolt to 10 N.m (89 lb. in).
NOTICE: Refer to Fastener Notice in Service Precautions.
4. Install the accumulator and bracket assembly onto the dash panel.
- Tighten the accumulator bracket nut to 10 N.m (89 lb. in).
5. Install the accumulator hose onto the accumulator.
- Tighten the accumulator hose to accumulator to 41 N.m (30 lb ft).
6. Install the compressor hose onto the accumulator.
- Tighten the compressor hose bolt to accumulator to 20 N.m (15 lb. ft).
7. Install the battery heat shield.
CAUTION: Refer to Battery Disconnect Caution in Service Precautions.
8. Connect negative battery cable.
9. Evacuate and charge the air conditioning system. Refer to Evacuation and A/C Charging Using ACR4.