A/T Mount Replacement (Front)
REMOVAL PROCEDURE^ Tools Required
- J 28467-360 Engine Support Fixture
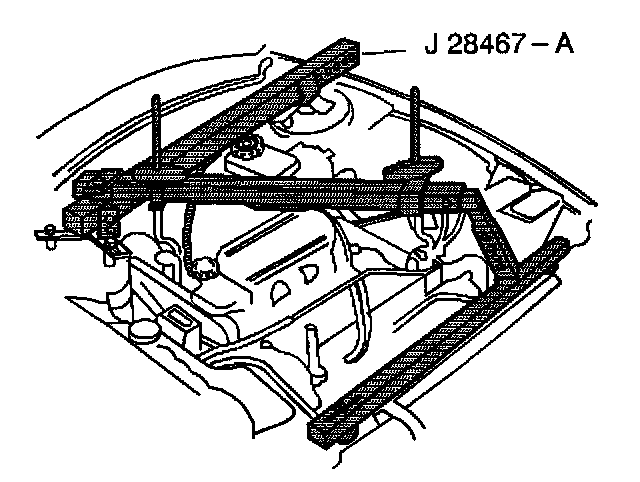
1. Disconnect the negative battery cable.
CAUTION: Refer to Battery Disconnect Caution in Service Precautions.
2. Install the J 28467-360 to the transmission. Raise the transmission enough in order to unload the transmission mounts.
3. Raise and suitably support the vehicle. Refer to Vehicle Lifting.
4. Remove the left front wheel and tire assembly. Refer to Wheel Removal in Tires and Wheels.
5. Remove the left splash shield.
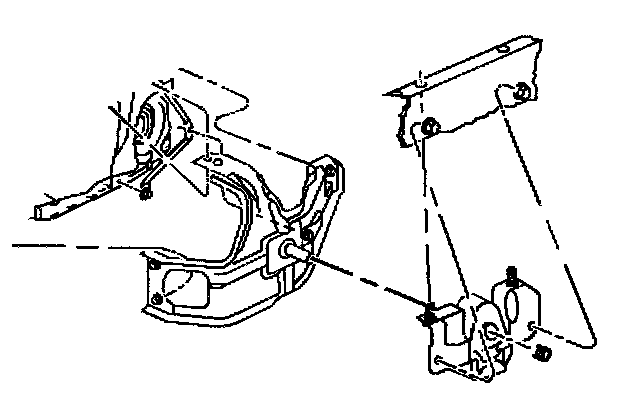
6. Remove the pipe expansion bolt from the transmission support assembly.
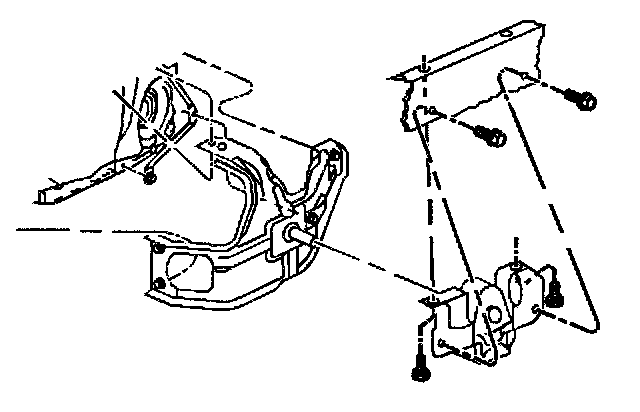
7. Remove the transmission mount to body bolts.
8. Lower the engine/transmission assembly just enough to be able to remove the transmission mount from the bracket.
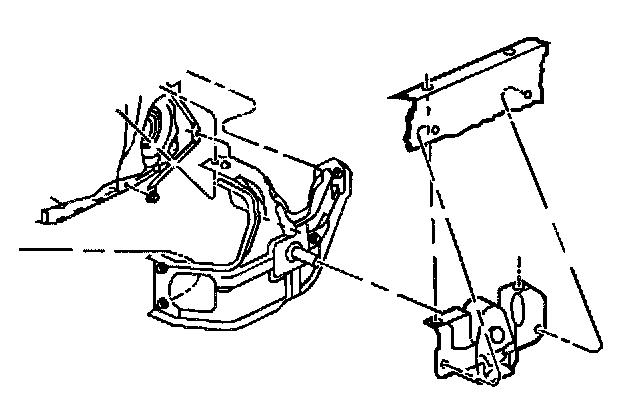
9. Remove the transmission mount.
INSTALLATION PROCEDURE
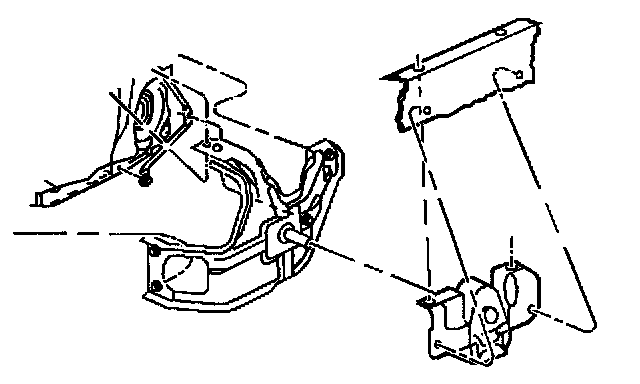
1. Install the transmission mount to the transmission bracket. Do not tighten the bracket until the mount is fastened to the body.
2. Raise the engine and the transmission assembly.
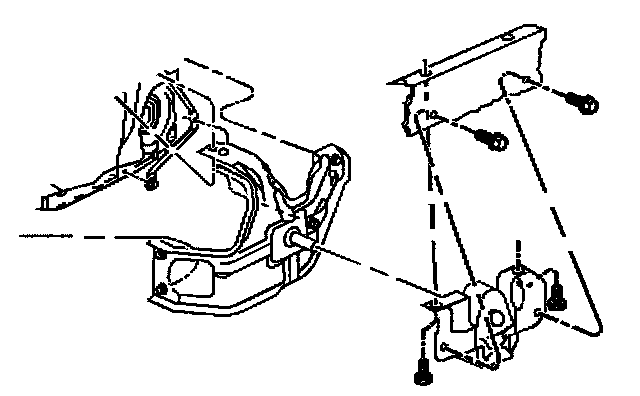
3. Install the transmission mount to body bolts.
^ Tighten the bolts to 66 Nm (49 ft. lbs.).
NOTICE: Refer to Fastener Notice in Service Precautions.
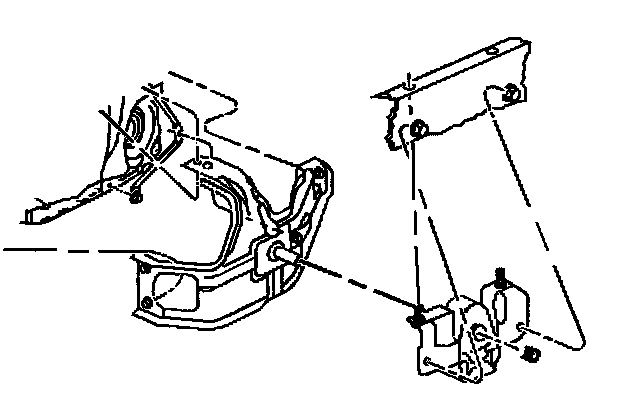
4. Install the pipe expansion bolt to the transmission support assembly.
^ Tighten to bolt to 55 Nm (41 ft. lbs.).
5. Install the left splash shield.
6. Install the left front tire and wheel assembly. Refer to Wheel Installation in Tires and Wheels.
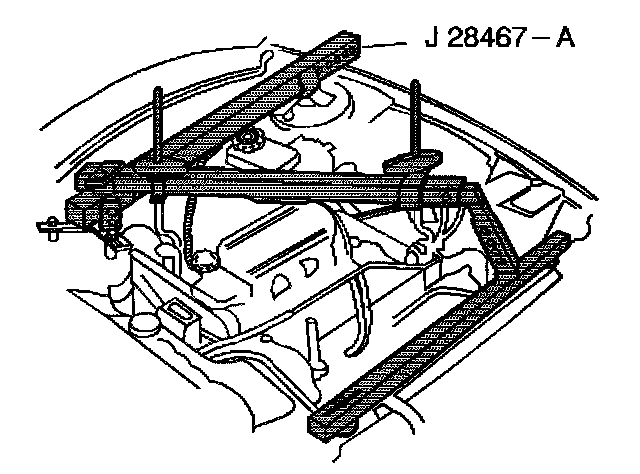
7. Remove the engine support fixture.
8. Lower the vehicle.
9. Connect the negative battery cable.