Rear Crossmember Bolt Replacement (Forward Bolt)
Rear Crossmember Bolt Replacement (Forward Bolt)
Removal Procedure
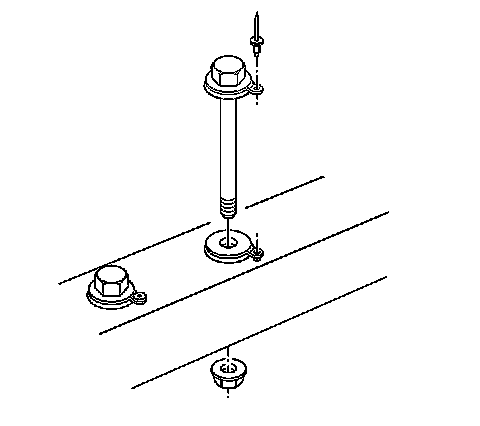
1. Using HAND TOOLS remove the nut from the rear crossmember front bolt that is to be replaced.
2. Access the rear compartment.
3. Remove the rear compartment floor carpet.
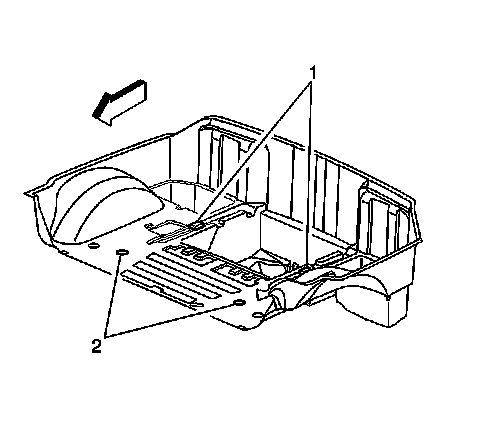
4. Locate the scribed marks (2) labeled XMBR BOLT in the floor which identifies the area directly over the front bolt to be replaced. The scribed marks are located approximately 230 mm (9 in) inward from the rear compartment side panel and 255 mm (10 in) rearward of the intermediate panel.
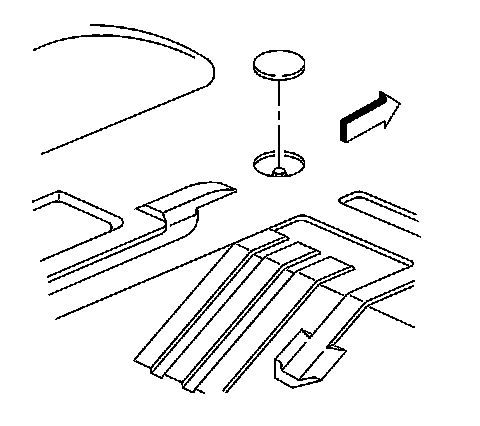
Important: There are fuel system components under the cargo compartment floor. When drilling the access hole restrict the drilling depth to 6 mm (15/64 in).
5. Drill an access hole with a 50 mm (2 in) hole saw directly over the bolt.
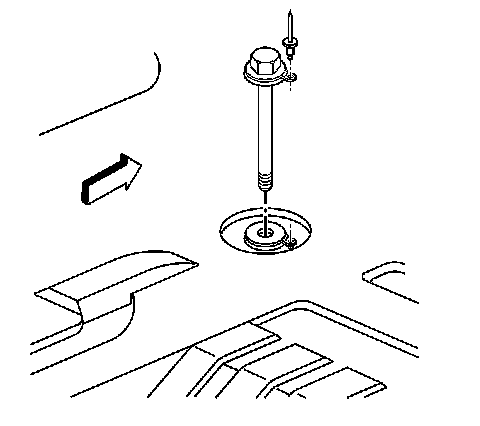
6. Drill out the anti rotation device rivet with a 6 mm (15/16 in) drill bit.
7. Remove the bolt.
Installation Procedure
Important: Check the new bolt against the old bolt for proper length. There are four different length crossmember bolts.
1. Install the crossmember bolt.
2. Install a rivet to the bolt anti rotation device.
Notice: Refer to Fastener Notice in Service Precautions.
3. Install a new nut to the crossmember bolt and tighten the nut with HAND TOOLS.
Tighten the crossmember bolt nut to 110 N.m (81 lb in).
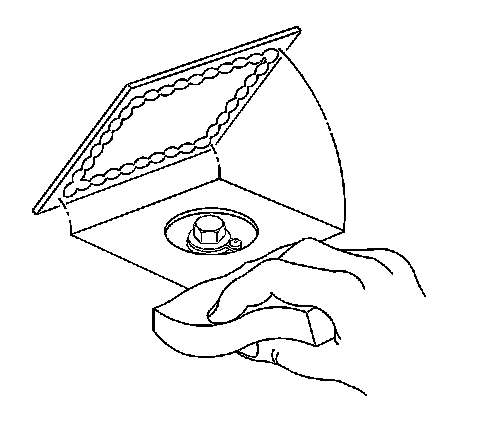
4. Cut a suitable piece of galvanized steel or fiber reinforced plastic sized to cover the hole in the floor with at least a 25 mm (1 in) overlap on all sides.
Important: There are fuel system components under the cargo compartment floor. Do not use rivets or screws to attach the cover over the hole.
5. Lightly scuff sand the bonding surfaces of both the panel and the cover.
6. Wipe each bonding surface with alcohol.
7. Apply a 3 to 6 mm (1/8 to 1/4 in) bead of adhesive around the perimeter of the cover.
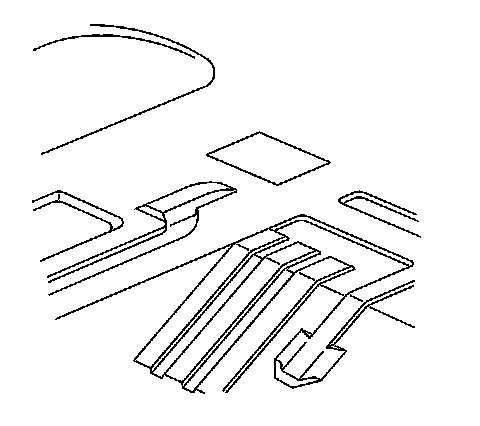
8. Install the cover over the hole in the floor. Apply pressure to the cover to squeeze out the adhesive to form a consistent leak proof seal.
Important: Make sure there is a leak proof seal so that exhaust and fuel fumes can not enter the vehicle.
9. Smooth out the adhesive around the cover making sure there are no skips or gaps.
10. Allow the bonding adhesive to cure.
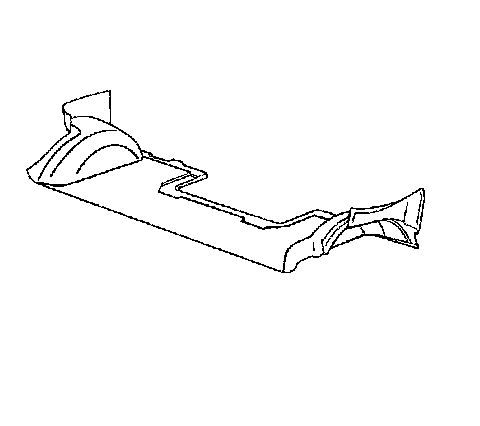
11. Install the rear compartment carpet.