Removal
Removal Procedure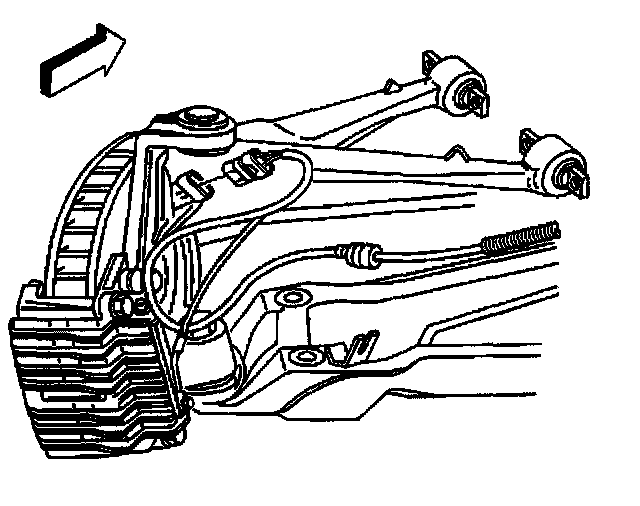
1. Raise and support the vehicle. Refer to Vehicle Lifting.
2. Remove the tire and wheel assemblies.
3. Disconnect the electrical connectors from both wheel speed sensors.
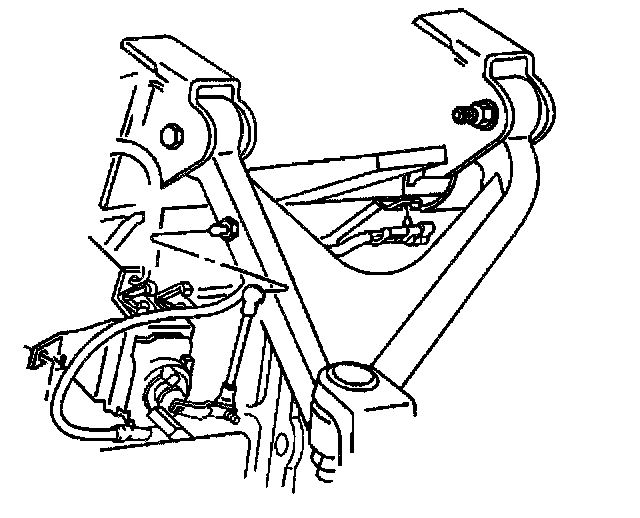
4. Disconnect the real time damping (RTD) position sensor links, if equipped.
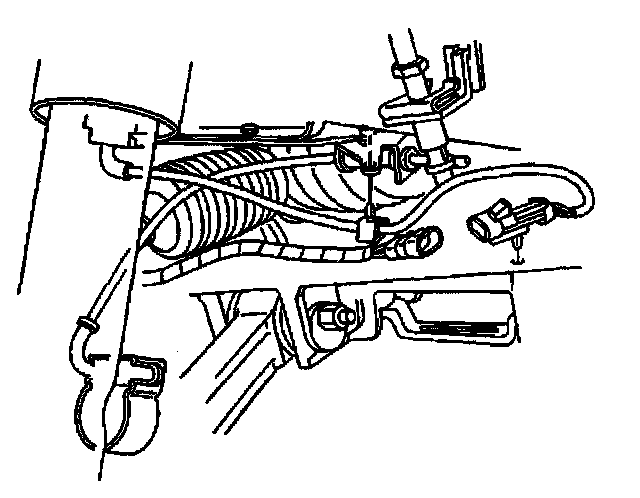
5. Disconnect the shock absorber solenoid electrical connectors, if equipped.
6. Remove the transverse spring from the crossmember. Refer to Rear Transverse Spring Replacement.
7. Support the crossmember with a transmission jack.
8. Remove the stabilizer shaft from the vehicle. Refer to Stabilizer Shaft Replacement.
9. Disconnect the outer tie rod end studs from the rear suspension knuckles. Refer to Tie Rod Replacement (Outer End).
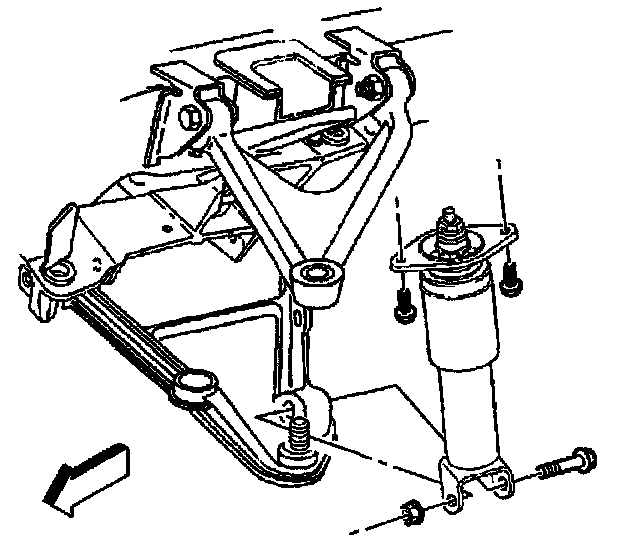
10. Remove the transaxle mount lower nuts. Refer to Transmission Mount Replacement in Rear Drive Axle.
11. Remove the shock absorber lower mounting bolts from the lower control arms.
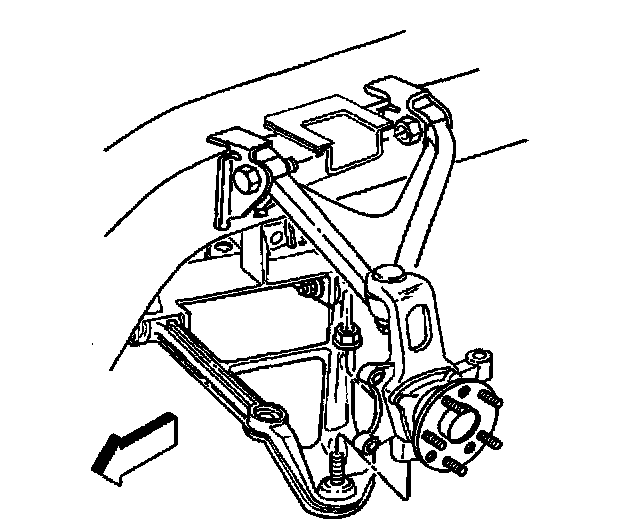
12. Loosen the lower ball joint stud nuts. Do not remove the nuts.
13. Disconnect the lower control arms from the rear suspension knuckles. Refer to Rear Axle Lower Control Arm Replacement.
14. Rotate the steering knuckles backwards until the wheel drive shaft clears the differential.
15. Support the wheel drive shafts and the rear suspension knuckles.
16. Disconnect all the electrical connectors from the crossmember.
17. Disconnect the brake pipes from the crossmember.
18. Support the transaxle under the transmission pan with a transmission jack.
19. Remove the rear crossmember mounting nuts.
20. Remove the crossmember from the vehicle.
21. Discard the rear crossmember mounting nuts.