Folding Top Main Control Link Replacement
Folding Top Main Control Link Replacement
Removal Procedure
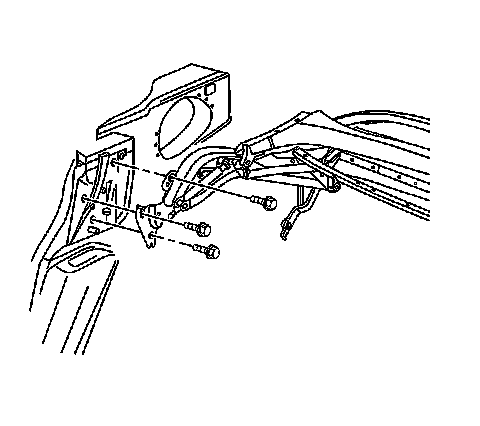
1. Remove the folding top and place it upside down on a clean flat surface.
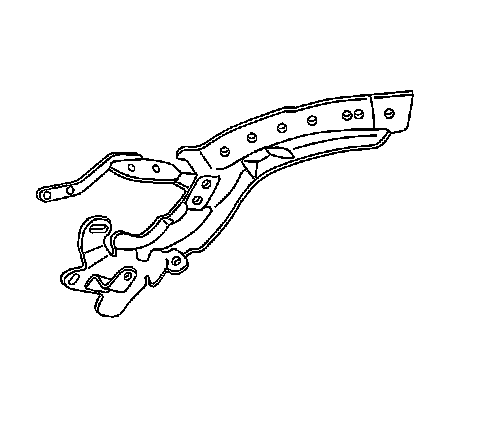
2. Remove the screws attaching the headliner to the rear of the rear side rail.
3. Remove the screw attaching the glare cover elastic strap to the rear side rail.
4. Remove the screw attaching the headliner elastic strap to the rear side rail.
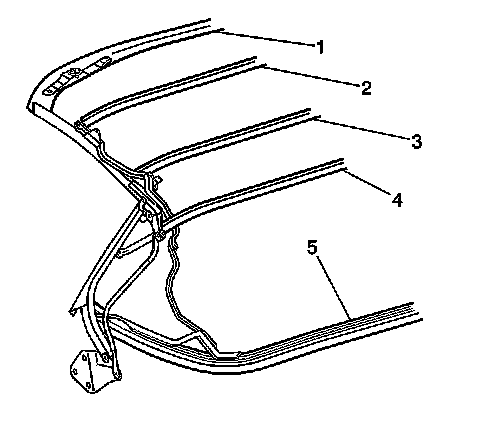
5. Remove the screw attaching the headlining to the number 1 bow (1).
6. Remove the speed nut attaching the headlining to the number 1 bow (1).
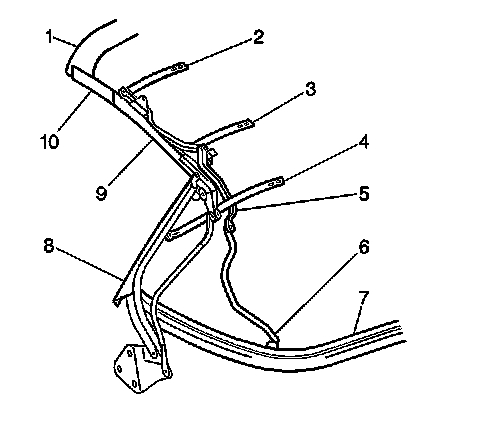
7. Remove the screws attaching the main control link bracket to the number 2 bow (2).
8. Remove the screws attaching the main control link bracket to the number 3 bow (3).
9. Remove the screws attaching the main control link bracket to the number 4 bow (4).
10. Note and mark the position of the adjustable link rod end as an aid in assembling a new part.
11. Remove the screw attaching the main control link rod end (6) to the number 5 bow (7).
12. Remove the screw attaching the main control link to the center side rail.
13. Remove the screw attaching the main control link to the front side rail.
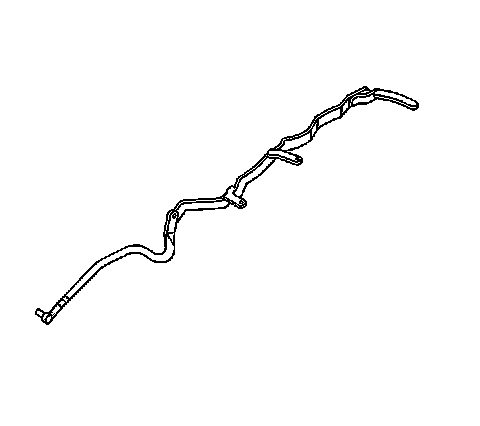
14. Remove the main control link.
Installation Procedure
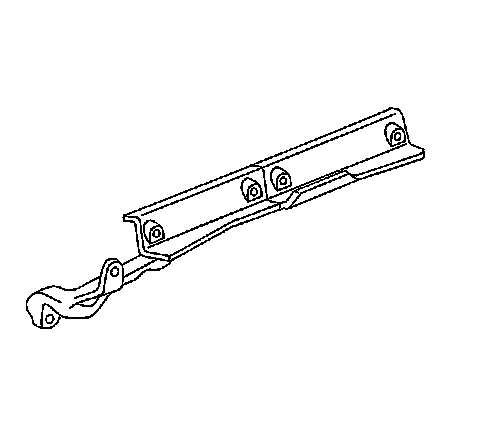
1. Position the main control link to the top.
Notice: Refer to Fastener Notice in Service Precautions.
2. Install the spacers and the screw attaching the main control link to the front side rail.
Tighten the main control link to side rail bolt to 20 N.m (15 lb ft).
3. Install the spacers and the screw attaching the main control link to the center side rail.
Tighten main control link to center rail bolt to 20 N.m (15 lb ft).
4. Adjust the link adjuster (6) rod end to match the position on the link that was removed.
5. Install the screw attaching the main control link rod end to the number five bow (7).
Tighten the main control link rod end screw to the number 5 bow to 15 N.m (11 lb ft).
6. Install the screws attaching the to the number 2, 3, and 4 roof bows to the control link brackets.
Tighten the roof bow to the main control link bracket screws to 13 N.m (10 lb ft).
7. Install the speed nut attaching the headlining to the number one bow.
8. Install the screw attaching the headliner to the number one bow (1).
Tighten the headliner attaching screws to 2 N.m (17 lb in).
9. Install the screw attaching the glare cover.
Tighten the glare cover screw to 2 N.m (17 lb in).
10. Install the screws attaching the headlining to the rear side rail.
Tighten the headlining attaching screw to 2 N.m (17 lb in).
11. Install the screw attaching the headlining elastic strap to the rear side rail.
Tighten the headlining attaching screw to 2 N.m (17 lb in).
12. Install the folding top.
Tighten the folding top mounting bolts to 25 N.m (18 lb ft).