Brake Cooling Duct: Service and Repair
Front Brake Caliper Cooling Duct Replacement
Removal Procedure
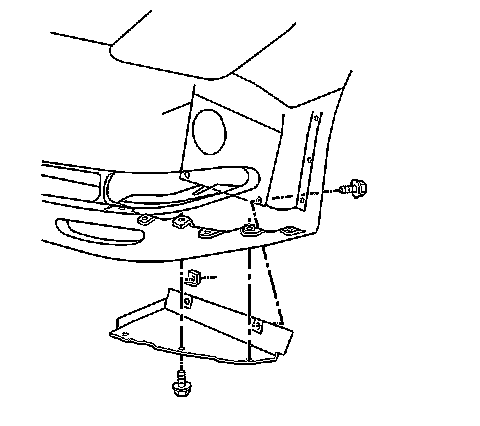
1. Raise the vehicle. Refer to Vehicle Lifting.
2. Remove the fascia close out panel.
3. Remove the wheelhouse to fascia bolts.
4. Remove the front license plate/cover to access the fascia to energy absorber bolts.
Important: Use only the exact size square headed tool when removing or installing the plastic headed screws to avoid stripping the screw heads.
5. Remove the fascia to energy absorber bolts.
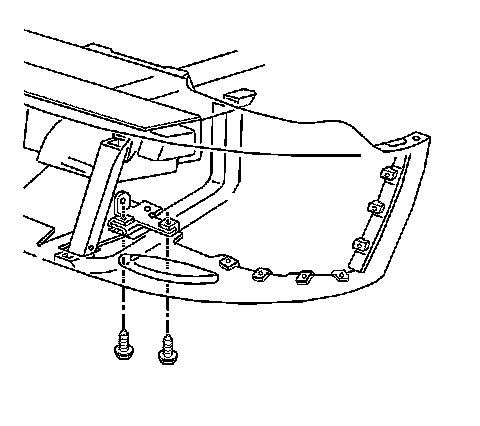
6. Remove the fascia to skid bar bolts.
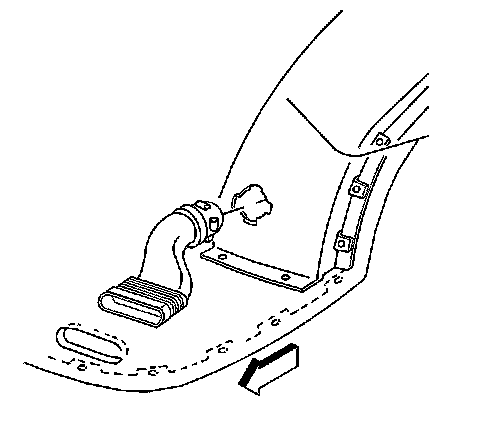
7. Reposition the bottom of the fascia outward and up.
8. Slide the cooling duct rearward off the fascia opening.
9. Remove the brake caliper cooling duct from the wheelhouse panel.
1. Rotate the duct.
2. Align the duct locking tabs with the slots in the wheelhouse panel.
3. Pull the duct forward out of the wheelhouse panel.
Installation Procedure
1. Insert the brake caliper cooling duct into the opening in the wheelhouse.
2. Rotate the duct to lock in place.
3. Reposition the fascia forward and up to gain clearance.
4. Position the duct over the opening in the fascia.
Notice: Refer to Fastener Notice in Service Precautions.
5. Install the fascia to skid bar bolts.
Tighten the front fascia to skid bar bolts to 2.5 N.m (22 lb in).
6. Install the fascia close out panel.
Tighten the front fascia lower close out panel bolts to 7 N.m (62 lb in).
7. Install the wheelhouse to fascia bolts.
Tighten the wheel house to fascia bolts to 2.5 N.m (22 lb in).
8. Lower the vehicle.
9. Install the fascia to energy absorber bolts.
Tighten the front energy absorber bolts to 5 N.m (44 lb in).
10. Install the front license plate/cover.