Accumulator Tube Replacement
REMOVAL PROCEDURE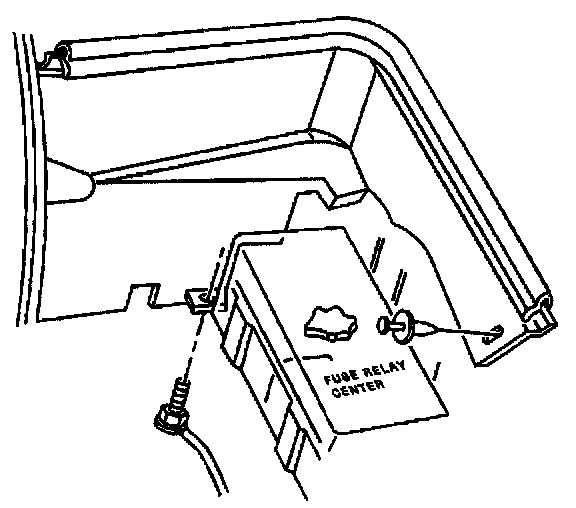
1. Recover the refrigerant. Refer to Refrigerant Recovery and Recharging. Service and Repair
2. Remove the battery.
3. Remove the battery heat shield.
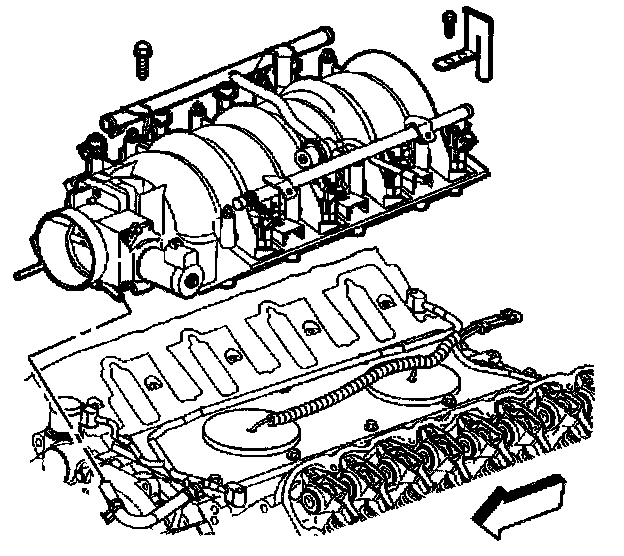
4. Remove the engine intake manifold.
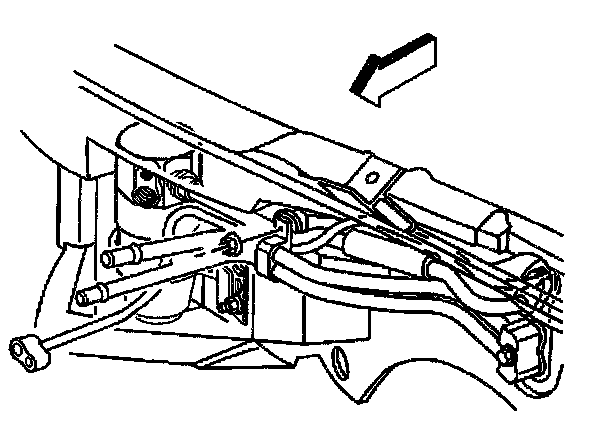
5. Remove the nut retaining the heater pipe bracket to the dash panel.
6. Reposition the heater pipe bracket to access the refrigerant lines.
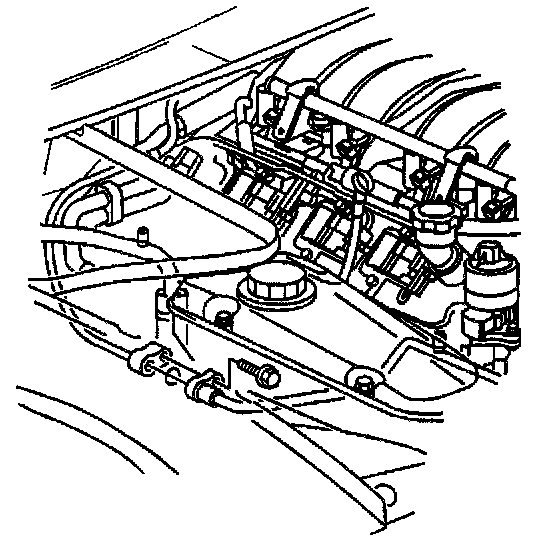
7. Remove the front evaporator tube to rear evaporator tube retaining bolt.
IMPORTANT: Cap or tape the open evaporator tubes immediately to prevent contamination.
8. Disconnect the evaporator tubes, and discard the O-ring.
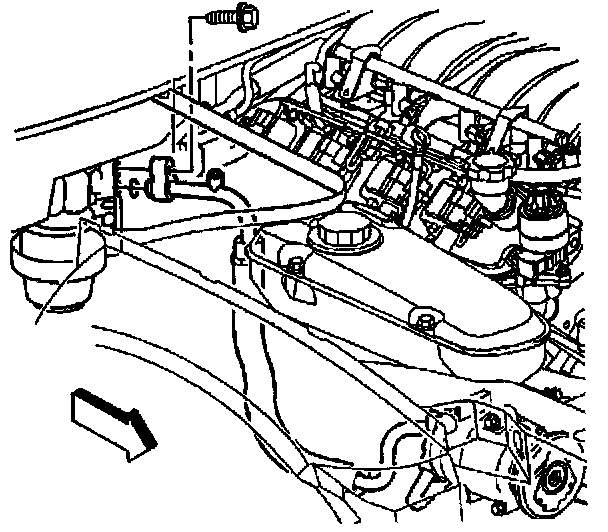
9. Remove the compressor hose to accumulator retaining bolt.
IMPORTANT: Cap or tape the open compressor hose and the accumulator immediately to prevent contamination.
10. Disconnect the compressor hose from the accumulator to access the accumulator hose, and discard the O-ring.
11. Reposition the compressor hose end.
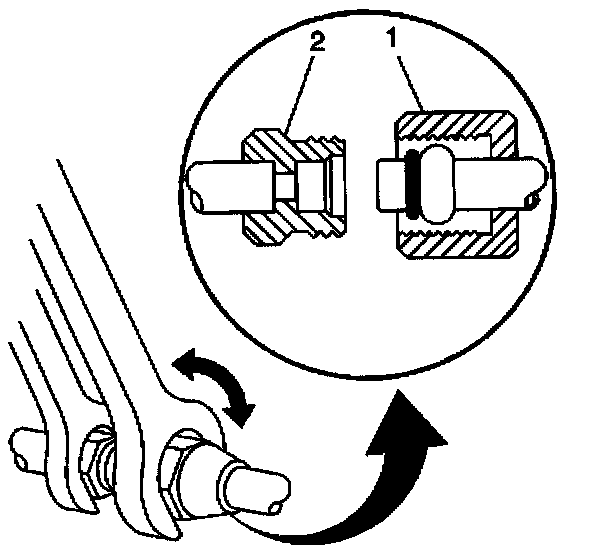
12. Using a back-up wrench on the accumulator fitting (2), loosen the accumulator hose fitting (1) from the accumulator.
IMPORTANT: Cap or tape the open accumulator hose and the accumulator immediately to prevent contamination.
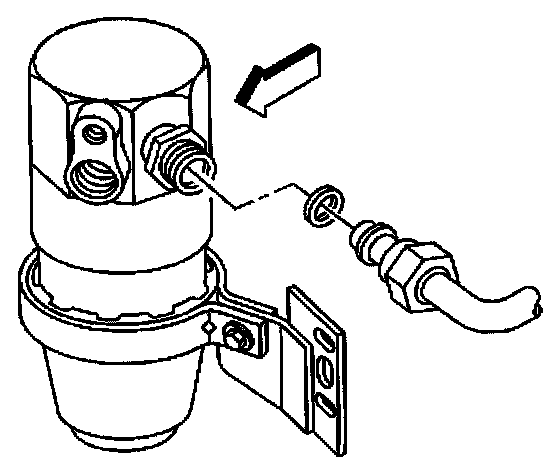
13. Disconnect the accumulator hose from the accumulator, discard the O-ring.
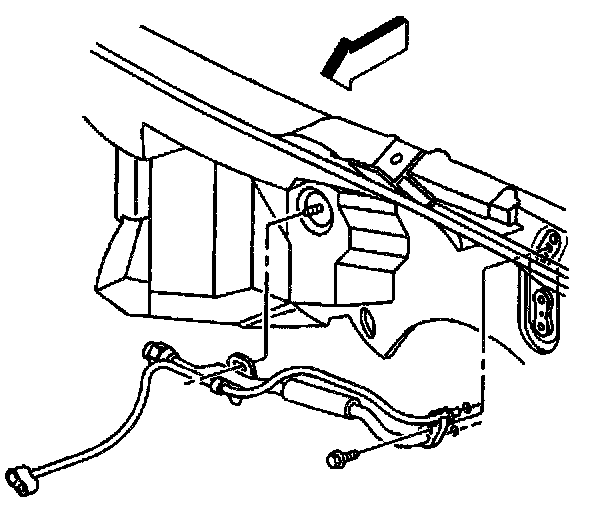
14. Remove the accumulator hose to evaporator retaining bolt.
IMPORTANT: Cap or tape the open accumulator hose, rear evaporator tube, and the evaporator immediately to prevent contamination.
15. Disconnect the accumulator hose from the evaporator, discard the O-ring.
IMPORTANT: Prior to removal, take note of the accumulator hose orientation to the accumulator and the rear evaporator tube.
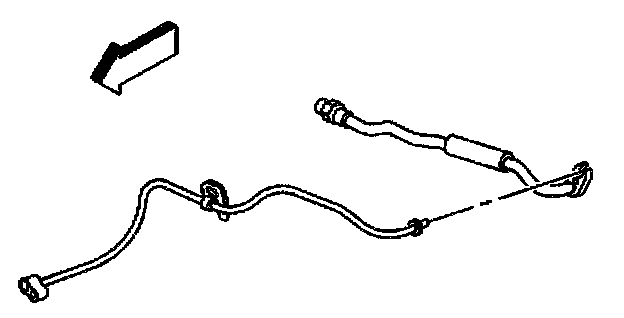
16. Carefully remove the accumulator hose, separating it from the rear evaporator tube.
INSTALLATION PROCEDURE
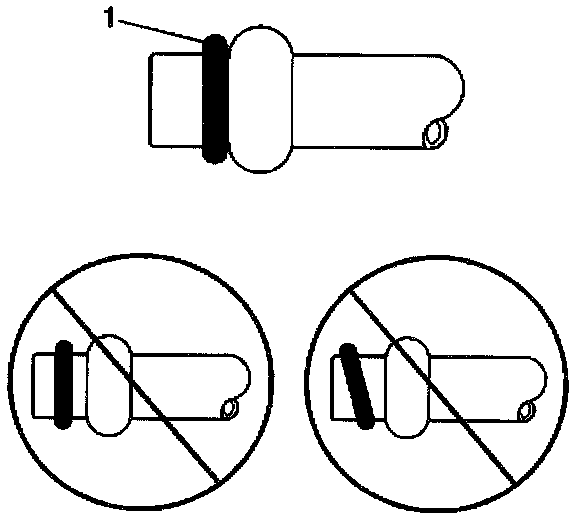
1. Remove the cap or tape from the accumulator hose, rear evaporator tube and the evaporator.
2. Using a lint-free clean, dry cloth, carefully clean the sealing surfaces of the accumulator hose, rear evaporator tube and the evaporator.
3. Lightly coat the new O-ring (1) with mineral base 525 viscosity refrigerant oil.
IMPORTANT: DO NOT allow any of the mineral base 525 viscosity refrigerant oil on the O-ring to enter the refrigerant system.
4. Carefully slide the new O-rings (1) onto the accumulator hose and the rear evaporator tube until seated.
5. Position the accumulator hose with the rear evaporator tube and install the assembly to the evaporator.
NOTE: Refer to Fastener Notice in Service Precautions.
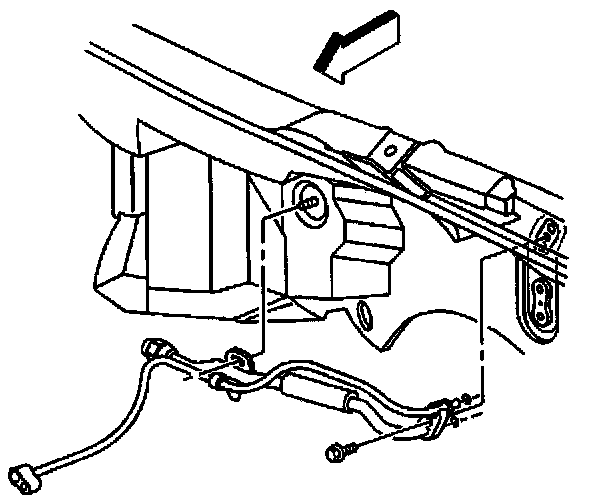
6. Install the accumulator hose to evaporator retaining bolt.
Tighten
Tighten the accumulator hose to evaporator retaining bolt to 16 N.m (12 lb ft).
7. Remove the cap or tape from the accumulator.
8. Using a lint-free clean, dry cloth, carefully clean the sealing surfaces of the accumulator hose and the accumulator.
9. Lightly coat the new O-ring seal (1) with mineral base 525 viscosity refrigerant oil.
IMPORTANT: DO NOT allow any of the mineral base 525 viscosity refrigerant oil on the O-ring seal (1) onto the accumulator hose until seated.
10. Install the accumulator hose to the accumulator.
11. Using a back-up wrench on the accumulator fitting (2), secure the accumulator hose fitting (1) to the accumulator.
Tighten
Tighten the accumulator hose fitting to the accumulator to 41 N.m (30 lb ft).
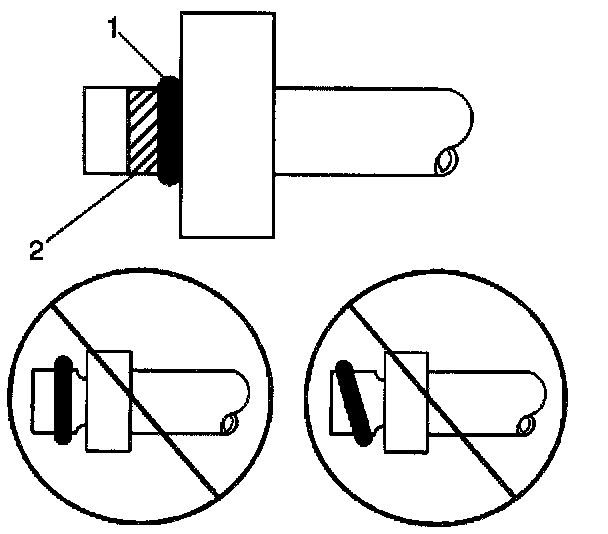
12. Remove the cap or tape from the compressor hose.
13. Using a lint-free clean, dry cloth, carefully clean the sealing surfaces of the compressor hose and the accumulator.
14. Lightly coat the O-ring seal (1) with mineral base 525 viscosity refrigerant oil.
IMPORTANT: DO NOT allow any of the mineral base 525 viscosity refrigerant oil on the O-ring seal to enter the refrigerant system.
15. Carefully slide the new O-ring seal (1) onto the compressor hose until seated.
Leave a light coating on the refrigerant oil to remain on the compressor hose in the area indicated (2) only.
16. Install the compressor hose to the accumulator with retaining bolt.
Tighten
Tighten the compressor hose to accumulator retaining bolt to 20 N.m (15 lb ft).
17. Remove the cap or tape from the front evaporator tube and the rear evaporator tube.
18. Using a lint-free clean, dry cloth, carefully clean the sealing surfaces of the evaporator tubes.
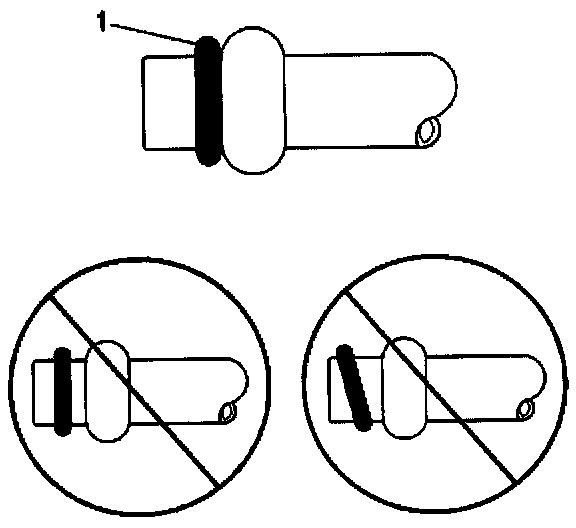
19. Lightly coat the O-ring seal (1) with mineral base 525 viscosity refrigerant oil.
IMPORTANT: DO NOT allow any of the mineral base 525 viscosity refrigerant oil on the O-ring seal to enter the refrigerant system.
20. Carefully slide the new O-ring seal (1) onto the front evaporator tube until seated.
Leave a light coating of the refrigerant oil to remain on the front evaporator tube in the area indicated (2) ONLY.
21. Install the front evaporator tube to the rear evaporator tube with retaining bolt.
Tighten
Tighten the front evaporator tube to the rear evaporator tube retaining bolt to 25 N.m (18 lb ft).
22. Install the heater pipe bracket to the dash panel stud.
23. Install the heater pipe bracket retaining nut.
Tighten
Tighten the heater pipe bracket retaining nut to 10 N.m (89 lb in).
24. Install the engine intake manifold.
25. Install the battery heat shield.
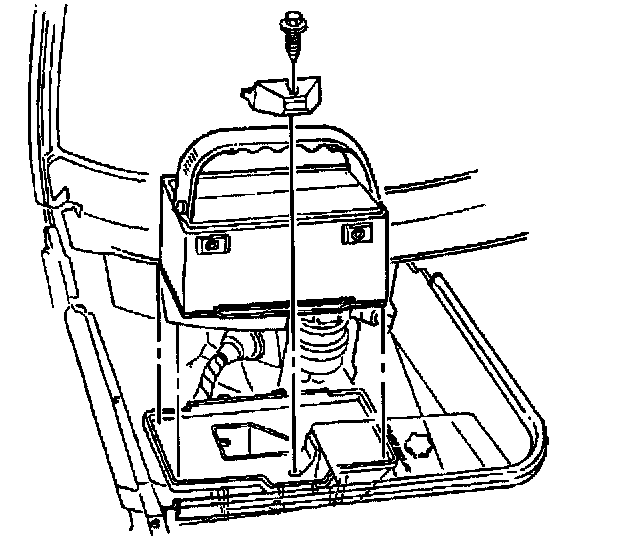
26. Install the battery.
27. Program the transmitter. Refer to Transmitter Programming/Synchronization in Keyless Entry.
28. Evacuate and charge the refrigerant system. Refer to Refrigerant Recovery and Recharging. Service and Repair
29. Check the compressor hose to accumulator, accumulator hose and evaporator tube joints for leaks. Refer to Leak Testing.Leak Testing