Condenser Tube Replacement
TOOLS REQUIREDJ 39400-A Halogen Leak Detector
REMOVAL PROCEDURE
1. Recover the refrigerant. Refer to Refrigerant Recovery and Recharging.
2. Remove the air cleaner assembly.
3. Remove the cross vehicle brace.
4. Remove the vacuum brake booster.
5. Remove the bracket to the evaporator tube/suction hose.
6. Remove the lower radiator air baffle.
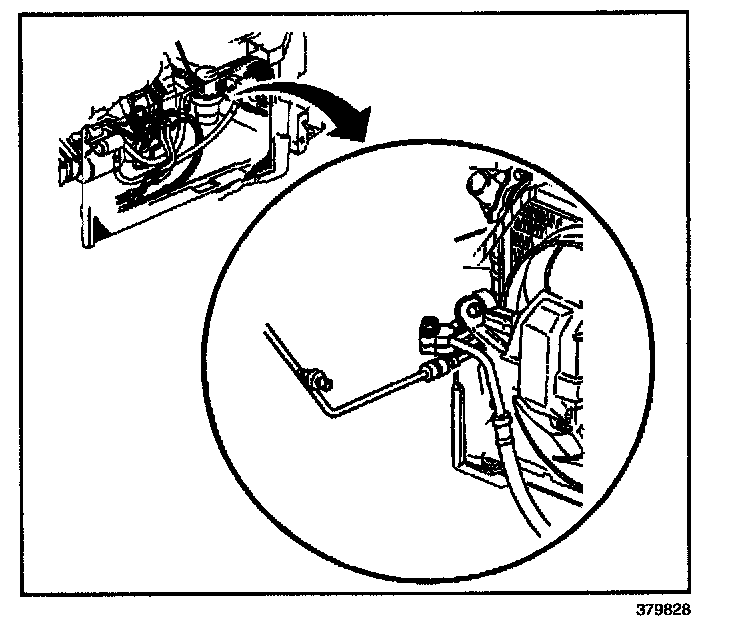
7. Loosen the tube nut at the condenser. Disconnect the tube from the condenser.
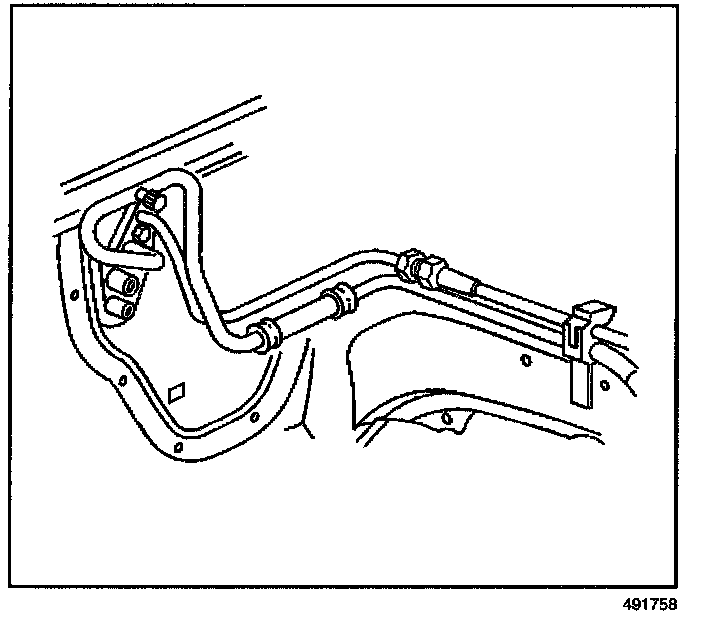
8. Lower the vehicle.
9. Disconnect the electrical connector from the A/C refrigerant pressure sensor.
10. Loosen the evaporator inlet tube nut. Disconnect the evaporator tube from the condenser tube.
IMPORTANT: Handle the condenser tube carefully.
11. Remove the condenser tube.
12. Remove and discard the O-ring.
13. Remove the A/C pressure sensor from the condenser tube.
INSTALLATION PROCEDURE
1. Install the A/C pressure sensor to the condenser tube.
IMPORTANT: Coat the new O-ring with mineral base 525 viscosity refrigerant oil.
2. Install the new O-ring onto the condenser tube.
3. Install the condenser tube into place.
4. Connect the evaporator inlet tube to the condenser tube.
NOTE: Refer to Fastener Notice in Service Precautions.
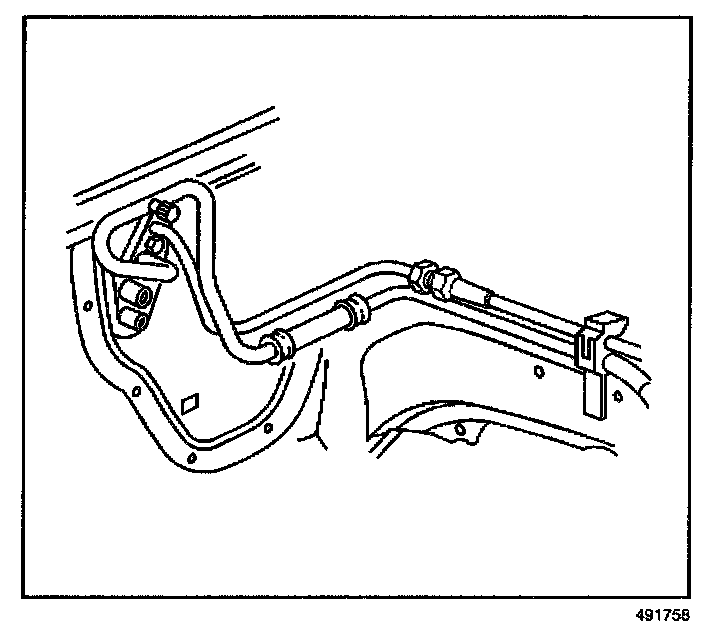
5. Tighten the evaporator inlet tube nut.
Tighten
Tighten the nut to 27 N.m (20 lb ft).
6. Install the lower radiator air baffle.
7. Connect the electrical connector to the A/C refrigerant pressure sensor.
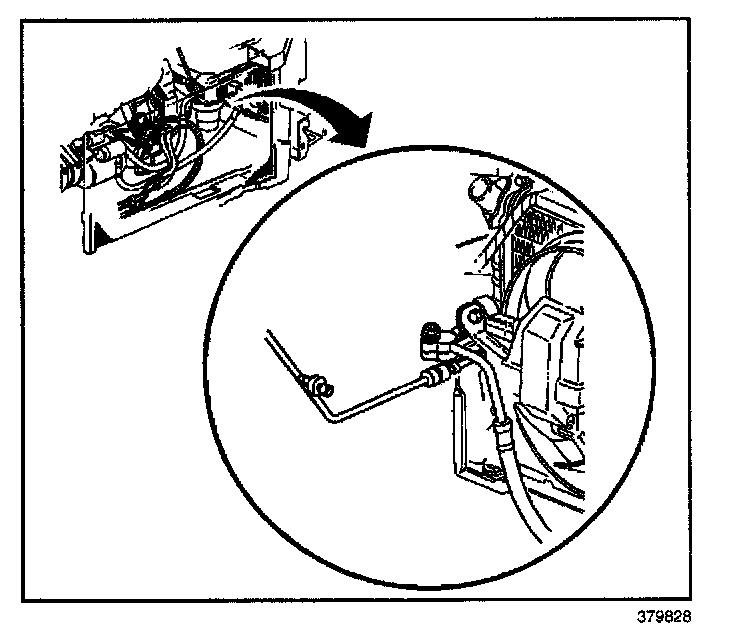
8. Connect the condenser tube to the condenser. Tighten the condenser tube nut.
Tighten
Tighten the nut to 27 N.m (20 lb ft).
9. Lower the vehicle.
10. Install the bracket to the evaporator tube/suction hose.
11. Install the vacuum brake booster.
12. Install the cross vehicle brace.
13. Install the air cleaner assembly.
14. Evacuate and recharge the A/C system. Refer to Refrigerant Recovery and Recharging.
15. Leak test the fittings of the component using J 39400-A.