Radiator Replacement
REMOVAL PROCEDURE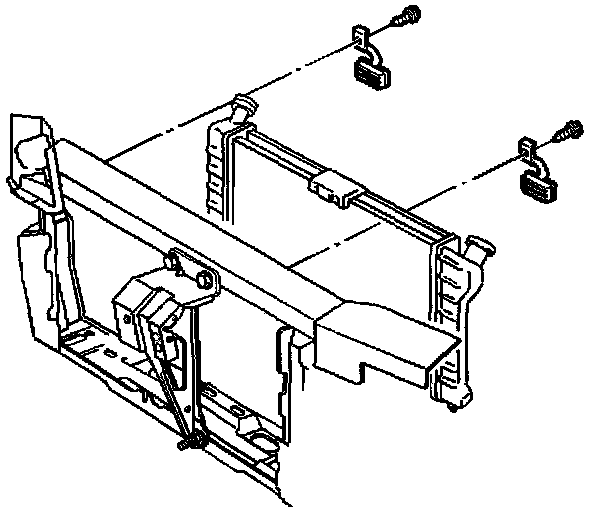
1. Remove air cleaner and duct assembly.
2. Drain the coolant.
3. Loosen the engine mount strut-to-engine mount strut bracket bolts.
4. Remove the engine mount strut bracket brace bolts from the upper radiator support and reposition the struts and brackets rearward.
5. Remove the cooling fans.
6. Remove the radiator upper hose from the radiator.
7. Remove the radiator lower hose from the radiator.
8. Remove the low coolant module.
9. Disconnect the transaxle oil cooler lines from the radiator.
10. Remove the radiator brackets and bolts.
11. Remove the radiator.
INSTALLATION PROCEDURE
1. Install the radiator.
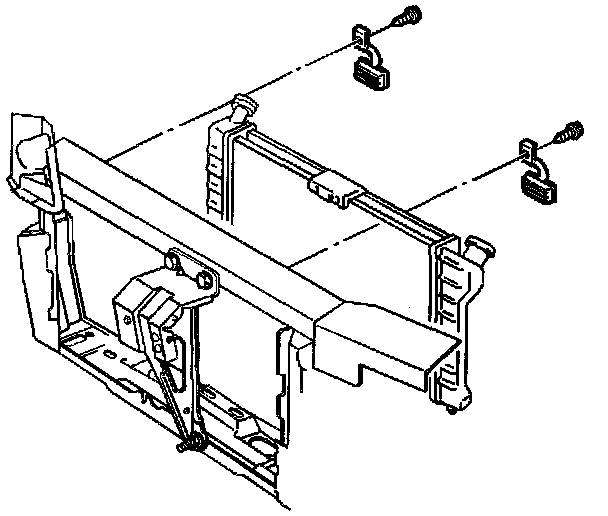
2. Install the radiator brackets and bolts.
Tighten the bolts to 24 Nm (18 ft. lbs.).
3. Connect the transaxle oil cooler lines to the radiator.
4. Install the low coolant module.
5. Install the radiator upper hose to the radiator.
6. Install the radiator lower hose to the radiator.
7. Install the cooling fans.
8. Reposition and install the engine mount strut bracket brace bolts to the upper radiator support.
9. Tighten the engine mount strut-to-engine mount strut bracket bolts.
NOTICE: When adding coolant, it is important that You use GM Goodwrench DEX-COOL or HAVOLINE DEX-COOL coolant. If Coolant other than DEX-COOL or HAVOLINE DEX-COOL is added to the system the engine coolant will require change sooner-at 50,000 km (30,000 mi) or 24 months.
10. Fill the cooling system.
11. Install the air cleaner and duct assembly.