Lower Control Arm
LOWER CONTROL ARMREMOVAL
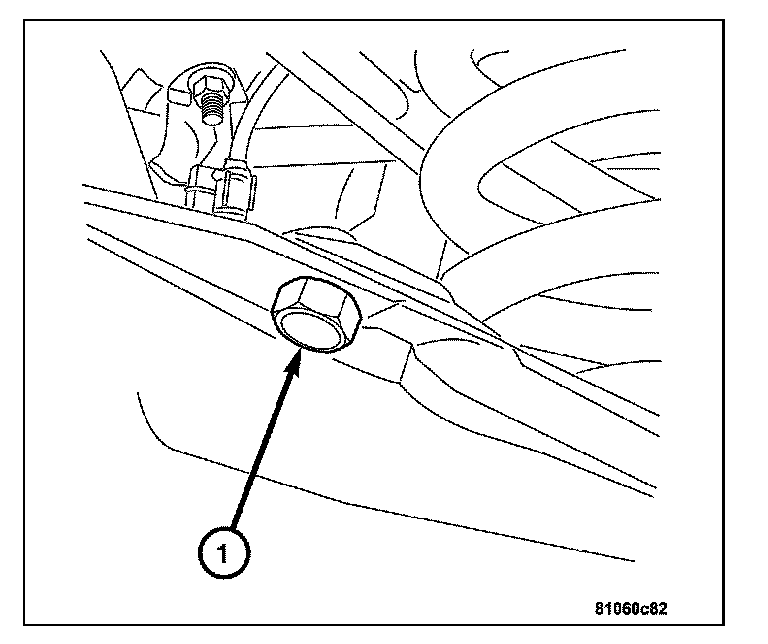
1. Raise and support the vehicle.
2. Remove the rear tire and wheel assembly.
3. Remove the rear lower control arm plastic shield by removing the bolts (1) attaching the cover to the lower control arm.
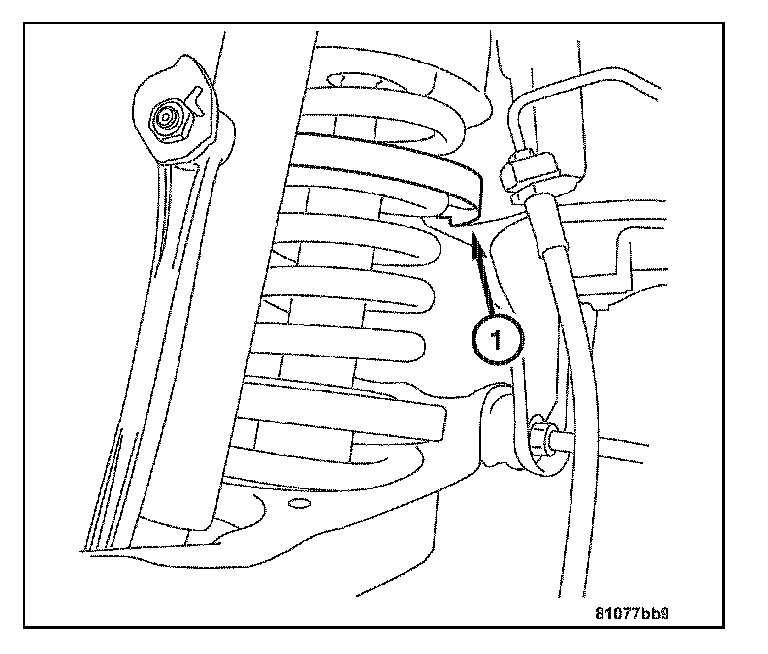
4. Remove the rear spring (1).
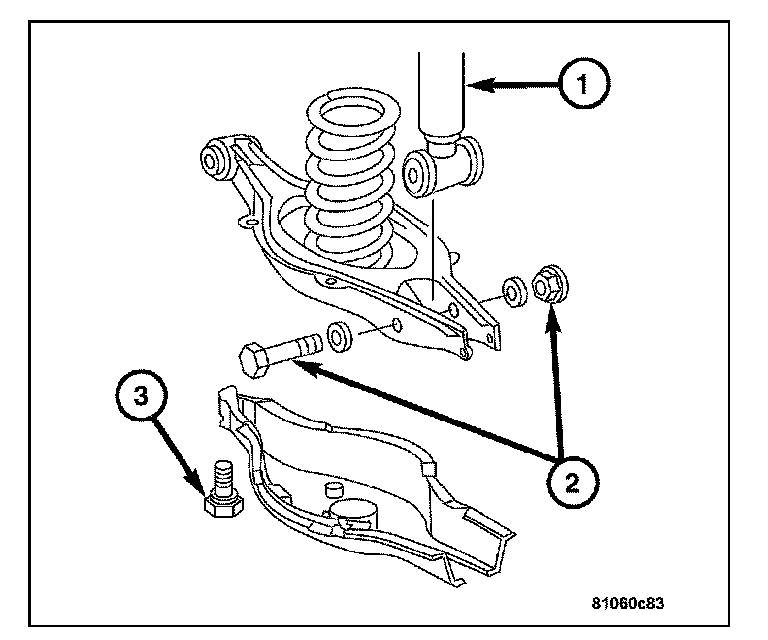
5. Remove the rear shock absorber (1).
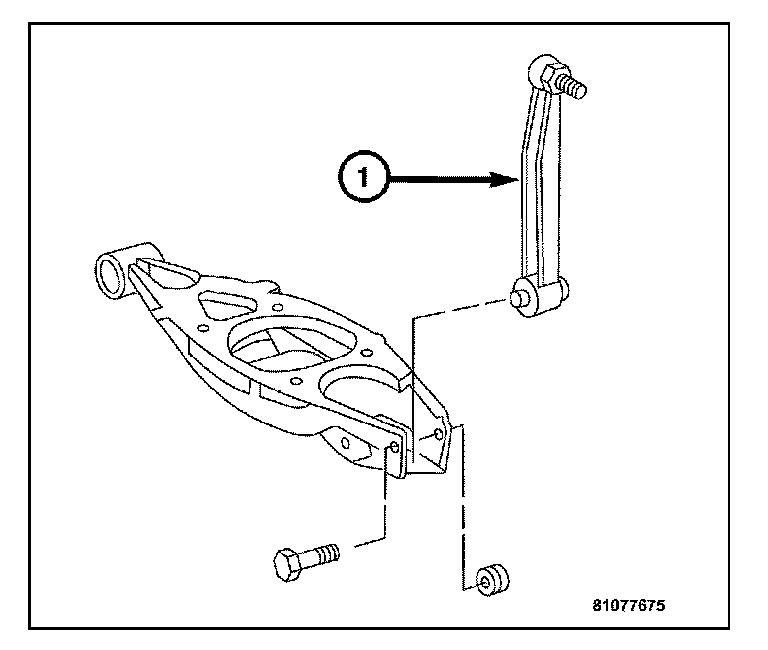
6. Remove the rear stabilizer bar link (1) from the rear lower control arm.
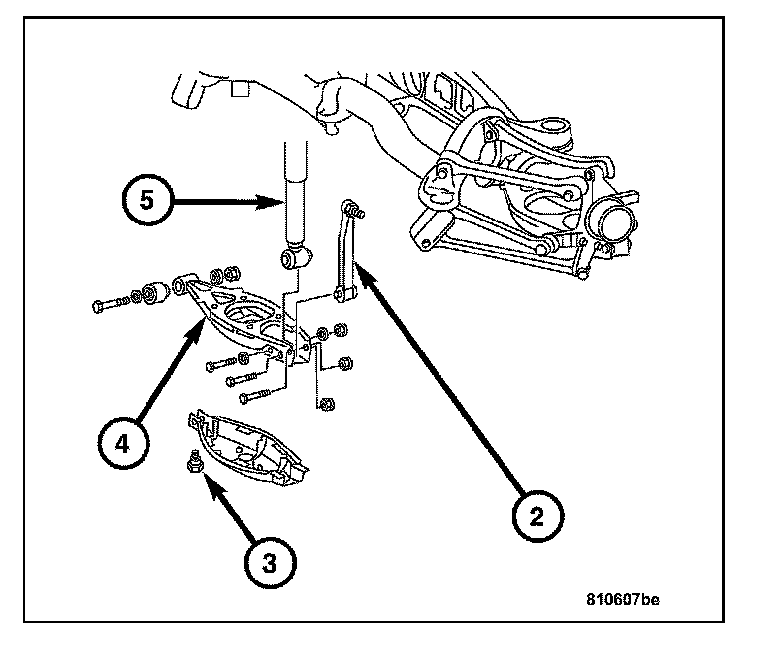
7. Remove the bolt attaching the rear lower control arm to the rear wheel carrier.
8. Remove the rear lower control arm (4) from the vehicle.
INSTALLATION
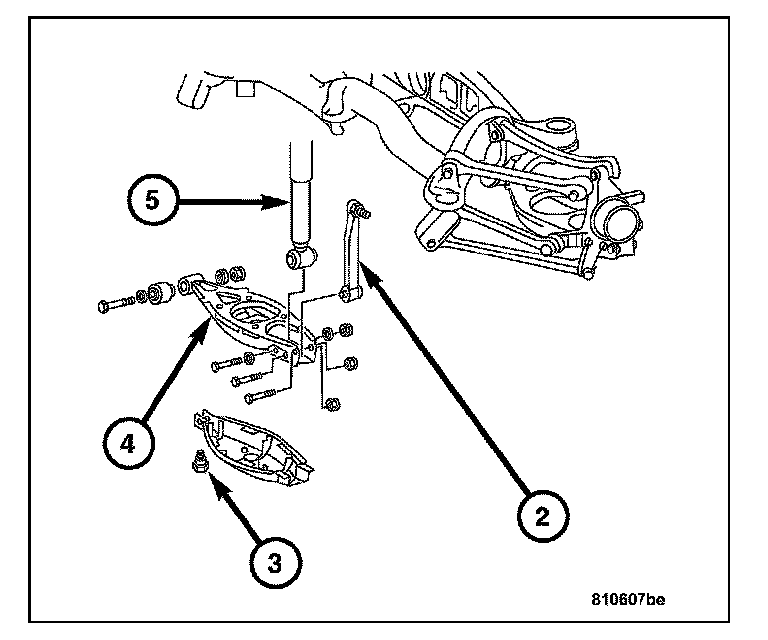
CAUTION: Vehicle must be at normal ride height before tightening components to specified torque.
1. Install the bolt attaching the rear lower control arm (4) to the rear wheel carrier. Tighten to 70 Nm (52 ft. lbs.)
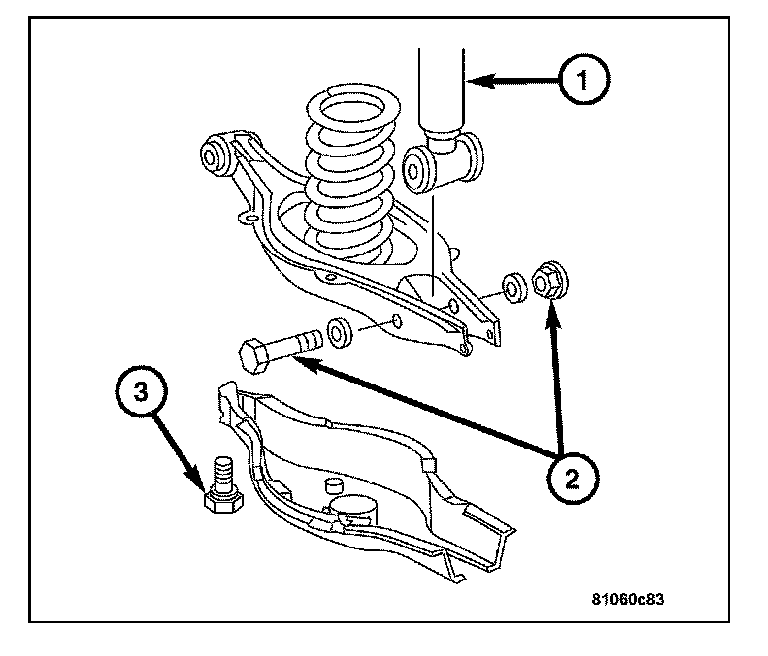
2. Install the rear shock absorber (1).
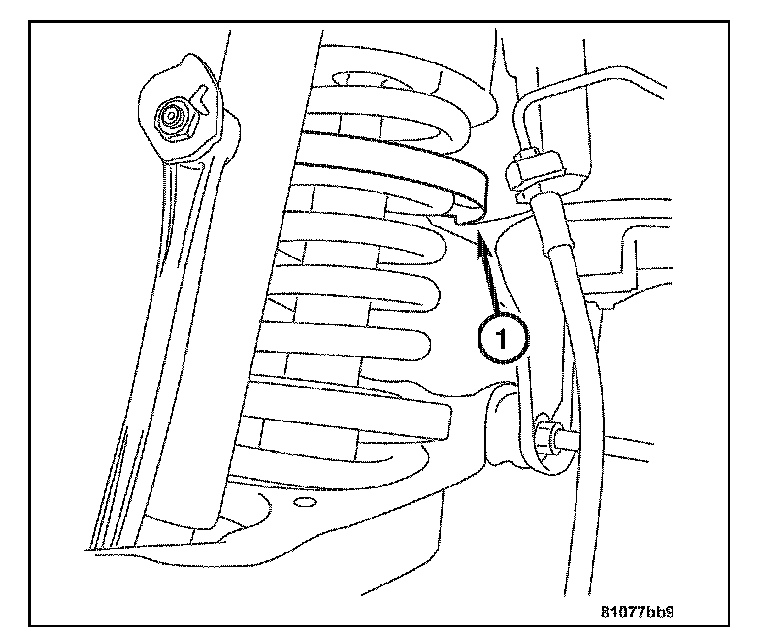
3. Install the rear spring (1).
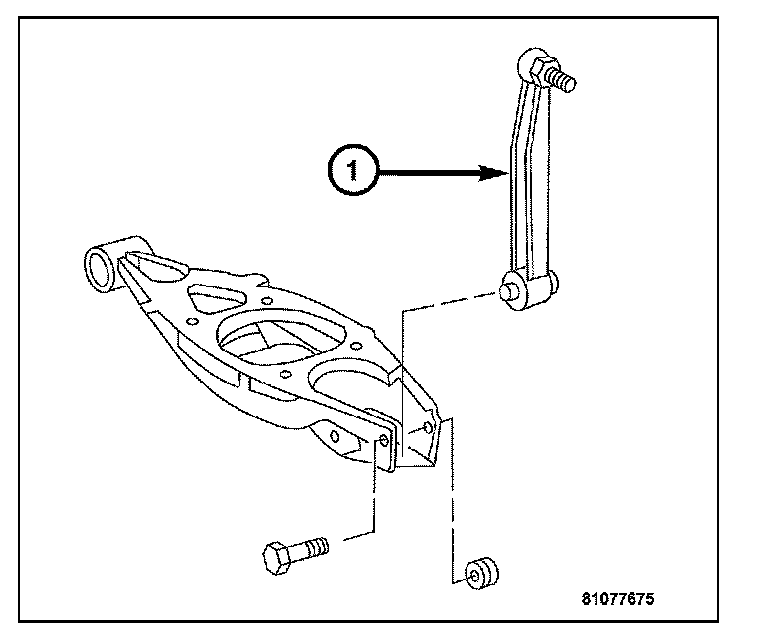
4. Install the rear lower control arm to the vehicle. Tighten to 70 Nm (52 ft. lbs.).
5. Install the rear stabilizer bar link (1) to the rear lower control arm. Tighten to 20 Nm (15 ft. lbs.).
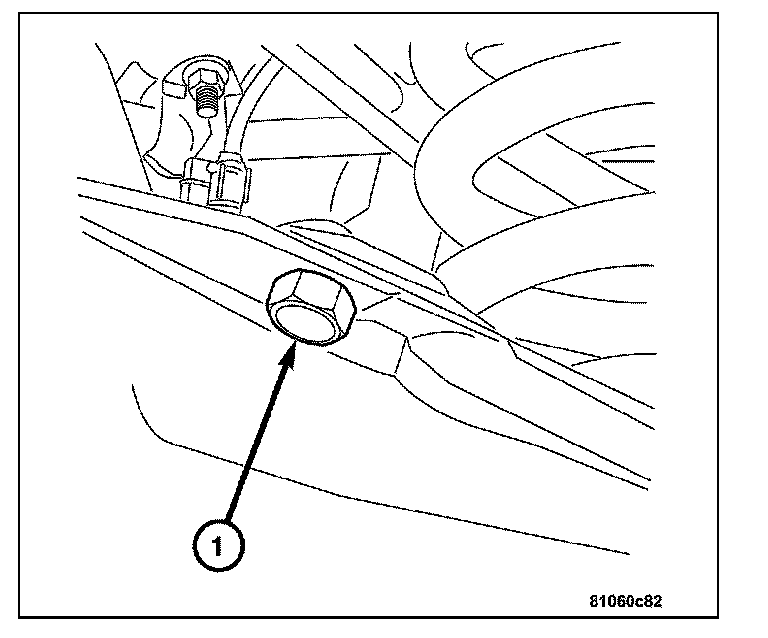
6. Install the rear lower control arm plastic shield bolt (1).
7. Install the wheel and tire assembly.
8. Check vehicle alignment.