Removal and Replacement
REMOVAL1. Raise the vehicle. For additional information, refer to Maintenance/Service and Repair.
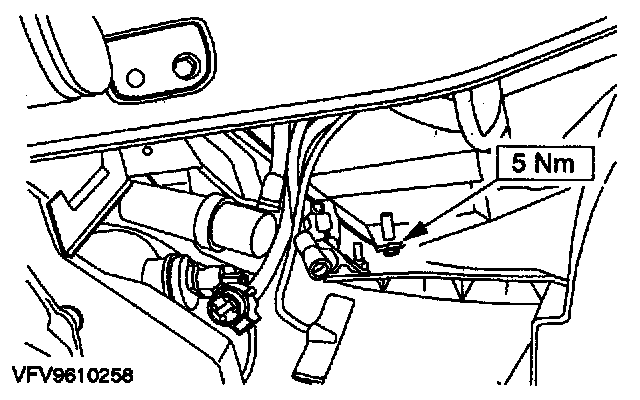
2. Remove the headlamp.
^ Remove the bolt.
3. Lower the vehicle.
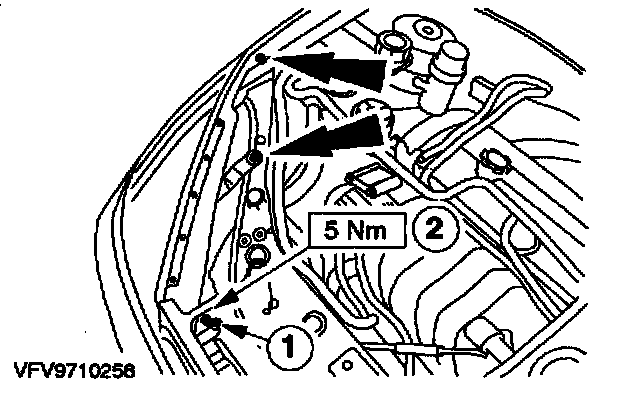
4. Remove the headlamp.
1. Remove the front grille.
^ Detach the connector.
2. Unscrew the bolts.
INSTALLATION
1. If the headlamp is defective, install a new one.
NOTE: Refer to General Procedures if there is a concern over the formation of condensation inside the plastic headlamp lens or if the plastic headlamp lens is split.
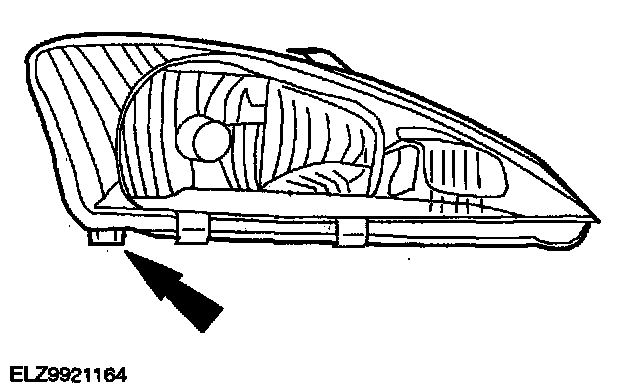
2. Cut off the guide pin flush and de-burr as necessary.
NOTE: Sometimes the guide pin on the plastic headlamp lens is still present on a new headlamp.
3. Remove the headlamp levelling motor from the faulty headlamp and install it on the new headlamp.
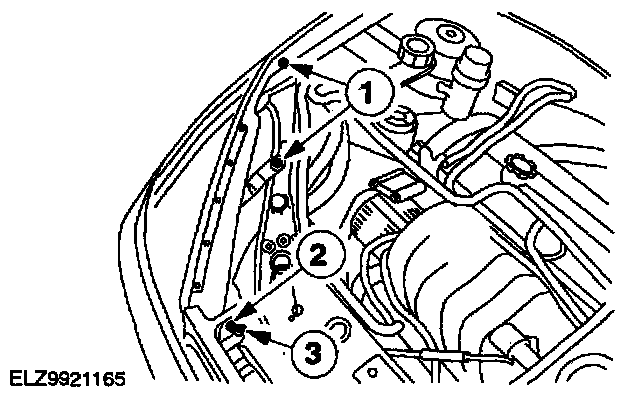
4. Put the headlamp in position and install it.
1. Screw in the screws.
NOTE: Sometimes there is no hole in the bracket of a new headlamp.
2. Do NOT tighten the screws any more.
^ Connect the plug.
3. Install the front grille.
CAUTION: Do NOT install the front screw on the headlamp.
NOTE:
^ Refer to General Procedures if there is a concern over the formation of condensation inside the plastic headlamp lens or if the plastic headlamp lens is split.
^ Fix the headlamp in place using the locating pin.
5. Refit the components in reverse order.
NOTE: Fix the headlamp in place using the locating pin.
6. Check the headlamp alignment.