Evaporative Emission Control Canister: Service and Repair
REMOVAL1. Disconnect the battery ground cable. For additional information, refer to Battery.
WARNING: THE EVAPORATIVE EMISSION SYSTEM CONTAINS FUEL VAPOR AND CONDENSED FUEL VAPOR. ALTHOUGH NOT IN LARGE QUANTITIES, IT STILL PRESENTS THE DANGER OF EXPLOSION OR FIRE. DISCONNECT THE BATTERY GROUND CABLE FROM THE BATTERY TO MINIMIZE THE POSSIBILITY OF AN ELECTRICAL SPARK OCCURRING, POSSIBLY CAUSING A FIRE OR EXPLOSION IF FUEL VAPOR OR LIQUID FUEL IS PRESENT IN THE AREA. FAILURE TO FOLLOW THESE INSTRUCTIONS MAY RESULT IN PERSONAL INJURY.
2. Raise and support the vehicle. For additional information, refer to Maintenance/Service and Repair.
3. Remove the left rear wheel. For additional information, refer to Wheels, Tires, and Alignment.
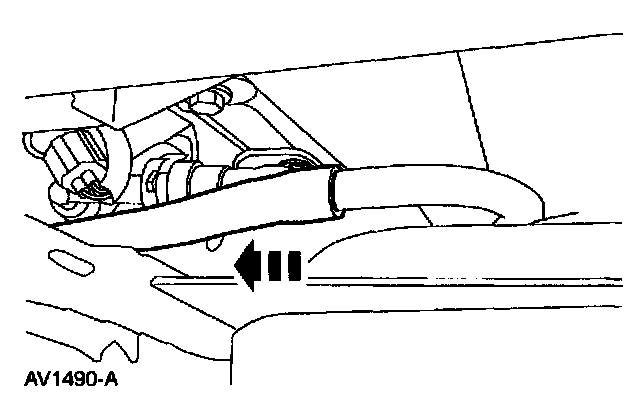
4. Disconnect the canister vent solenoid hose assembly.
WARNING: DO NOT SMOKE OR CARRY LIGHTED TOBACCO OR OPEN FLAME OF ANY TYPE WHEN WORKING ON OR AROUND ANY FUEL-RELATED COMPONENT. HIGHLY FLAMMABLE MIXTURES ARE ALWAYS PRESENT AND MAY BE IGNITED. FAILURE TO FOLLOW THESE INSTRUCTIONS MAY RESULT IN PERSONAL INJURY.
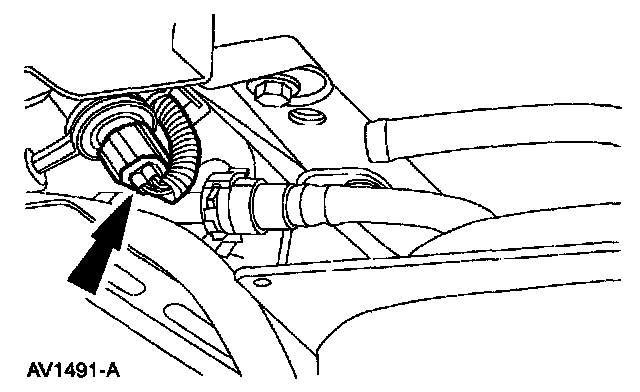
5. Disconnect the connector.
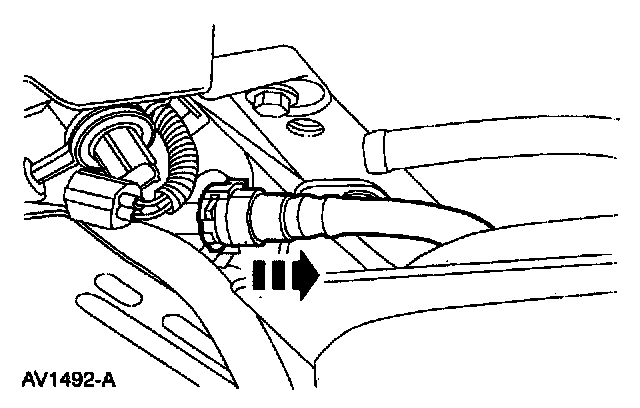
6. Disconnect the Evaporative emission (EVAP) canister purge outlet tube.
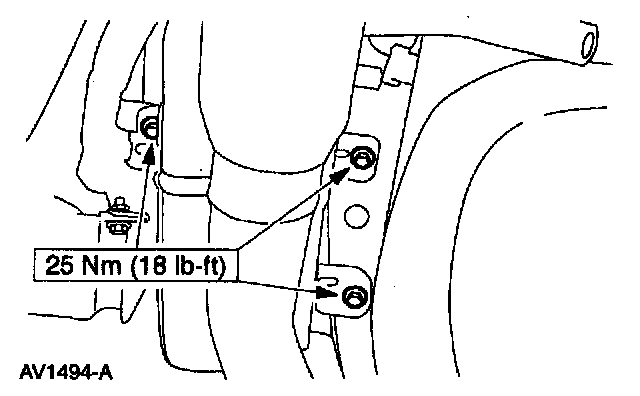
7. Remove the EVAP canister with bracket assembly from the vehicle.
^ Remove the bolts.
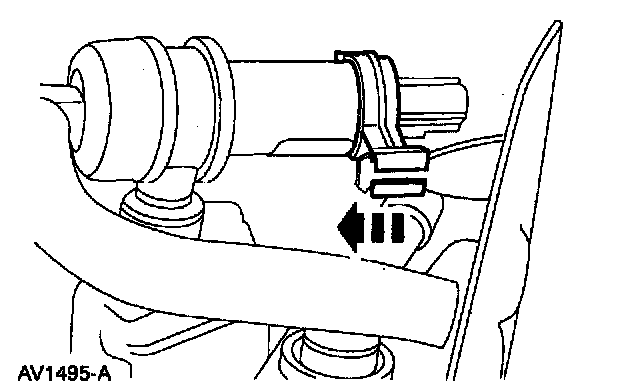
8. Disconnect the brace.
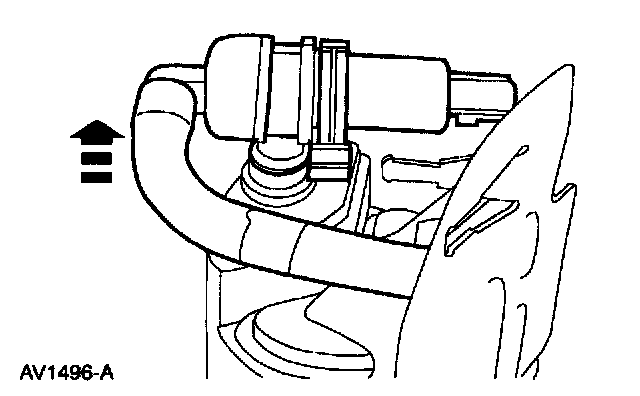
9. Remove the canister vent solenoid and canister vent solenoid hose assembly.
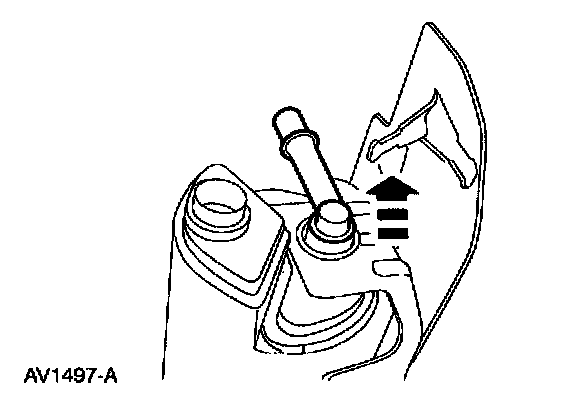
10. Remove the EVAP canister purge outlet tube elbow.
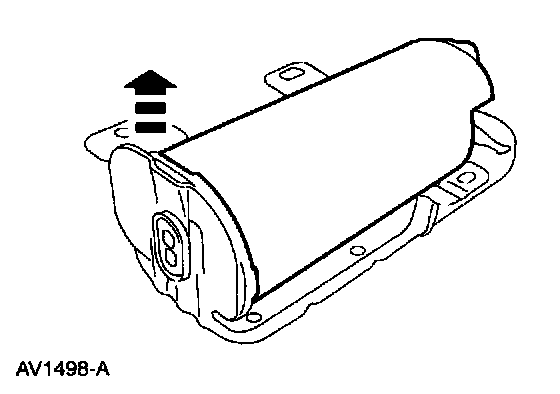
11. Remove the EVAP canister from the canister bracket.
INSTALLATION
1. To install, reverse the removal procedure.
^ Carry out a leak test. For additional information, refer to Evaporative Emission System Leak Test. Evaporative Emission System Leak Test
^ Carry out the evaporative emission repair verification drive cycle. For additional information, refer to Evaporative Emission Repair Verification Drive Cycle. Service and Repair