Dashboard Vent Removal/Installation
Dashboard Vent Removal/Installation
Driver's Outer Vent
NOTE: Take care not to scratch the dashboard or the related parts.
1. Remove the subdisplay visor Dashboard Subdisplay Visor Removal/Installation.
2. Remove the screws, then remove the driver's outer vent (A) from the subdisplay visor (B).
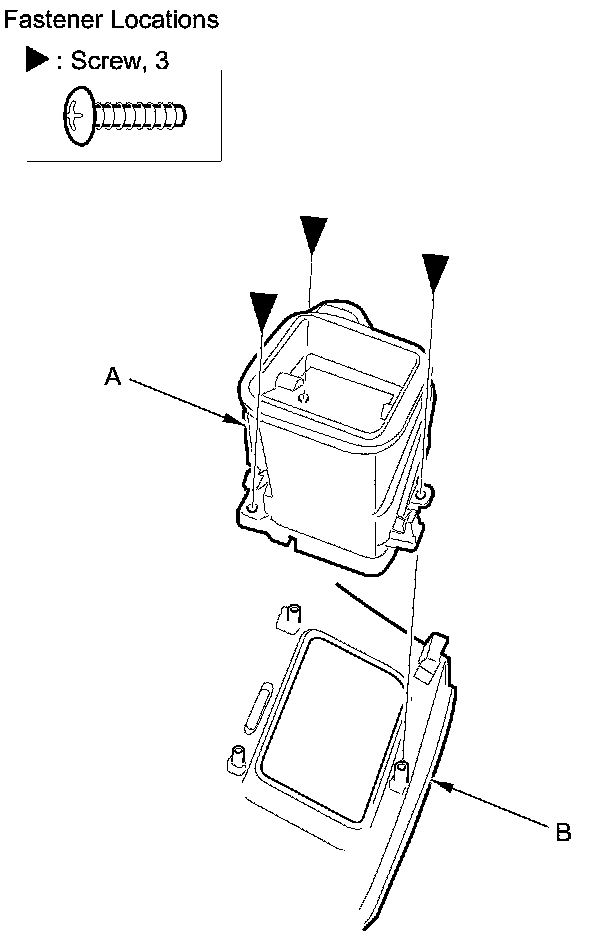
3. Install the outer vent in the reverse order of removal.
Driver's Center Vent
NOTE: Take care not to scratch the dashboard or the related parts.
1. Remove these items:
- Audio unit, without navigation:
- '06-08 models
- '09-11 models Audio Unit Removal/Installation
- Audio-navigation unit, with navigation:
- '06-08 models
- '09-11 models Audio-Navigation Unit Removal/Installation
2. Remove the screws, then remove the driver's center vent (A) from the center panel (B).
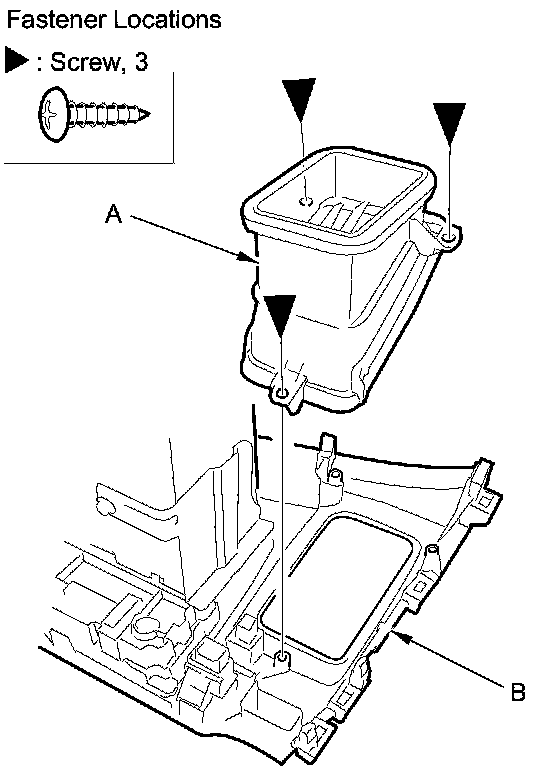
3. Install the center vent in the reverse order of removal.
Passenger's Vent
SRS components are located in this area. Review the SRS component locations Locations and the precautions and procedures Service and Repair before doing repairs or service.
NOTE:
- Put on gloves to protect your hands.
- Take care not to scratch the dashboard or the related parts.
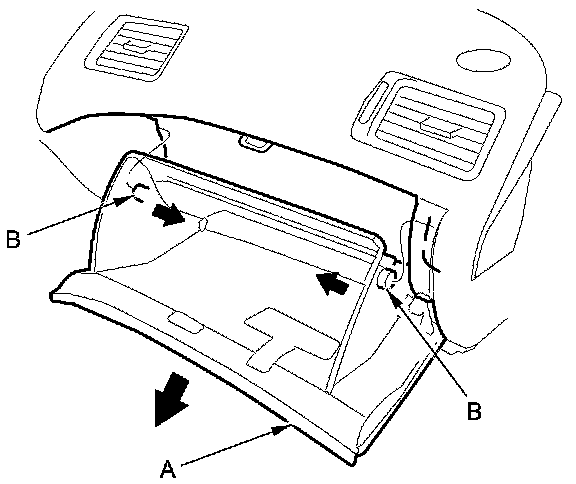
1. While holding the glove box (A), release the glove box stop (B) on each side of the glove box by pushing them in, then let the glove box hang down.
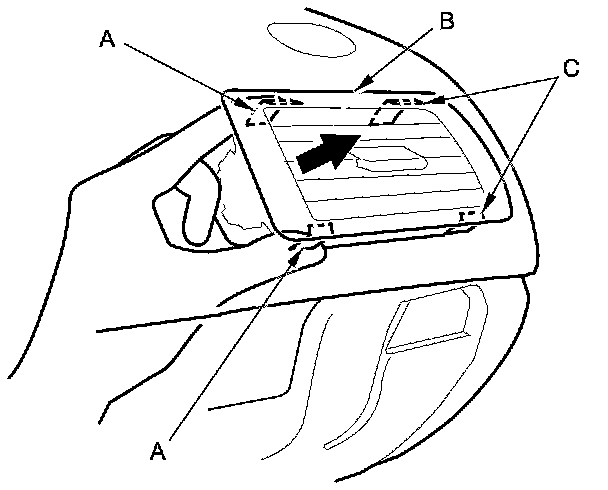
2. From inside the glove box opening, push on the side hooks (A) by hand to release them. Gently pull out the passenger's vent (B) to release the other hooks (C), then remove the vent.
Outer
Center
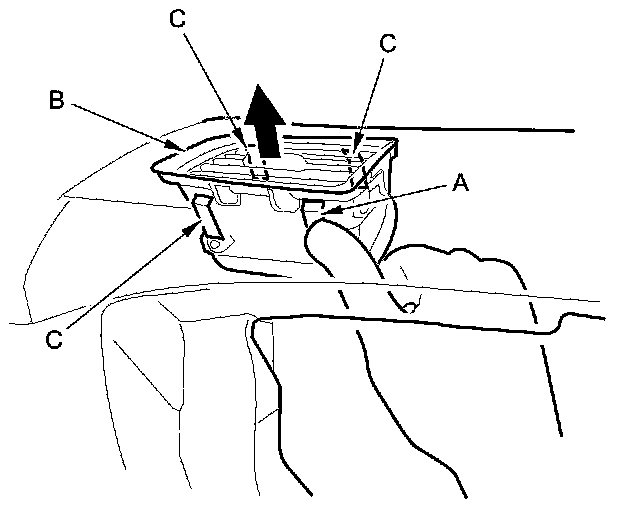
3. Install the passenger's vents in the reverse order of removal, and push the hooks into place securely.