Fuel Tank: Service and Repair
REMOVAL1. Remove the rear seat cushion.
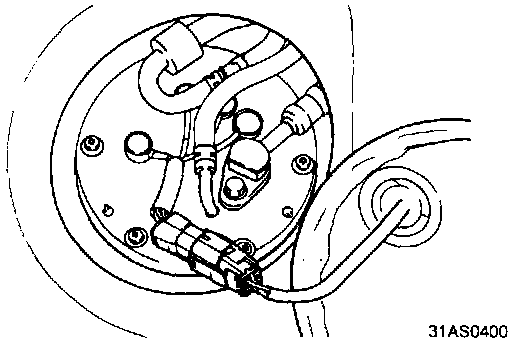
2. To reduce the internal pressure of the fuel lines and hoses first start the engine and then disconnect the electrical fuel pump connector.
NOTE: Be sure to reduce the fuel pressure before disconnecting the fuel main pipe and hose otherwise fuel will spill out.
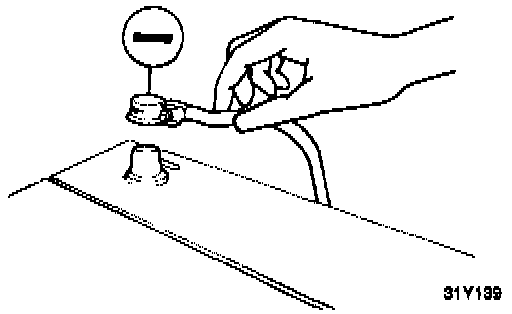
3. Disconnect the battery cable form the negative terminal of the battery.
4. Remove the high pressure hose and fuel return hose.
5. Lift up the vehicle.
6. Remove the drain plug and drain the fuel.
7. Detach the fuel filler hose and leveling hose.
8. Support the fuel tank with a jack.
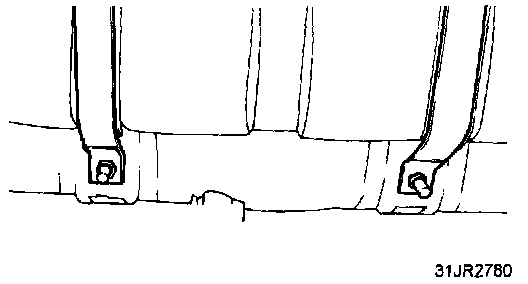
9. Remove the fuel tank bands.
10. Remove the fuel tank.
INSTALLATION
1. Confirm that the pad is fully bonded to the fuel tank, and install the fuel tank by tightening the self-locking nuts.
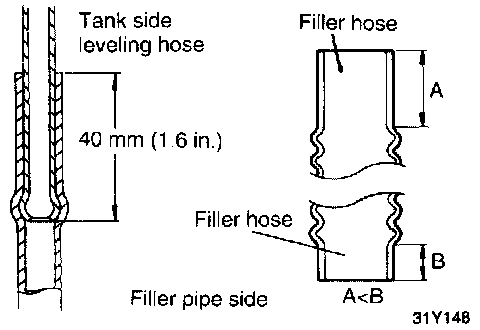
2. Connect the leveling hose to the tank and approximately 40 mm (1.6 in.) at the filler neck.
3. When connecting the filler hose, the end with the shorter straight pipe should be connected to the tank side.
4. Connect the vapor hose and return hose.
Vapor Hose Connection Specifications:
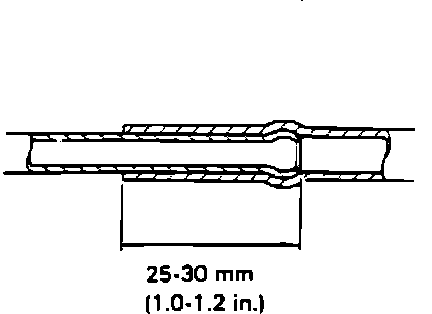
When attaching the fuel hose to the line, be sure that the hose is attached as shown in the illustration.
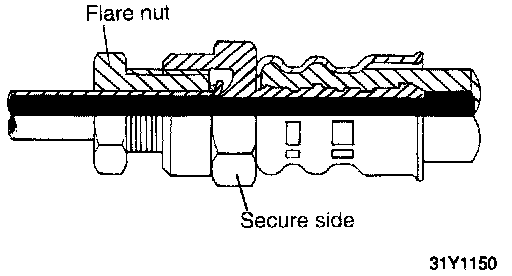
5. To connect the high pressure hose to the fuel pump, temporarily the flare nut by hand, and then tighten it to the specified torque. Be careful that the fuel hose does not twist.
High pressure hose flare nut torque: 30 - 40 Nm (322.1 - 29.5 lb ft)
CAUTION: When tightening the flare nut, be careful not to bend or twist the line to prevent damage to the fuel pump connection.
6. Connect the electrical fuel pump connector.
7. Tighten the drain plug to the specified torque.
Drain plug torque: 15 - 25 Nm (11 - 18 lb ft)