Seals and Gaskets: Service and Repair
Drive Pinion Seal
Special Service Tools
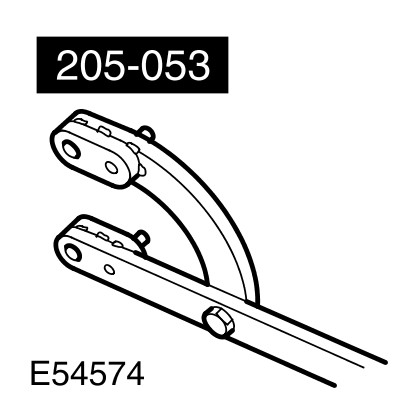
Flange holding tool
205-053
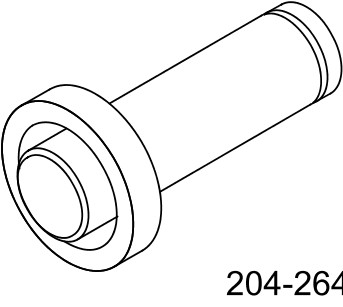
Pinion seal installer
204-264
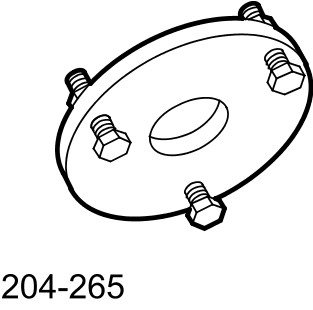
Flange remover/replacer
204265
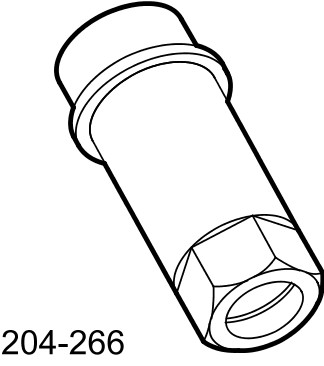
Flange remover/replacer boss
204-266
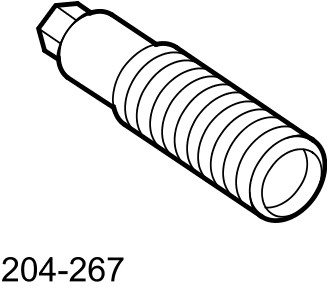
Flange remover/replacer shaft centre
204-267
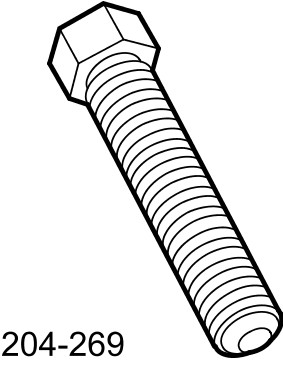
Flange remover/replacer forcing screw
204-269
Removal
1
WARNING: Do not work on or under a vehicle supported only by a jack. Always support the vehicle on safety stands.
Raise and support the vehicle.
2 Remove the driveshaft. For additional information, refer to Driveshaft Removal and Replacement
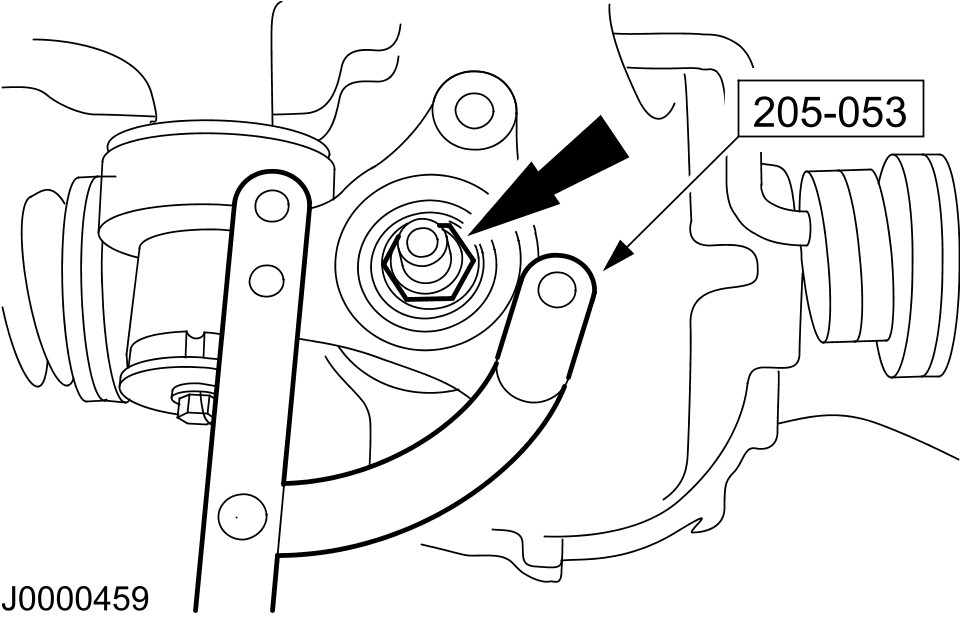
3
CAUTION: The following step must be carried out to make sure the correct drive pinion flange retaining nut torque is achieved.
CAUTION: Only use a paint mark to match mark the drive pinion flange, loosen the nut 180 degrees then tighten back to mark and note the torque value.
Remove the drive pinion flange retaining nut.
- Mark the drive pinion flange to nut relationship.
- Loosen the nut 180 degrees, then tighten back to the mark and note the torque value.
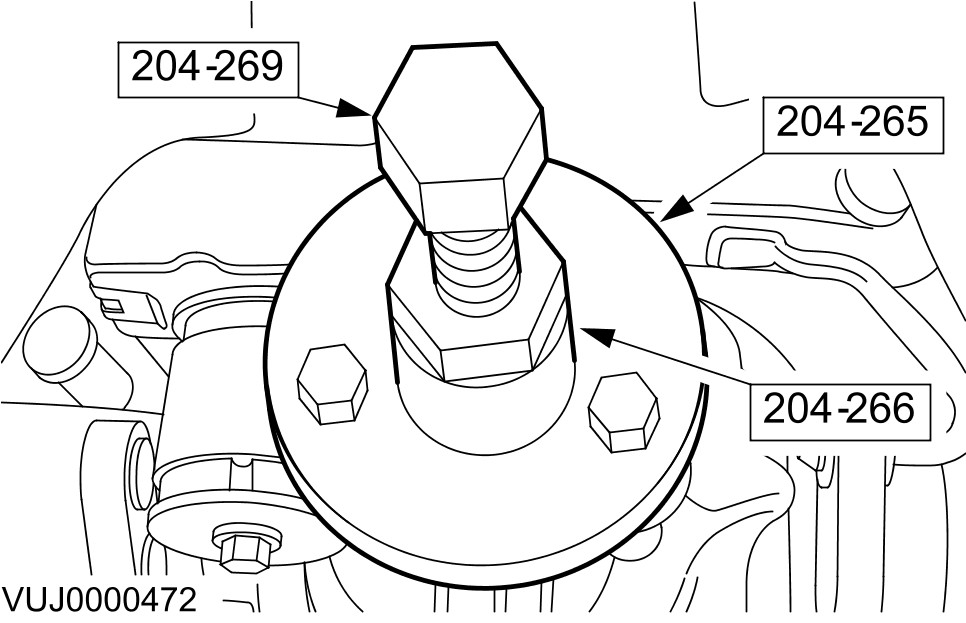
4 Using the special tool, remove the drive pinion flange.
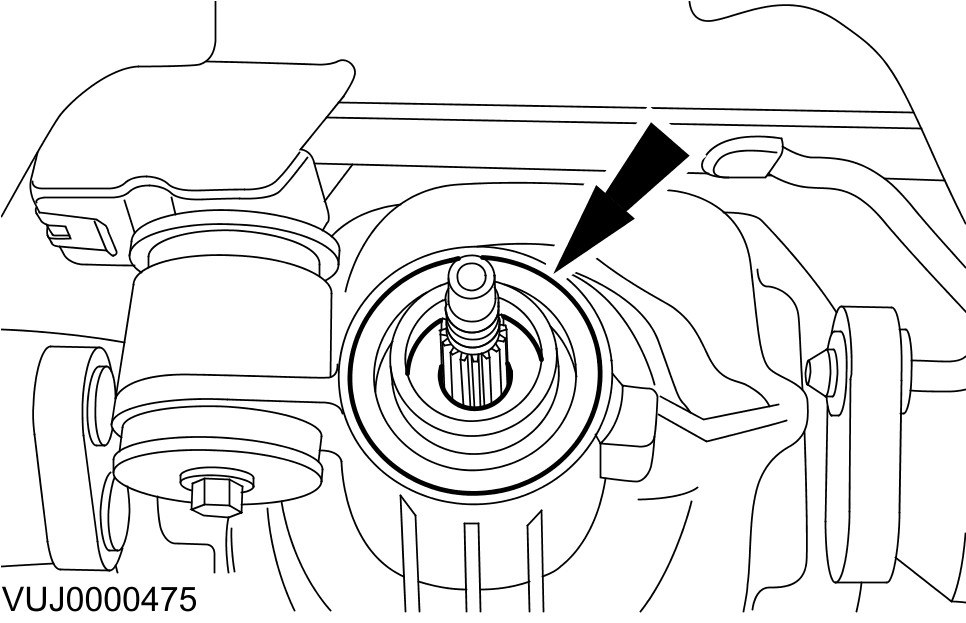
5 Carefully remove and discard the oil seal.
Installation
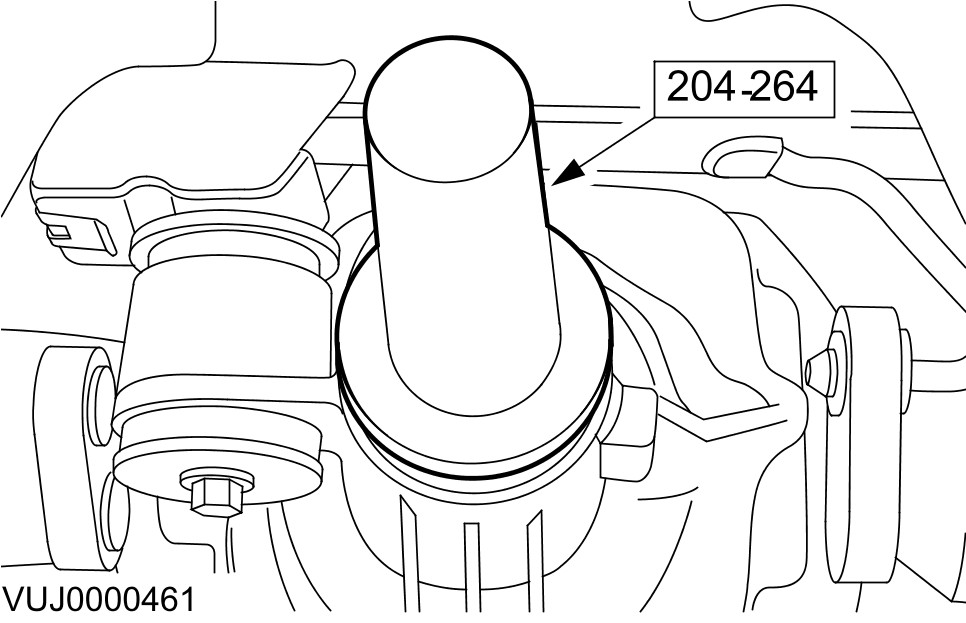
1 Using the special tool, install a new oil seal.
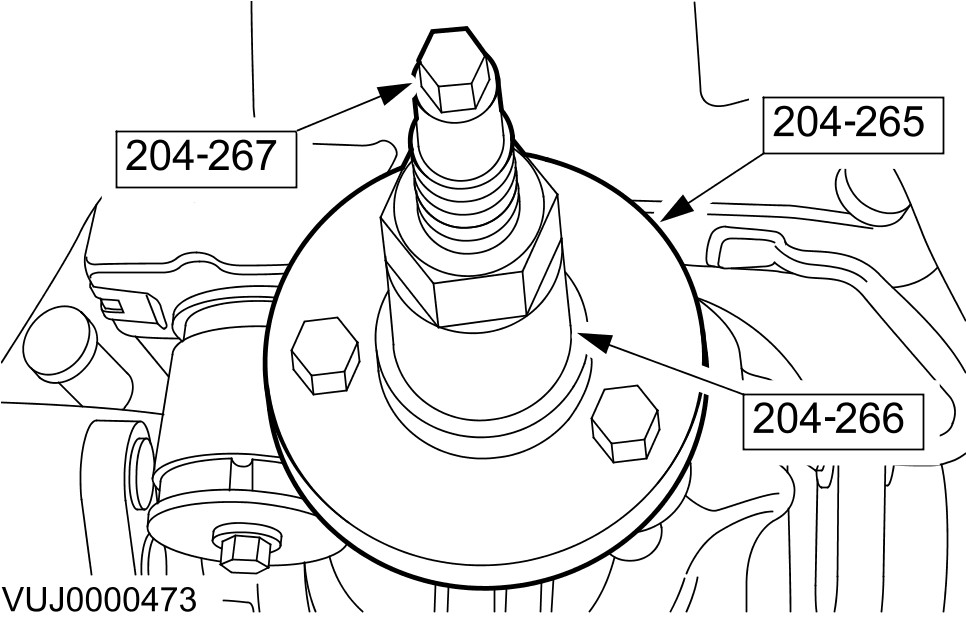
2 Using the special tools, install the drive flange.
3
CAUTION: Tighten the drive pinion flange nut to the force noted on removal.
CAUTION: Tighten the drive pinion flange nut to a further 10%.
Install the drive pinion flange retaining nut, and tighten to the torque noted on removal, then a further 10%.
4 Check and top-up the differential case.
- Tighten the filler plug to 34 Nm (25 lb.ft).
5 Install the driveshaft. For additional information, refer to Driveshaft Removal and Replacement