Accumulator HVAC: Service and Repair
REMOVALNOTE: Replacement of the suction accumulator is not required when repairing the air conditioning system except when there is physical evidence of system contamination from a failed A/C compressor or damage to the suction accumulator.
1. Recover the refrigerant.
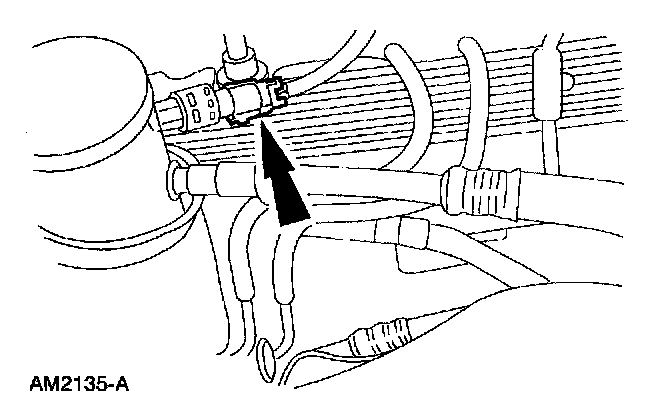
2. Disconnect the A/C cycling switch electrical connector.
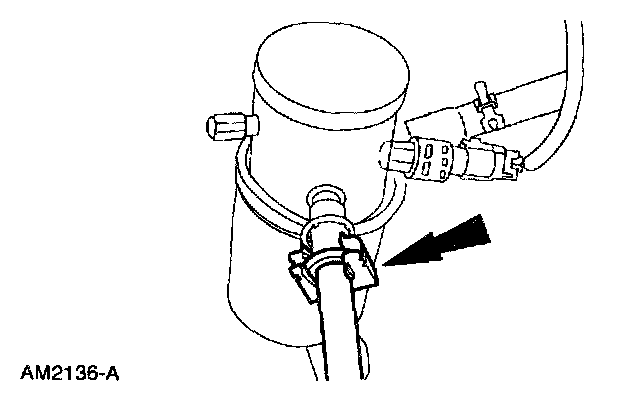
3. Disconnect the evaporator to compressor suction line spring lock coupling from the suction accumulator.
- Discard the O-ring seals.
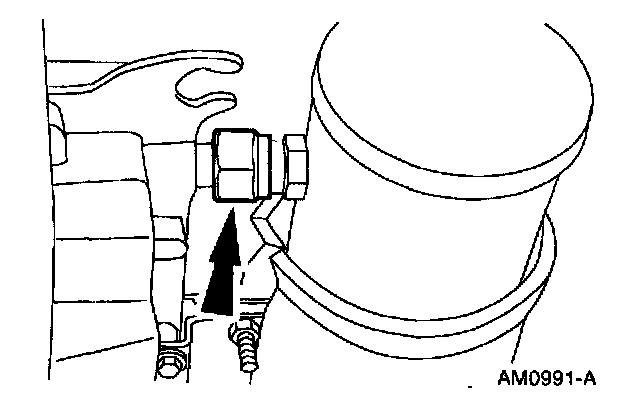
4. Disconnect the suction accumulator from the evaporator core.
- Discard the O-ring seal.
CAUTION: To prevent damage to the fitting and the tube, use a backup wrench when removing the suction accumulator/drier.
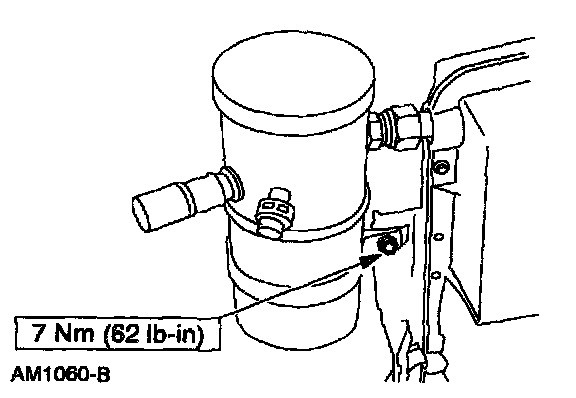
5. Remove the screw and the suction accumulator.
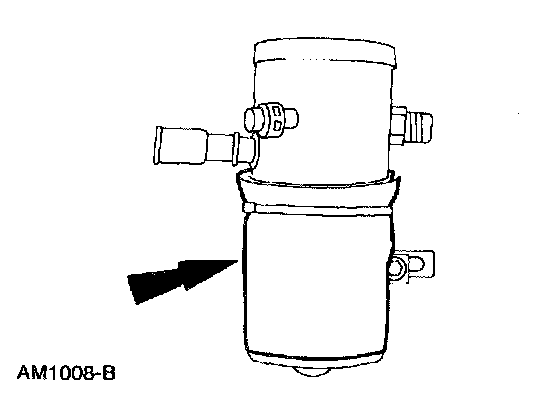
6. Remove the insulation cover from the suction accumulator.
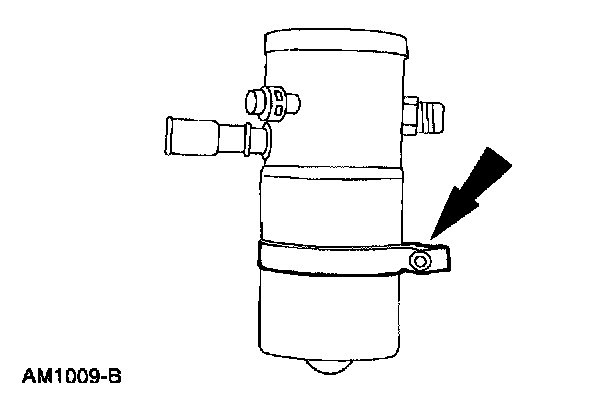
7. Remove the mounting bracket from the suction accumulator.
INSTALLATION
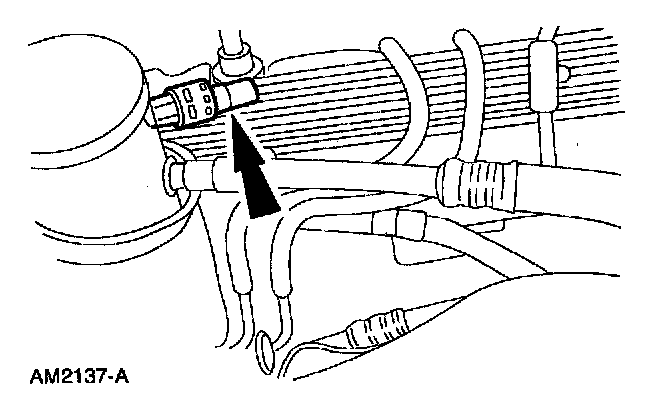
1. To install, reverse the removal procedure.
- If a new suction accumulator is to be installed, transfer the A/C cycling switch to the new suction accumulator.
- Lubricate the refrigerant system with the correct amount of clean PAG Refrigerant Compressor Oil (R-134a Systems) F7AZ-19589-DA (Motorcraft YN-12-C) or equivalent meeting Ford specification WSH-M1C231-B.
- Install new O-ring seals lubricated in clean PAG Refrigerant Compressor Oil (R-134a Systems) F7AZ-19589-DA (Motorcraft YN-12-C) or equivalent meeting Ford specification WSH-M1C231-B.
2. Evacuate, leak test, and charge the refrigerant system.