Pinion Flange: Service and Repair
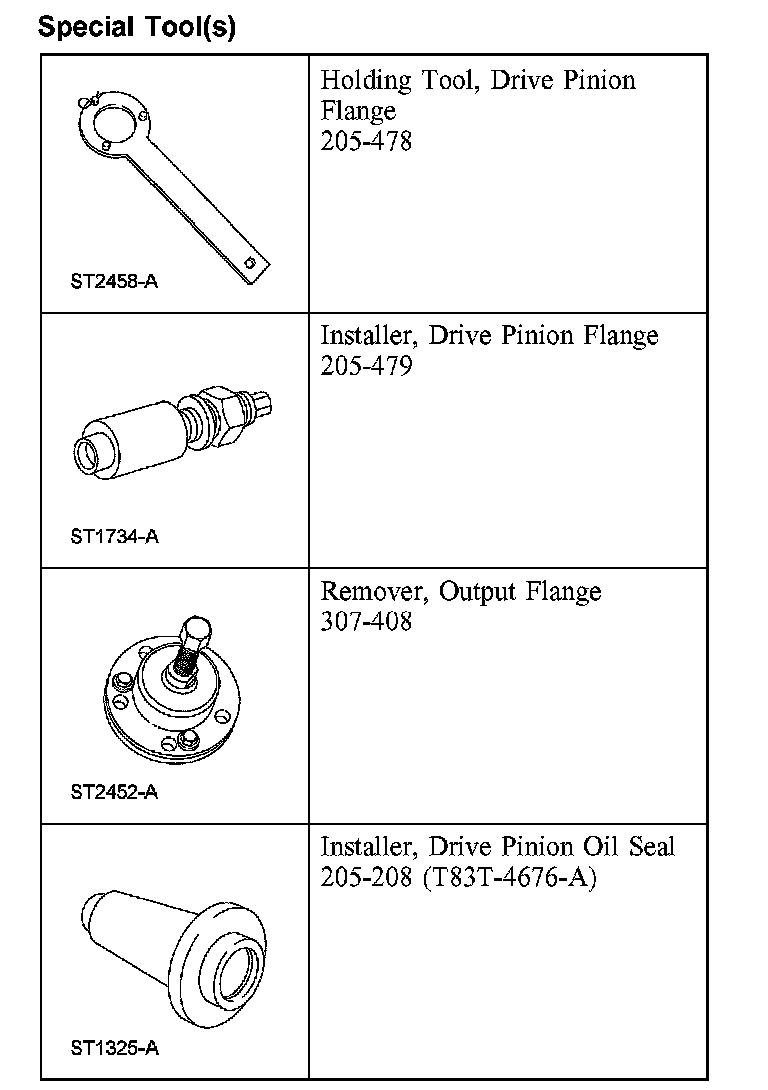
Drive Pinion Flange and Drive Pinion SealSpecial Tool(s):
Material:
Removal
1. With the vehicle in NEUTRAL, position it on a hoist.
2. Remove the rear wheel and tire assemblies.
3. CAUTION: Remove the rear brake calipers to prevent drag during the drive pinion bearing preload adjustment.
CAUTION: Do not allow the calipers to hang from the brake hoses.
Remove the rear brake caliper and support bracket as an assembly. Wire the caliper and support bracket out of the way.
4. Remove the driveshaft assembly.
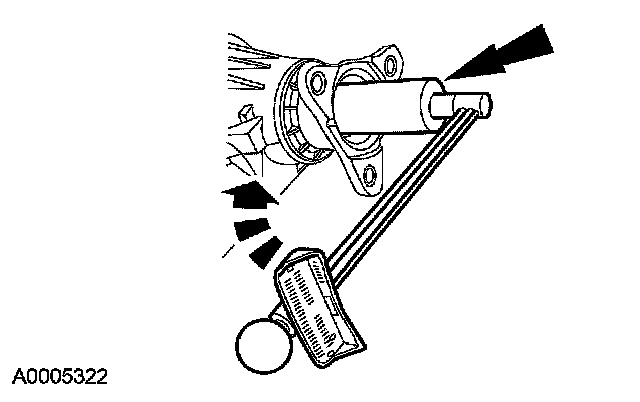
5. Using a Nm (inch lbs.) torque wrench on the pinion nut, record the torque necessary to maintain rotation of the drive pinion gear through several revolutions.
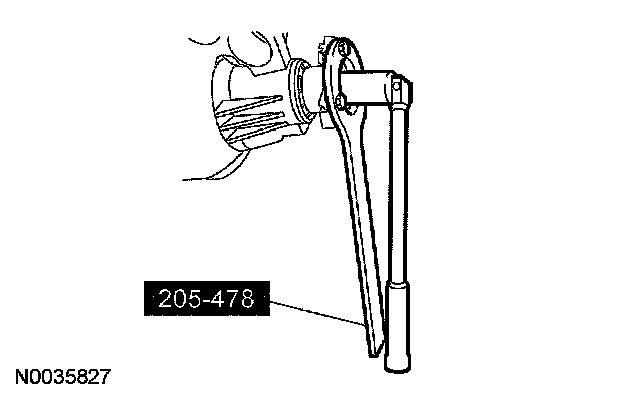
6. CAUTION: After removing the differential drive pinion nut, discard it. Always use a new differential drive pinion nut for installation.
Use the special tool to hold the rear axle pinion flange while removing the differential drive pinion nut.
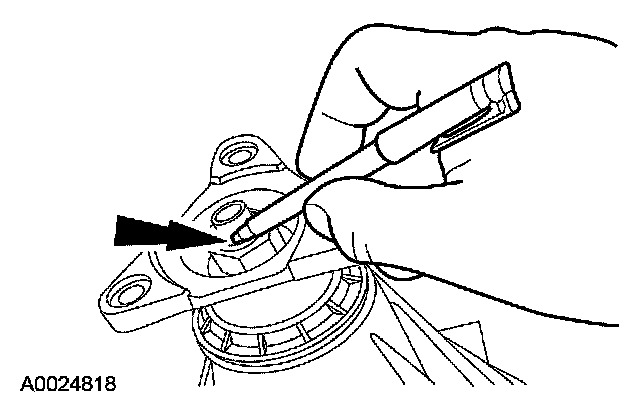
7. Index-mark the rear axle pinion flange and drive pinion gear to maintain initial balance during installation.
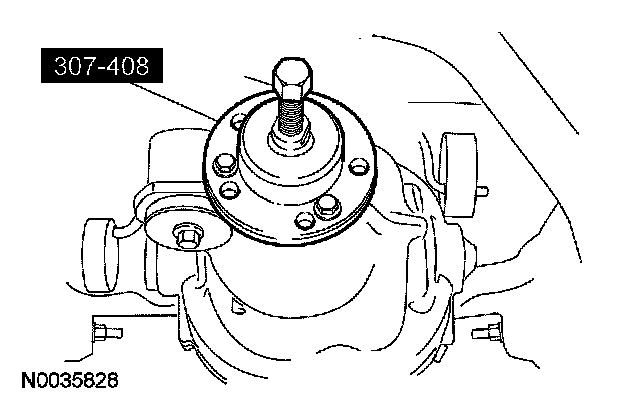
8. Using the special tool, remove the rear axle pinion flange.
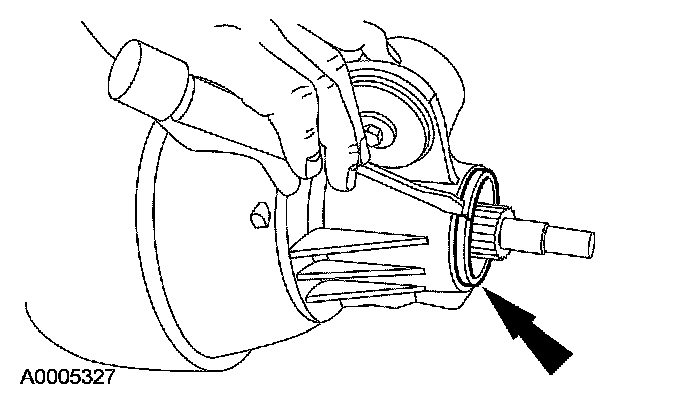
9. Use a screwdriver to force up the metal flange of the rear axle drive pinion seal. Install gripping pliers and strike with a hammer to remove the rear axle drive pinion seal.
Installation
1. Lubricate the lips of the new rear axle drive pinion seal.
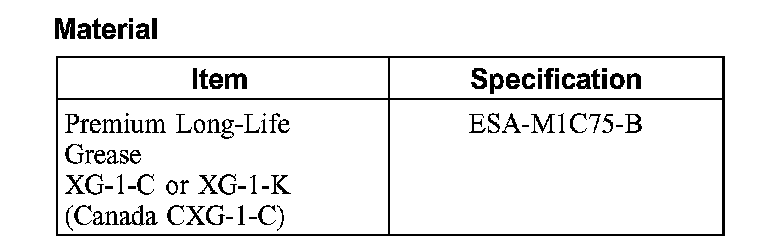
^ Use Premium Long-Life Grease XG-1-C or XG-1-K (Canada CXG-1-C) meeting Ford specification ESA-M1C75-B.
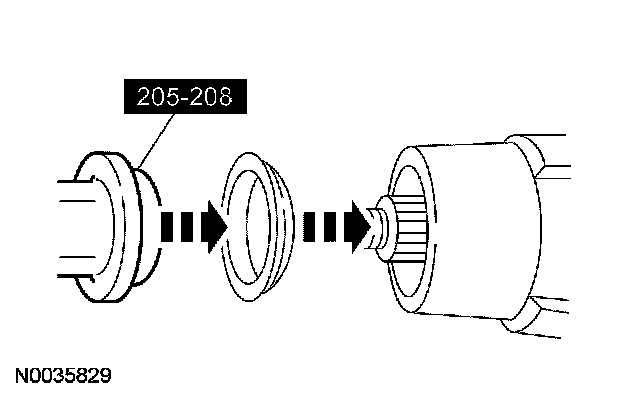
2. CAUTION: If the rear axle drive pinion seal becomes misaligned during installation, remove the rear axle drive pinion seal and install a new one.
Using the special tool, install the new rear axle drive pinion seal.
3. Inspect the rear axle pinion flange seal journal for rust, nicks and scratches prior to installing the flange. Polish the rear axle pinion flange seal journal with fine crocus cloth, if necessary.
4. Lubricate the rear axle pinion flange splines.
^ Use Premium Long-Life Grease XG-1-C or XG-1-K (Canada CXG-1-C) meeting Ford specification ESA-M1C75-B.
5. NOTE: Disregard the index marks if installing a new rear axle pinion flange.
Align the index marks on the rear axle pinion flange and drive pinion gear.
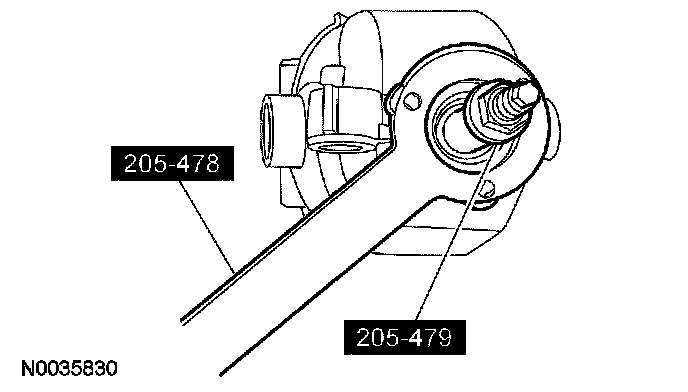
6. Using the special tools, install the rear axle pinion flange.
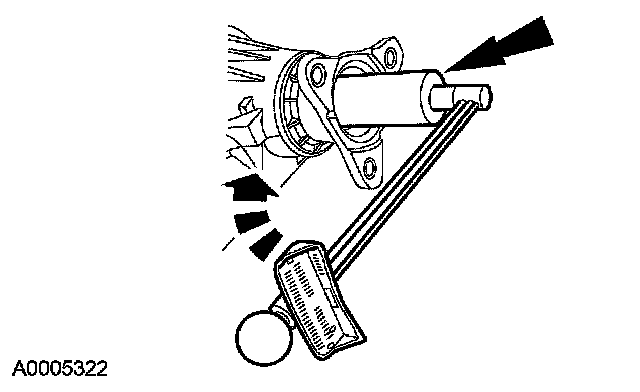
7. CAUTION: Do not, under any circumstance, loosen the differential drive pinion nut to reduce preload. If it is necessary to reduce preload, install a new differential drive pinion collapsible spacer and differential drive pinion nut.
Tighten the differential drive pinion nut to set the preload.
^ Rotate the pinion occasionally to make sure the pinion bearings seat correctly. Take frequent pinion bearing torque preload readings by rotating the drive pinion gear with a Nm (inch lbs.) torque wrench.
^ If the preload recorded prior to disassembly is lower than the specification for used bearings, tighten the differential drive pinion on. If the preload recorded nut to specification prior to disassembly is higher than the specification for used bearings, tighten the differential drive pinion nut to the original reading as recorded.
8. Install the rear brake caliper and support bracket.
^ Tighten to 103 Nm (76 ft. lbs.).
9. Install the driveshaft assembly.
10. Install the rear wheel and tire assemblies.