On-Vehicle Replacement
REMOVAL1. Disconnect the negative battery cable.
2. Clean the transaxle exterior thoroughly with a steam cleaner or cleaning solvents.
3. Drain the ATF and engine coolant into separate suitable containers.
4. Remove the splash shield.
5. Remove the oil cooler hose and radiator hose.
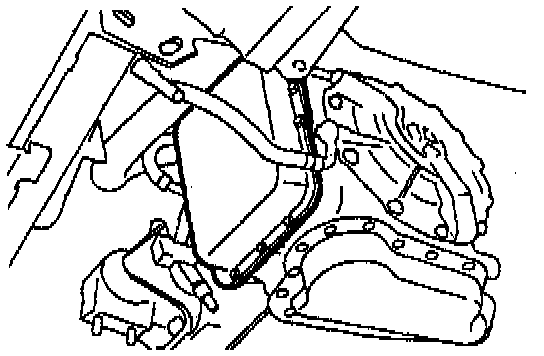
6. Remove the control valve body cover and gasket.
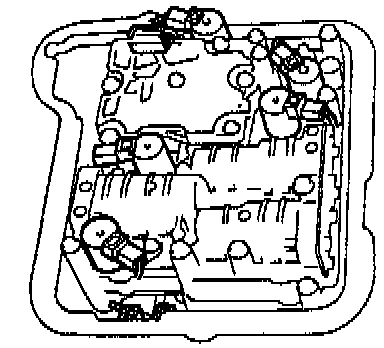
7. Disconnect the solenoid connectors and transaxle fluid temperature sensor.
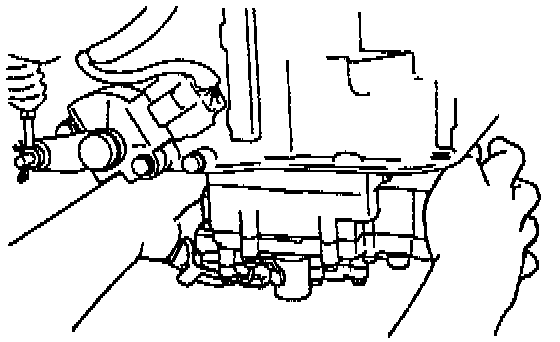
8. Remove the control valve body assembly.
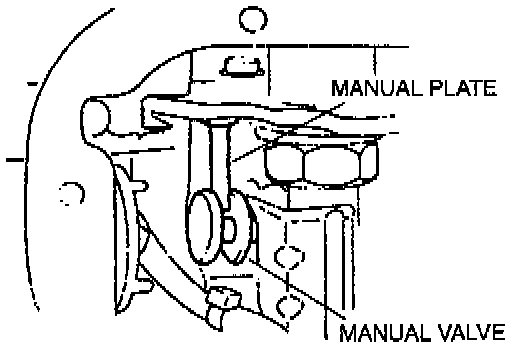
INSTALLATION
1. Align the manual plate and the manual valve.
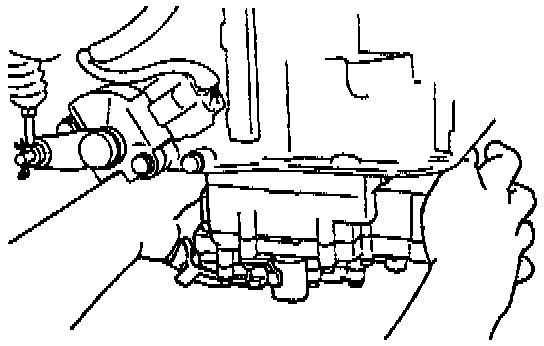
2. Install the control valve body assembly and tighten bolts to 10.8 - 14.7 Nm (96 - 130 inch lbs.).
3. Match the harness colors, and connect the solenoid connectors and transmission fluid temperature sensor connector.
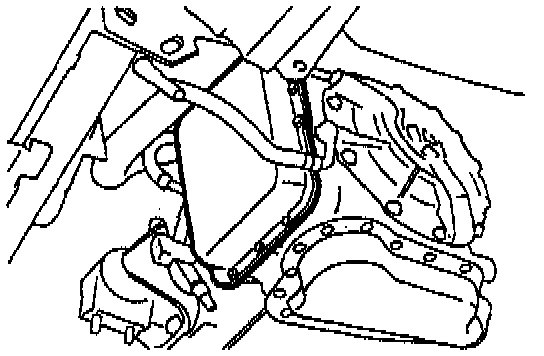
4. Install a new gasket and the control valve body cover and tighten bolts to 8.4 - 10.7 Nm (74 - 95 inch lbs.).
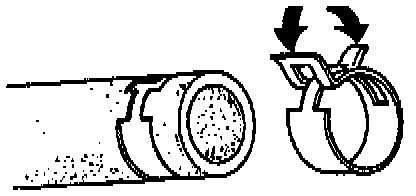
5. Align the marks, and slide the oil cooler hose onto the oil cooler pipe unit it is fully seated as shown.
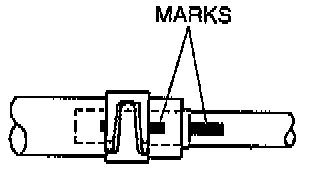
6. Install the hose clamp onto the hose. If reusing the hose, install the new hose clamp exactly into the mark left by the previous hose clamp.
7. Verify that the hose clamp does not interfere with any other parts.
8. Slide the radiator hose onto the radiator pipe until it is fully seated.
9. Install the hose clamp on the hose.
10. Squeeze it lightly with large pliers to ensure a good fit.
11. Install the splash shield.
12. Fill the radiator and reservoir with the specified amount and type of engine coolant.
13. Connect the negative battery cable.
14. Pour in ATF and with the engine idling, check the ATF level and check for ATF and engine coolant leakage.
15. Drive the vehicle and check the shift points, shift schedule, and shift shock.