Valve Body: Service and Repair
CONTROL VALVE BODY REMOVAL/INSTALLATION [LJ4A-EL]On-Vehicle Removal
1. Disconnect the negative battery cable.
2. Clean the transaxle exterior thoroughly using a steam cleaner or cleaning solvents.
3. Drain the ATF and engine coolant into separate containers.
4. Remove the splash shield.
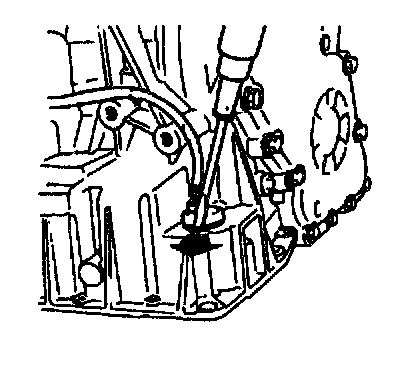
5. Remove the clip as shown.
6. Remove the oil pan.
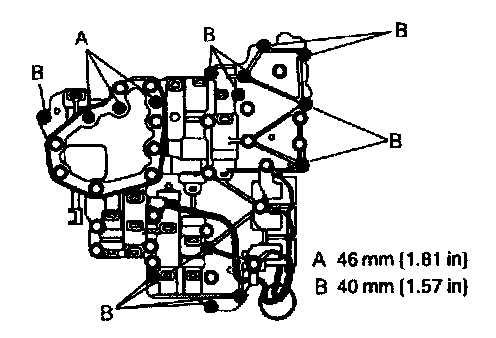
7. Remove the belt as shown.
8. Remove the control valve body component.
On-Vehicle Installation
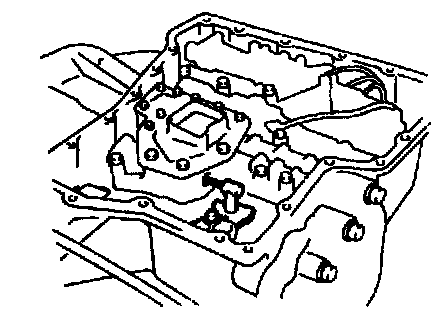
1. Align the manual plate and the manual valve.
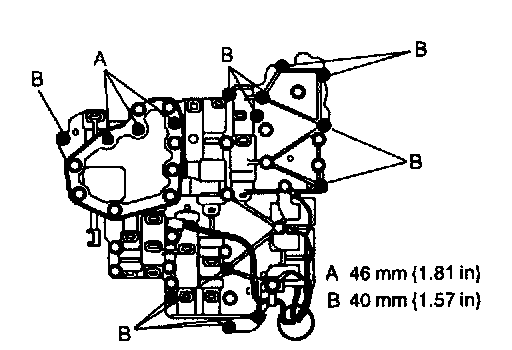
2. Install the control valve body component.
Tightening torque
6.9 - 8.8 Nm (70 - 90 kgf.cm, 61 - 78 inch lbs.)
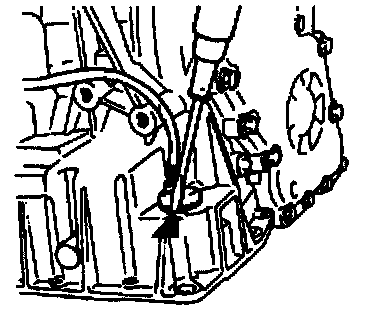
3. Install the clip as shown.
4. Clean the oil pan, bolt holes, and magnet.
5. Set the magnet into the oil pan.
6. Remove the any oil locking compound from the bolt holes.
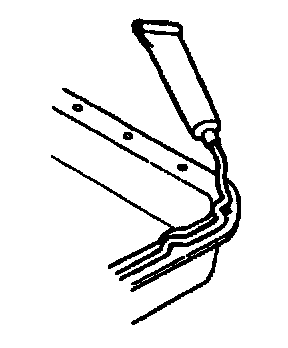
7. Apply sealant to the oil pan.
8. Install the oil pan and tighten the new bolts evenly and quickly.
Tightening torque
6.9 - 8.8 Nm (70 - 90 kgf.cm, 61 - 78 inch lbs.)
9. Install the splash shield.
10. Pour in ATF and with the engine idling, inspect the ATF level and inspect for ATF leakage.
11. Carry out the mechanical system test.
12. Carry out the road test.