Brake Shoe: Service and Repair
REMOVAL PROCEDURE
^ Tools Required
- J 26900-7 Dial Caliper
1. Remove the drum.
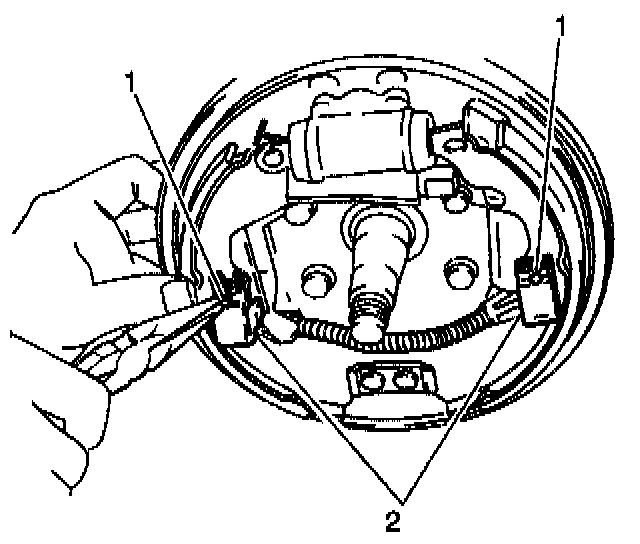
2. Remove the shoe hold-down springs (1) by turning the hold-down pins (2).
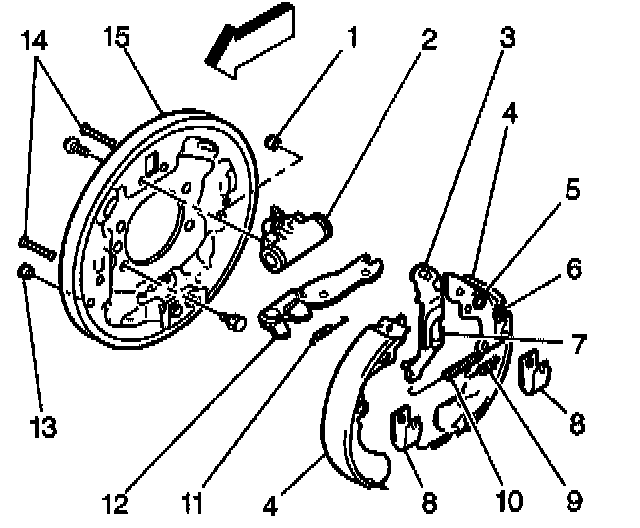
3. Remove the shoe return springs (10), shoe linings, and adjuster (12).
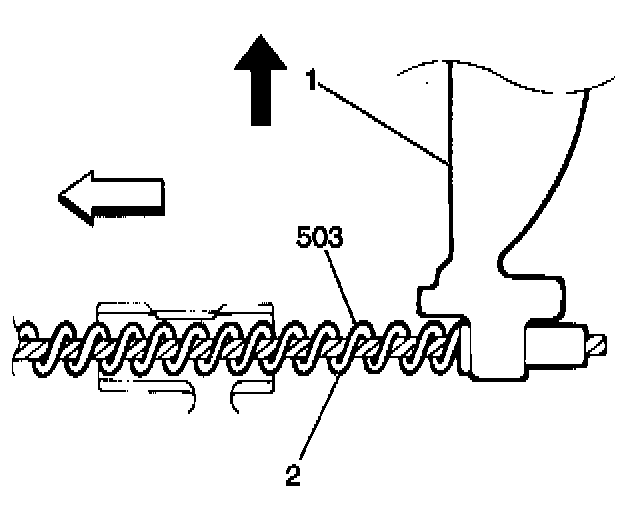
4. Remove the parking brake cable from the lever (1).
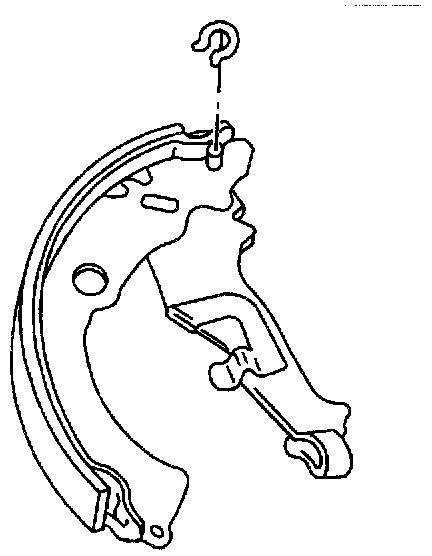
5. Remove the clip, shim, pin, and lever from the shoe.
6. Inspect all of the drum brake components for the following conditions;
^ Wear
^ Distortion
^ Cracks
7. Use a J 26900-7 in order to measure the lining thickness. If the thickness of the lining is less than 1 mm (0.04 in), replace the brake shoes. Always replace the brake shoes in axle sets.
INSTALLATION PROCEDURE
IMPORTANT: Apply Lubriplate GM P/N 1050109 white lithium grease, or the equivalent, to all of the brake component metal contact points (where the brake shoe metal contacts the backing plate, the wheel cylinder and the adjustment strut, etc.) prior to installation.
1. Install the lever to the rear shoe. Secure the lever with a clip, shim and pin.
2. Install the parking brake cable to the lever.
3. Install the shoe return springs (10), shoe linings and adjuster (12).
4. Install the shoe hold-down springs (8) by pushing them down in place and turning the hold-down pins (14).
5. Install the drum.