Steering Column - Installation
INSTALL OR CONNECT1. Ignition switch to steering column assembly.
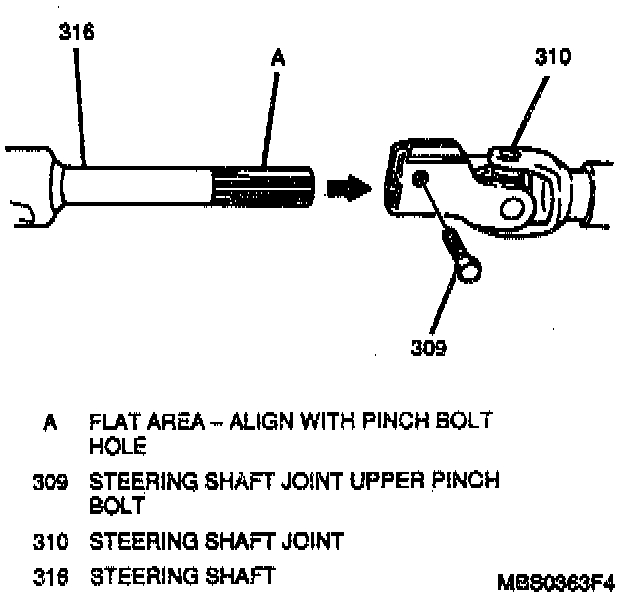
2. Align the flat section of the steering shaft lower spline with the pinch bolt hole in steering shaft joint.
3. Steering shaft to joint; secure with steering shaft joint upper pinch bolt (do not fully tighten bolt at this time).
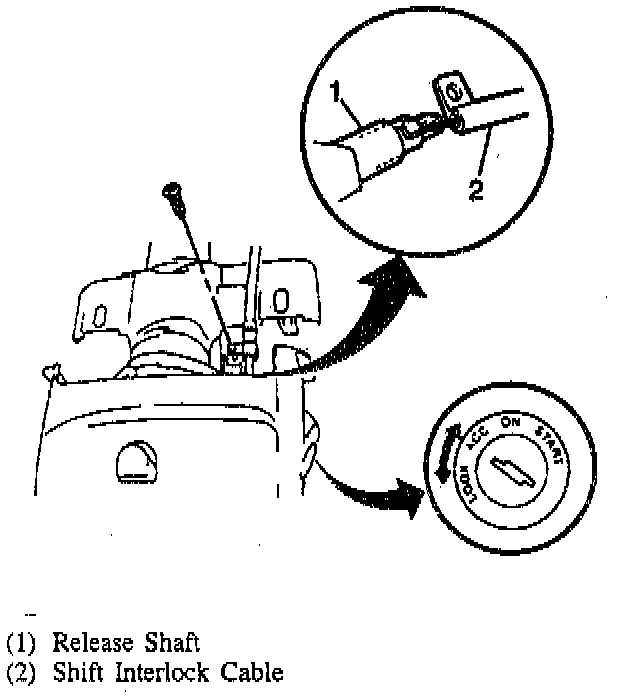
4. Shift interlock cable to ignition switch; secure with screw (automatic transaxle models only). Refer to Transmission and Drivetrain.
5. Position steering column assembly under instrument panel and secure with upper two upper mounting bolts and two lower mounting nuts. Do not tighten upper mounting bolts fully.
^ Tighten:
- Lower steering column mounting nuts to 14 Nm (10 lb ft).
- Steering shaft joint upper pinch bolt to 25 Nm (18 lb ft).
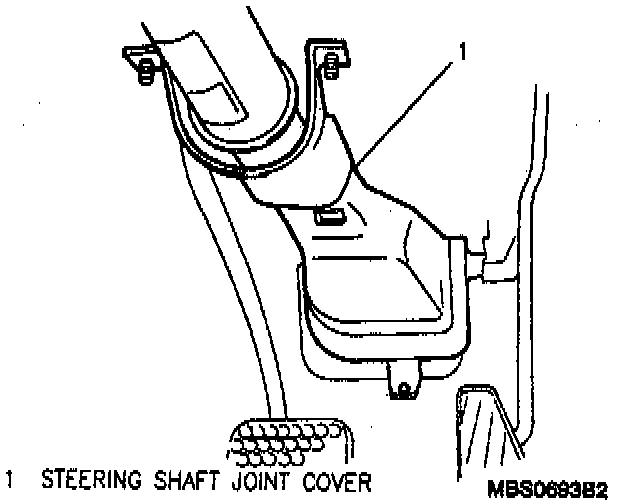
6. Steering shaft joint cover by hand.
7. Reposition driver's side floor carpet.
8. All ignition wiring connectors at junction block.
9. SIR coil and combination switch (if it was removed):
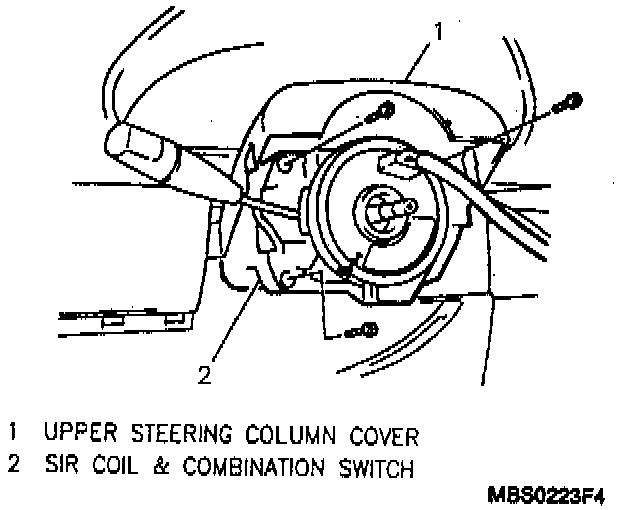
a. SIR coil and combination switch to column; secure with three screws.
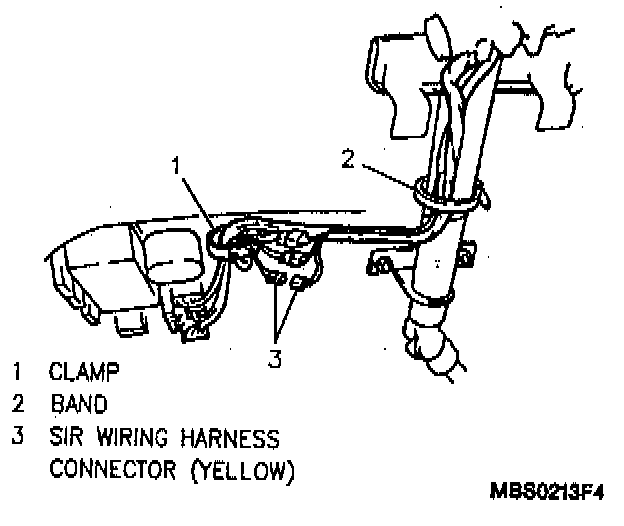
b. SIR coil and combination switch electrical connectors; secure harness to column with wire bands.
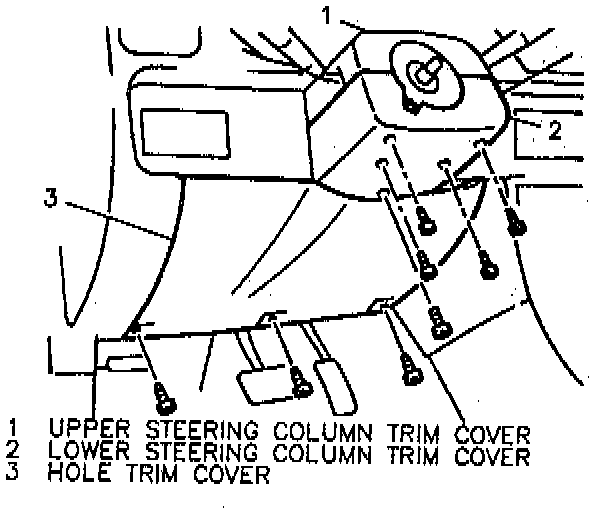
c. Upper and lower steering column covers; secure with five screws.
^ Tighten upper steering column mounting bolts to 14 Nm (10 lb ft).
10. Knee Bolster.
11. Steering wheel, if it was removed.
12. Negative (-) battery cable.
13. Enable the SIR.