Console Replacement
REMOVAL PROCEDURECAUTION: Before servicing any electrical component, the ignition key must be in the OFF or LOCK position and all electrical loads must be OFF, unless instructed otherwise in these procedures. It a tool or equipment could easily come in contact with a live exposed electrical terminal, also disconnect the negative battery cable Failure to follow these precautions may cause personal injury and/or damage to the vehicle or its components.
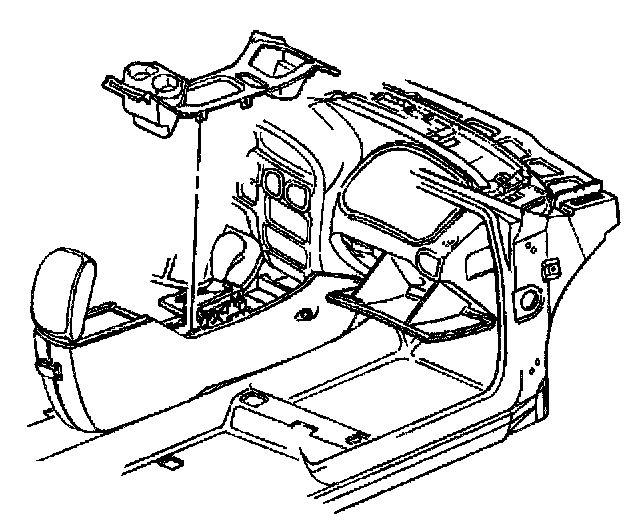
1. Disconnect the battery ground negative cable.
2. Remove shift control knob and indicator bezel.
3. Remove the front floor console trim plate.
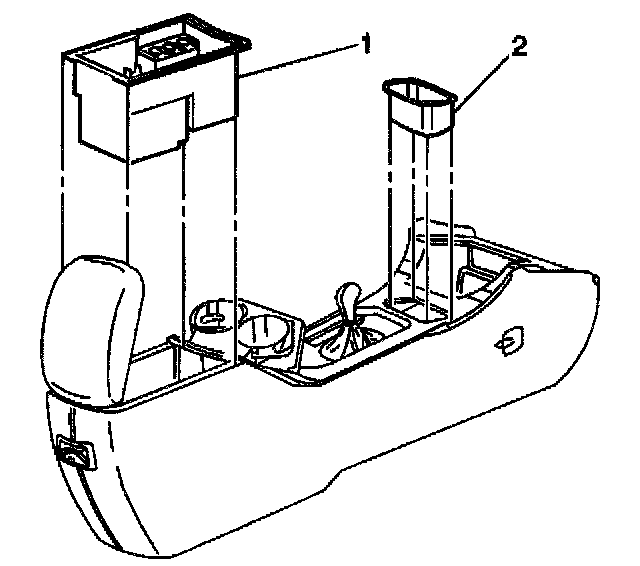
4. Remove the rear storage compartment (1), if equipped remove the front storage compartment (2).
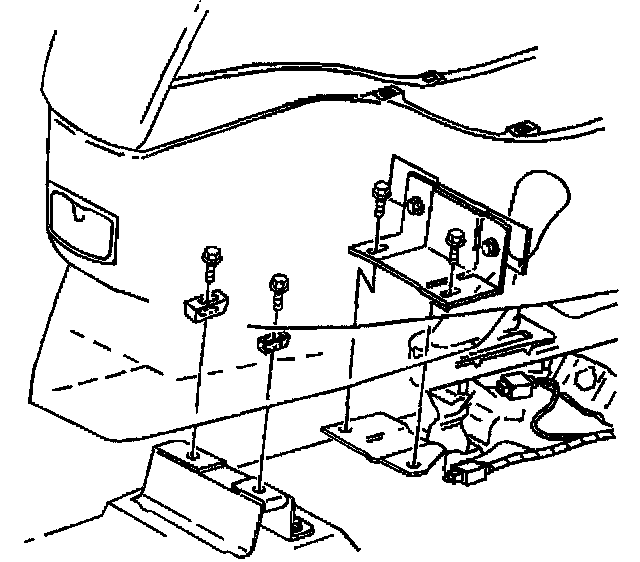
5. Remove the front floor console bolts at the base of the rear storage compartment.
6. Remove the front floor console bolts at the transaxle shift lever mounting bracket.
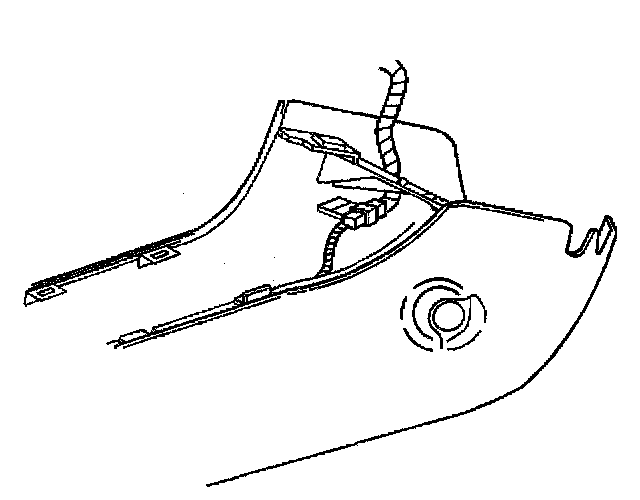
7. Pull the front floor console rearward in order to release the front floor console from the retainer in the Instrument Panel (IP).
8. Disconnect the electrical connectors.
9. Remove the front floor console from the vehicle.
INSTALLATION PROCEDURE
1. Install the front floor console to the vehicle.
2. Connect the electrical connectors.
3. Align the front floor console bracket locating retainers to slots in the instrument panel (IP).
4. Push the front floor console forward into the IP until the front floor console retainers are fully seated.
NOTE: Refer to Fastener Notice in Cautions and Notices.
5. Install the front floor console bolts at the transaxle shift lever mounting bracket.
Tighten
Tighten the front floor console bolts to 5 N.m (44 lb in).
6. Install the front floor console bolts at the base of the rear storage compartment.
Tighten
Tighten the front floor console bolts to 5 N.m (44 lb in).
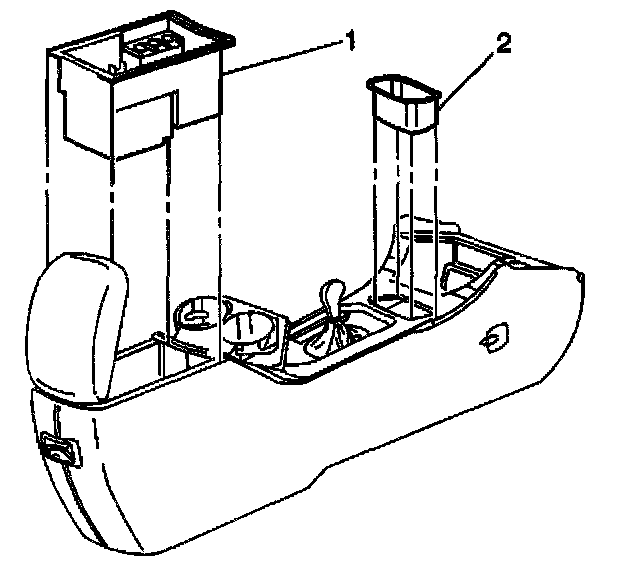
7. Install the rear storage compartment (1), if equipped install the front storage compartment (2).
8. Install shift control knob and indicator bezel.
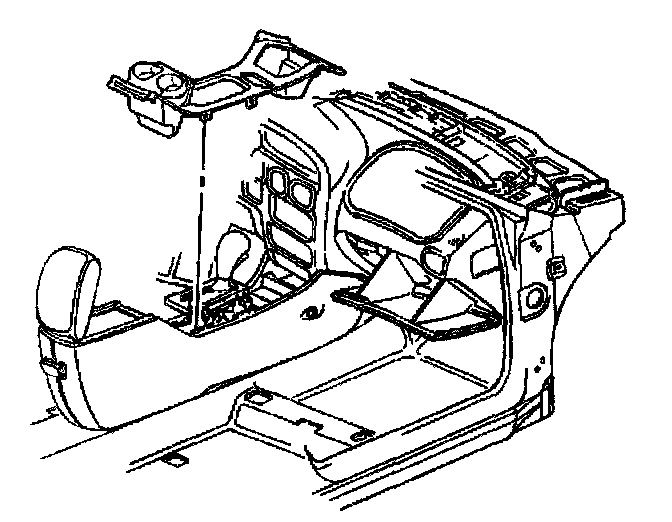
9. Install the front floor console trim plate.
10. Connect the battery ground negative cable.