Console Trim Plate Replacement
REMOVAL PROCEDURE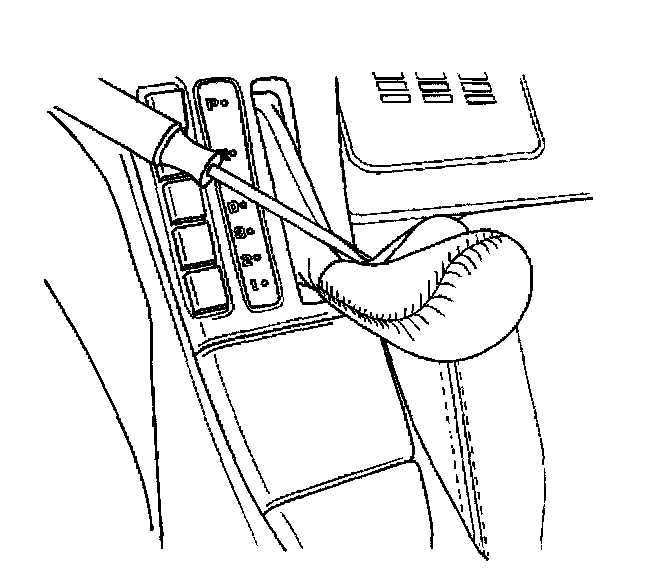
1. Set the parking brake.
2. Place the transmission control lever in neutral.
3. Remove the transmission control lever handle retainer.
4. Remove the transmission control lever handle.
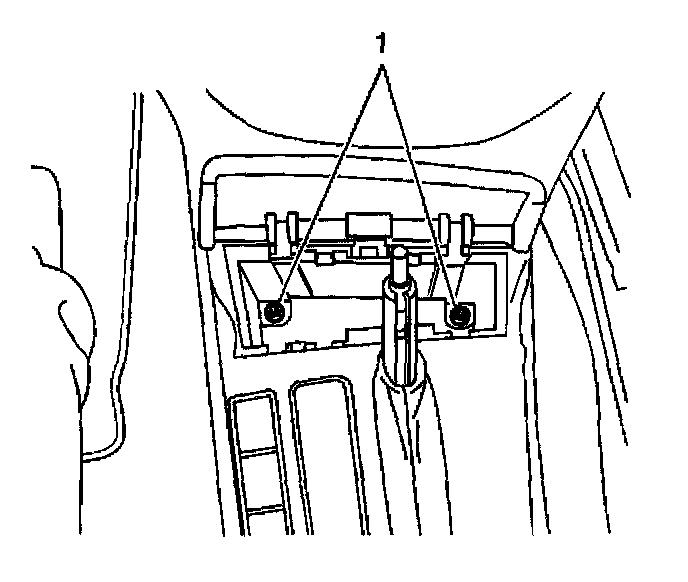
5. Open the ashtray lid.
6. Lift up on the ashtray to remove.
7. Remove the fasteners (1) under the ashtray.
8. Remove the console seat switch/cover plate.
9. Remove the console compartment bezel.
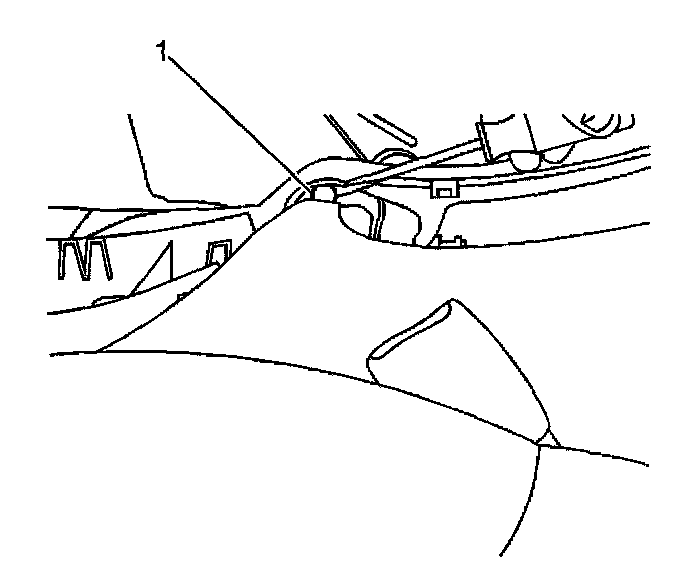
10. Pry off the center trim plate retaining clips (1).
11. Pry up on the console center trim plate to release the retainers.
Squeeze the arms of the center trim plate together to remove them from the lower console assembly. Carefully rotate back.
12. Partially remove the console center trim plate. Disconnect the electrical connectors.
13. Remove the console center trim plate.
14. Remove the console center trim plate switches/cover.
INSTALLATION PROCEDURE
1. Install the console center trim plate switches/cover to the center trim plate.
2. Partially install the console center trim plate. Connect the electrical connectors.
3. Squeeze the arms of the center trim plate together to install them to the lower console assembly.
4. Align the console center trim plate.
5. Push downward to secure the console center trim plate.
6. Install the center trim plate retaining clips (1).
7. Install the console compartment bezel.
8. Install the console seat switch/cover plate.
NOTE: Refer to Fastener Notice in Cautions and Notices.
9. Install the fasteners (1) under the ashtray.
Tighten
Tighten the center trim plate fastener to 1.9 N.m (17 lb in).
10. Push down on the ashtray to install.
11. Close the ashtray lid.
12. Install the transmission control lever handle.
13. Install the control lever handle retainer.
14. Place the transmission control lever handle in park.