Pressure Bleeding Procedure
^ Tools Required- J 35589 Pressure Bleeding Adapter
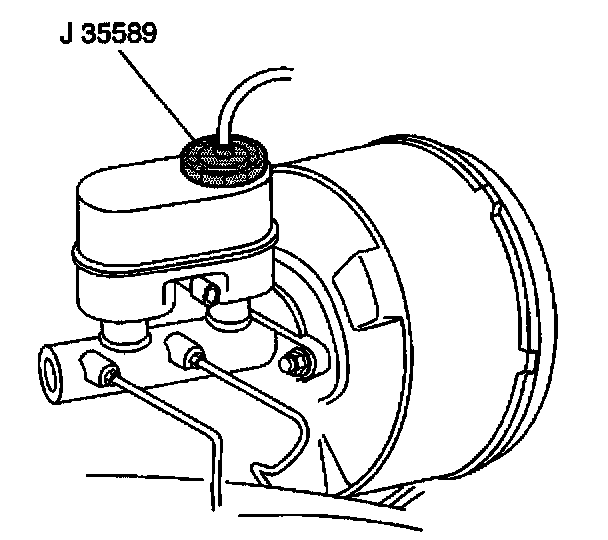
1. Remove the master cylinder reservoir cap. Replace it with J 35589.
2. Charge the bleeder to 140 - 172 kPa (20 - 25 psi).
3. Connect the hose to J 35589.
4. Raise and suitably support the vehicle.
5. If it is necessary to bleed all of the brake calipers, the following sequence should be used:
5.1. Right rear
5.2. Left rear
5.3. Right front
5.4. Left front
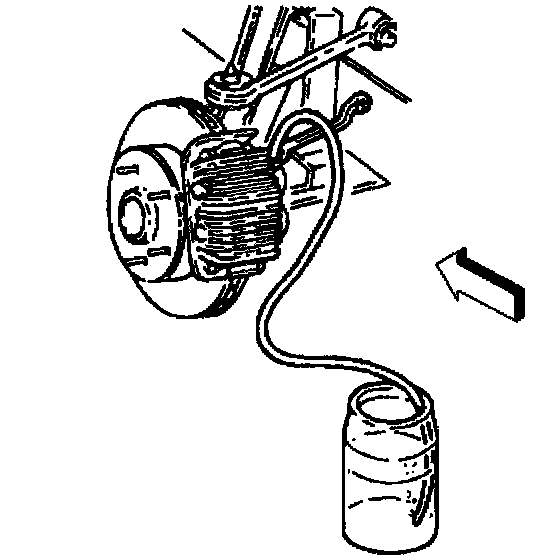
6. Place the proper size box end wrench, or equivalent, over the brake caliper bleed screw. Attach a clear tube over the screw and allow the tube to hang submerged in a clear container partially filled with brake fluid.
7. Open the brake caliper bleed screw at least 3/4 of a turn and allow the brake fluid flow to continue until no air is seen in the brake fluid. Apply intermittent pressure to the brake pedal while pressure bleeding.
NOTICE: Refer to Fastener Notice in Service Precautions.
8. Close the brake caliper bleed screw.
Tighten the brake caliper bleed screw to 12 Nm (106 inch lbs.).
9. Repeat steps 6 through 8 until all of the calipers have been bled.
10. Lower the vehicle.
11. Test drive the vehicle, checking brake pedal for sponginess or softness. Ensure that vehicle exceeds 5 Km/h (3 mph) for Antilock Brake System (ABS) modulator actuation (self-test) which will purge any air from the secondary circuit of the modulator. If after ABS modulator actuation the pedal is still soft or spongy, then rebleed entire system.
12. Remove the brake bleeding equipment from the master cylinder.