Front
Brake Rotor Replacement-Front^ Tools Required
- J41013 Rotor Resurfacing Kit
Removal Procedure
Notice: Any new rotor must have the protective coating removed from the friction surfaces before being placed in service. Use Goodwrench Brake Parts Cleaner P/N 123777981 or the equivalent, and wipe the surface clean with clean cloths. Do not use gasoline, kerosene, or other oil base solvents which may leave an oily residue. This residue is damaging to the brake lining and is flammable.
1. Raise and suitably support the vehicle. Refer to Vehicle Lifting.
2. Remove the tire and the wheel.
Notice: Refer to Support the Brake Caliper While Flex Hose is Connected Notice in Service Precautions.
3. Remove and support the caliper and bracket as an assembly with heavy mechanics wire.
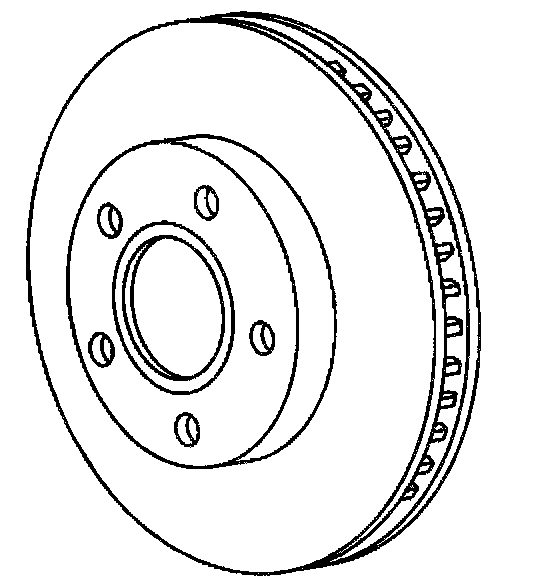
4. Remove the brake rotor.
Installation Procedure
Important: Whenever a rotor has been separated from the wheel bearing flange, clean any rust or contaminants from the wheel bearing flange and the brake rotor mating surfaces. Failure to do this may result in increased lateral runout of the brake rotor, and brake pulsation.
1. Use the J41013 in order to clean any rust or corrosion from the wheel hub surface.
2. Install the brake rotor.
3. Install the caliper bracket.
4. Install the tire and the wheel.
5. Lower the vehicle.