Windshield - Removal and Installation
85porsche03Subject:
Removal And Installation Of Windshield
Model
944-85/2
Group
6
Part Identifier
6414
Number
8502
October 7, 1985
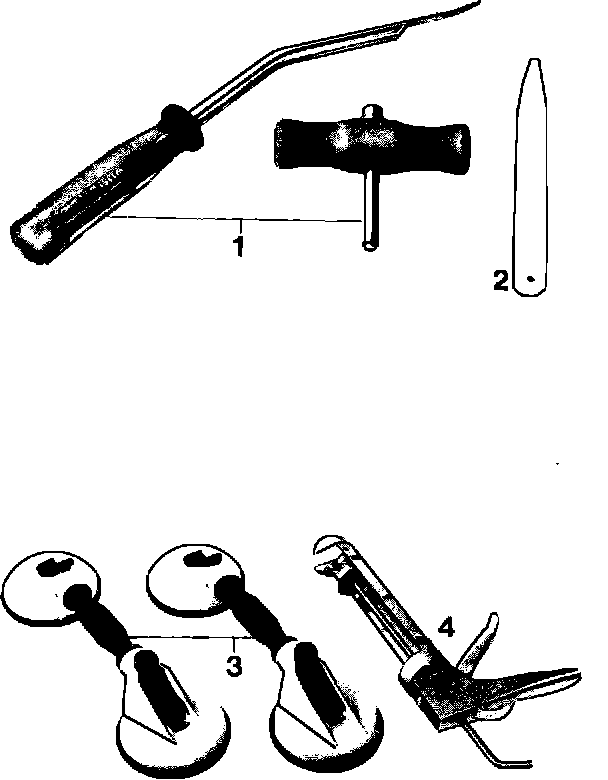
The following tools and parts are required for the removal and installation of the windshield:
Tools
1 - seal cutting tool 2 - plastic wedge 3 - two double suction cups 4 - caulking gun
Normal hand tools
- carpet knife
- pliers
- safety goggles
- leather gloves
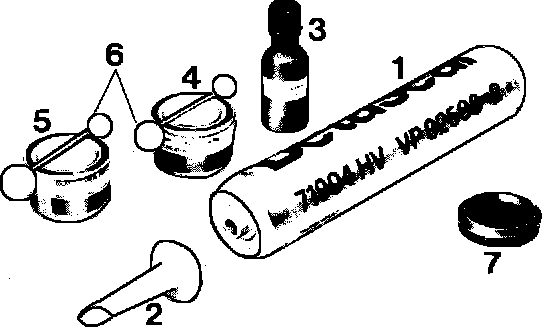
Parts
- spacer/seal, 944.559.543.02
- seal kit, D004.300, consisting of:
1 - cartridge of sealing material 2 - spreader nozzle 3 - cleaner solvent 4 - body primer 5 - glass primer 6 - tools to apply primer 7 - cutting wire (0.5 mm x 1.8 m)
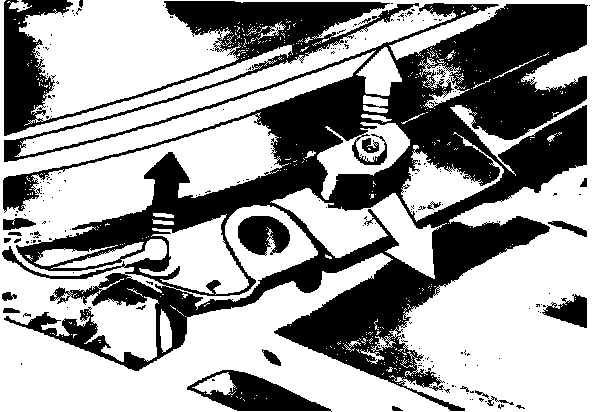
Removal
1. Remove front hood, windshield wipers, sun visors, trim covers on A-pillars and top front cover.
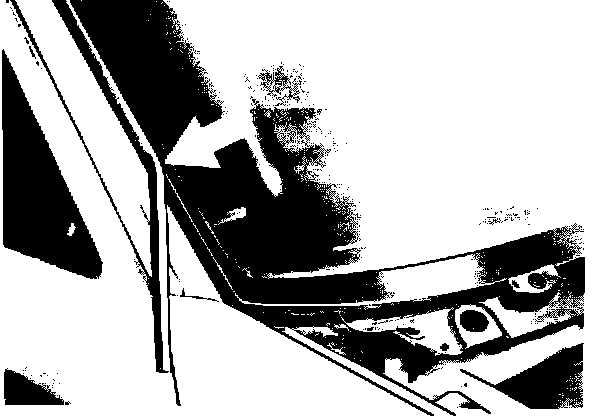
2. Disconnect antenna wire, loosen eccentric block and lift up. Push top portion of spacer blocks to the front. Pull out front windshield molding.
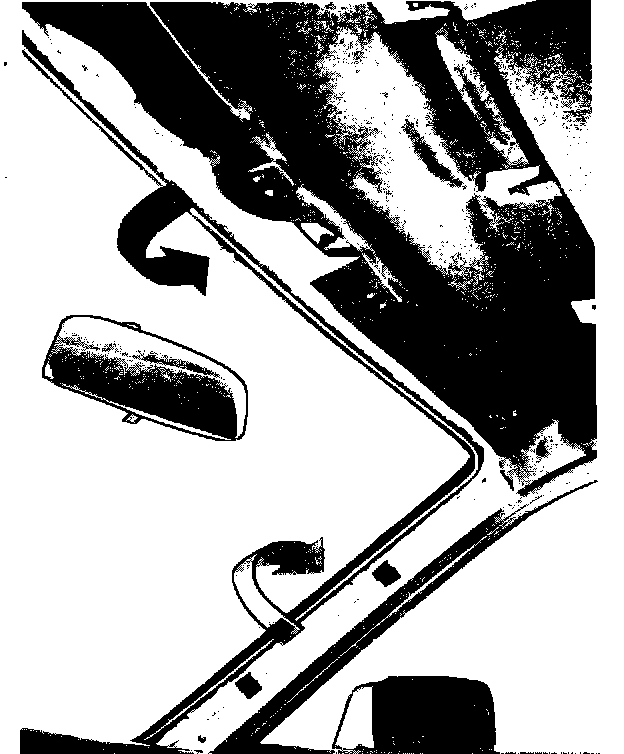
3. Bend up spacer frame in the area of Apillars and roof.
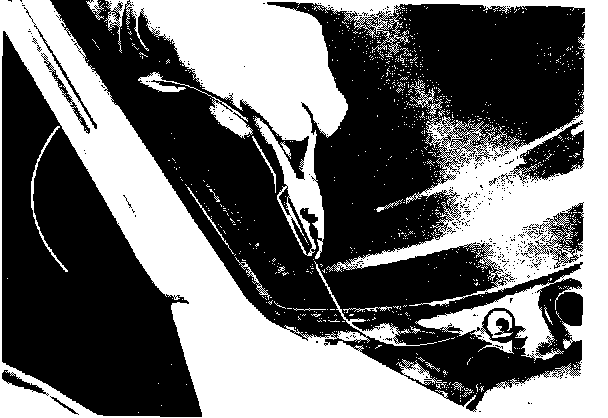
4. Using half the length of cutting wire, push wire from the inside through the sealing material with a plier.
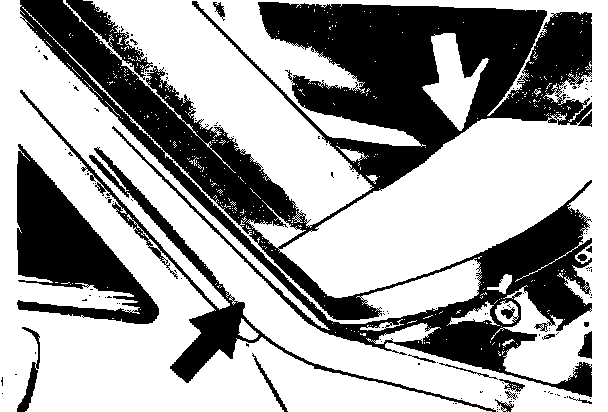
5. To prevent damage, cover critical areas.
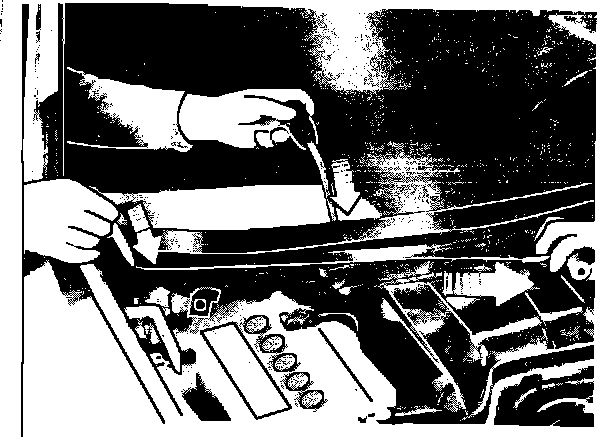
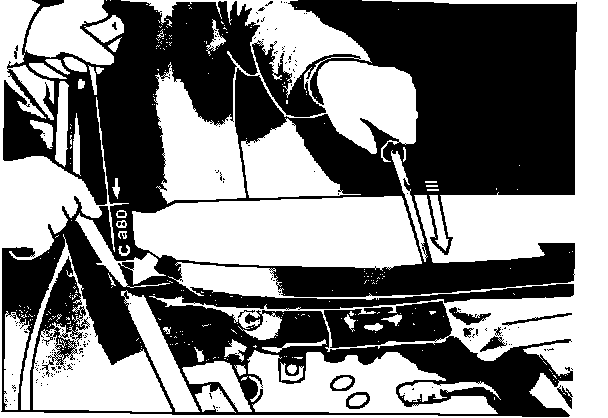
6. Secure wire ends to the cutting tool. Push cutting tool into sealing material with the plastic wedge so there is no damage to the glass or antenna. Cut sealing material.
NOTE: When cutting the seal, do not saw with the wire. The wire may get hot and break.
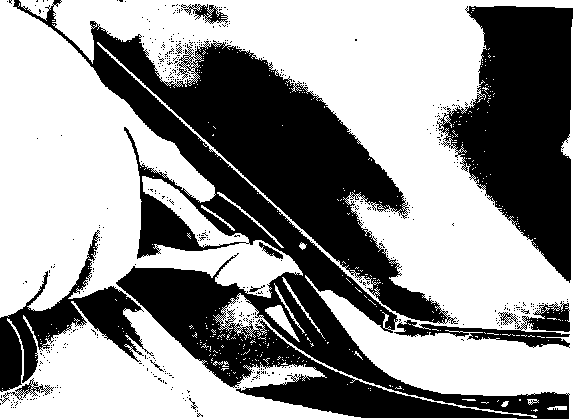
7. Lift windshield at bottom and cut spacer on left and right A-pillars, remove windshield out of frame.
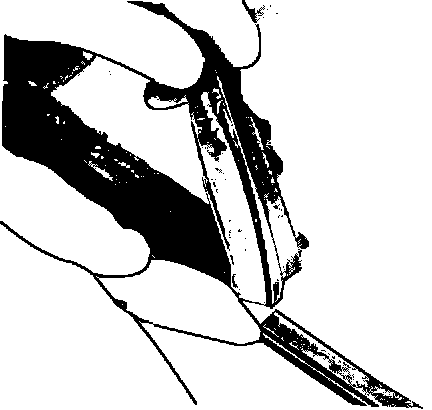
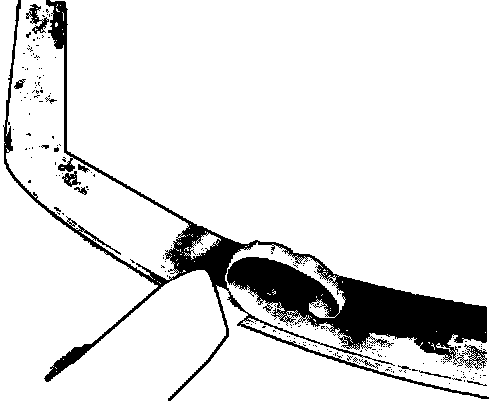
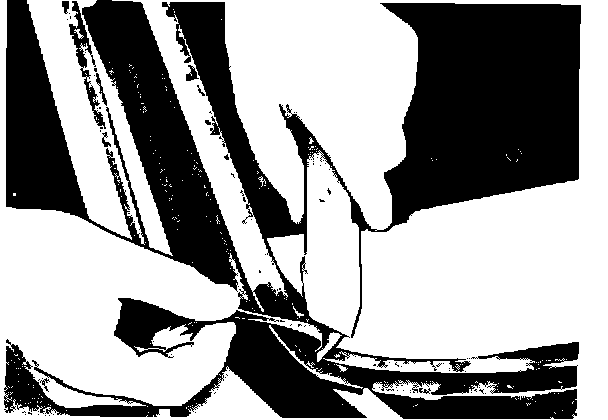
8. Remove the leftover sealing material from windshield and frame with a carpet knife. Leave a thin layer on windshield and frame, this eliminates priming during installation.
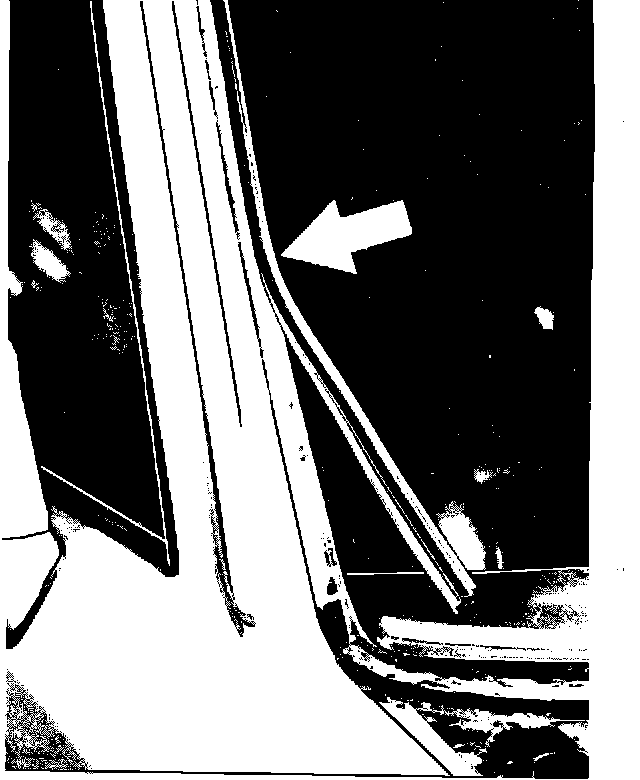
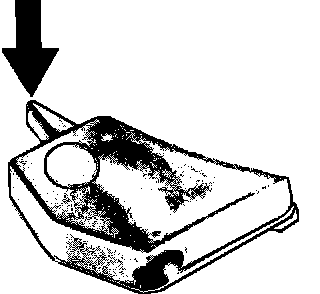
Installation
1. Install new spacer/seal to frame, assure good seating. Install spacer end pieces into spacer/seal with glue.
2. Clean spacer with solvent, use a lintfree rag. Apply primer and let it dry.
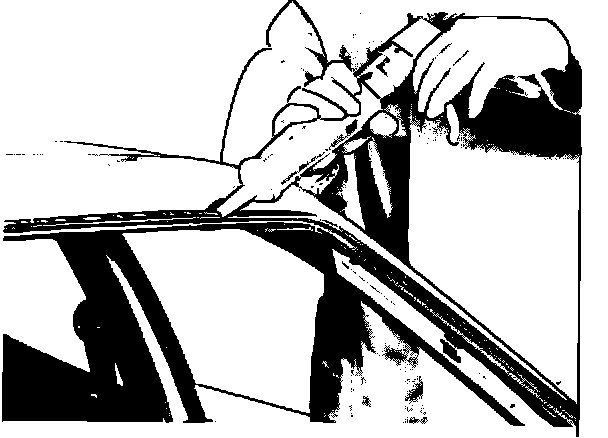
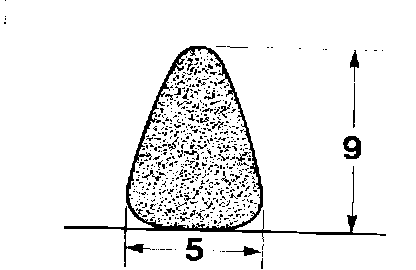
3. Heat sealing material cartridge in a water bath at a temperature of 40-60~C or 105 - 140~F for 30 minutes. Apply the sealer on the complete window opening with a cone type bead.
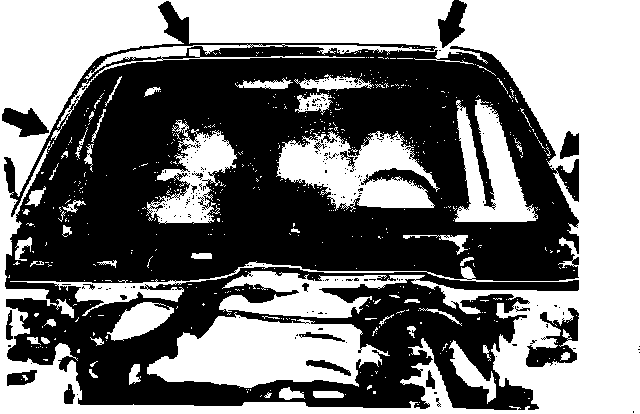
4. Install distance blocks and insert eccentric blocks. Install double suction cups on windshield and place windshield on frame, adjust eccentric blocks so that a gap of 2 (+/- 10) mm is between glass and body.
NOTE: The sealing of the windshield must be done at a termperature of 15~C or 60~F for proper curing. Lower temperatures will impair the curing process. High humidity or light water spray on the sealer will accelerate the curing, however, the car should not be moved for 3 hours.
5. Install windshield molding.
6. Clean windshield from sealer deposits.
7. Reinstall trim A-pillars and roof, sun visors, windshield wipers and front hood.
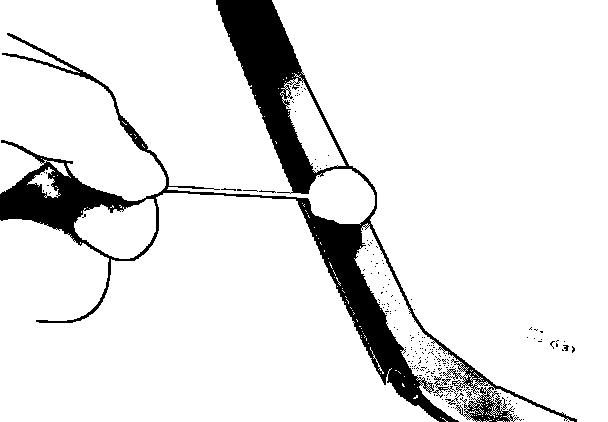
8. When installing a new windshield the sealing area must be cleaned with the cleaning solvent and then primed. The primer should not be applied beyond the black screen texture.
NOTE: Sekuriflex windshields are not to be primed!