Shift Cable: Adjustments
Adjusting selector lever cableTools
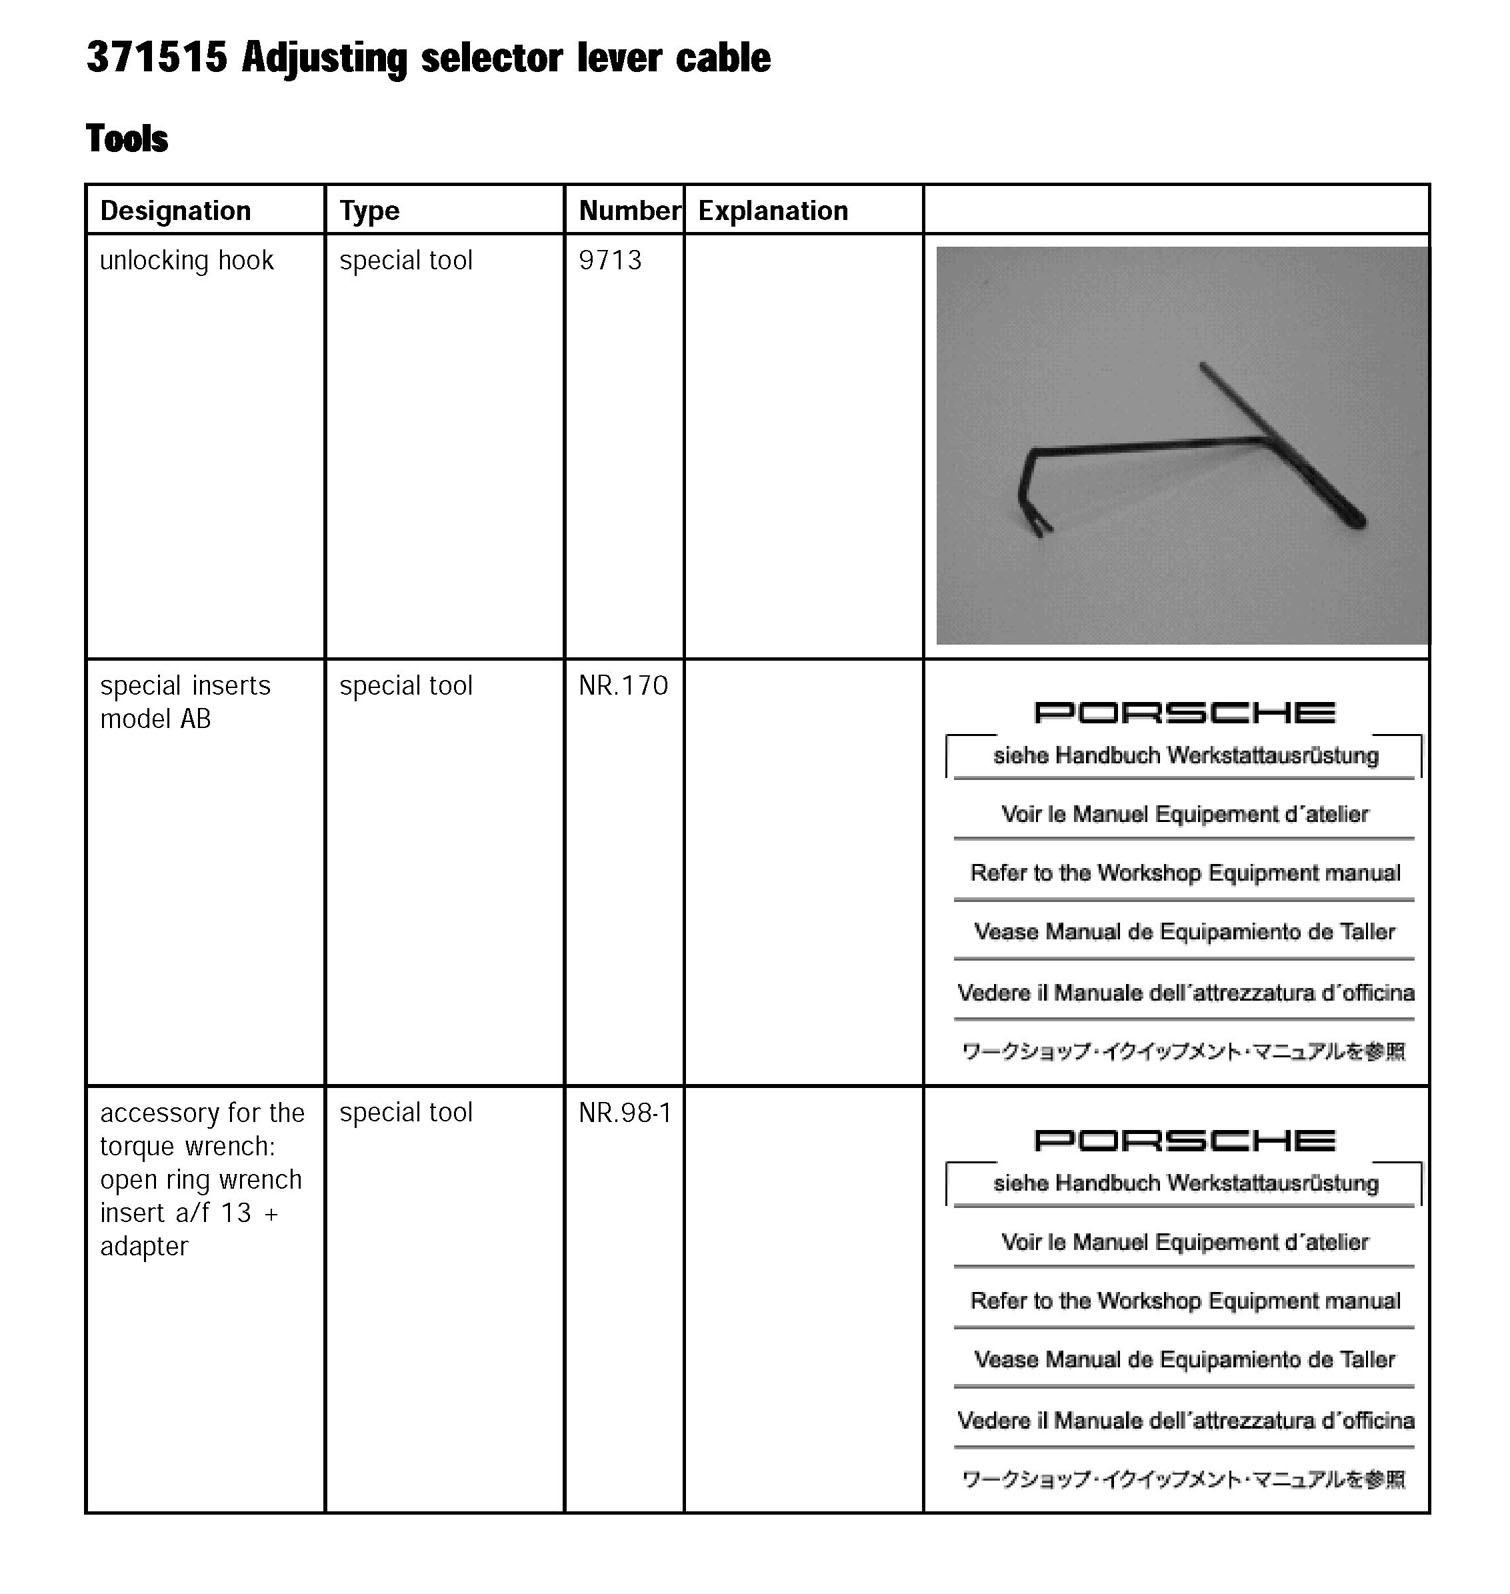
Preliminary work for selector lever cable
1. Remove selector knob.
2. Remove engine guard .
Adjusting selector lever cable
1. Pull latch (plastic pin) up and move selector lever to position P.
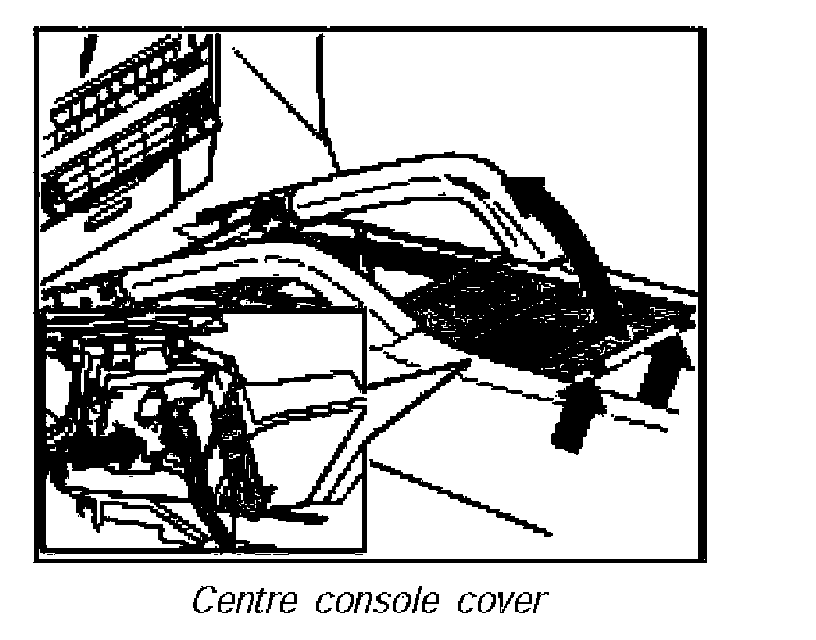
2. Remove cover of centre console. To do this unscrew two screws -arrows-, separate plug connection -inset-, tip cover up and back and remove. Centre console cover
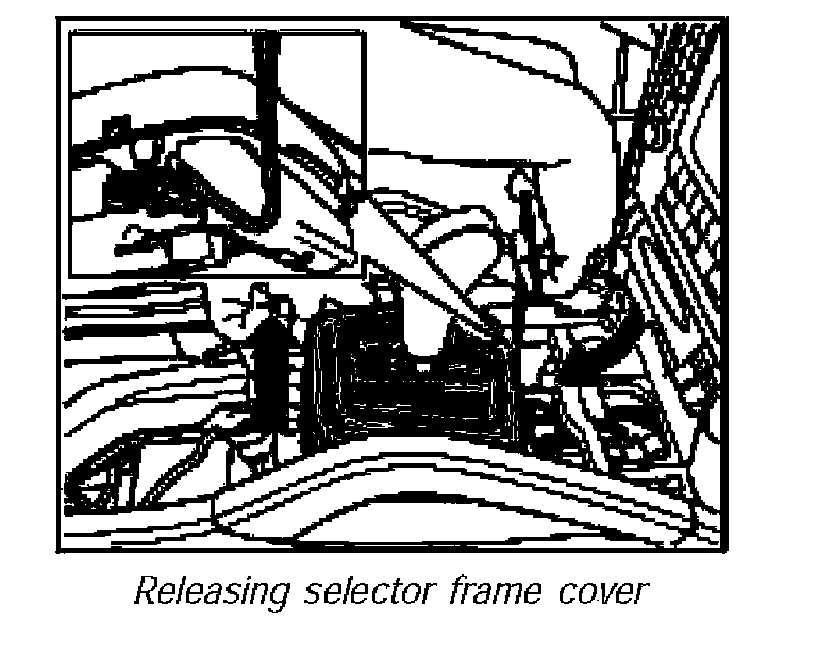
3. Remove selector lever cover with special tool unlocking hook 9713. To do this hook into the left and right of the unlocking bracket -inset- from the front and press outwards. Pull the cover upwards slightly at the same time. Releasing selector frame cover
4. Unlock the rear unlocking brackets in the same way.
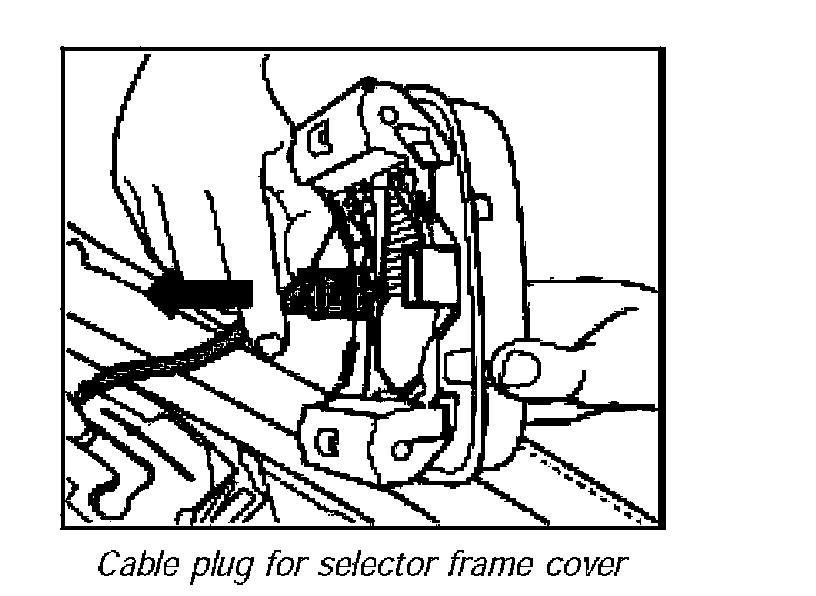
5. Remove selector lever cover and separate cable connection. Cable plug for selector frame cover
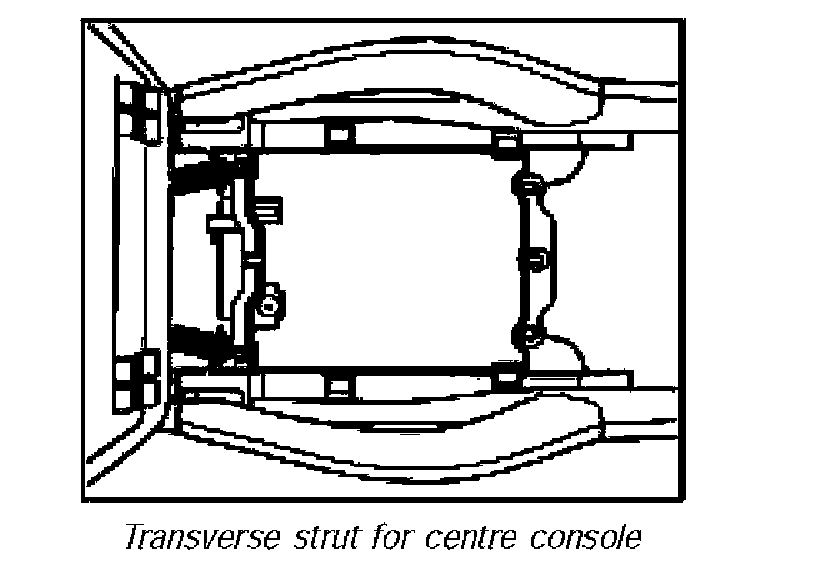
Transverse strut for centre console
6. Remove the transverse strut of the centre console -arrows-.
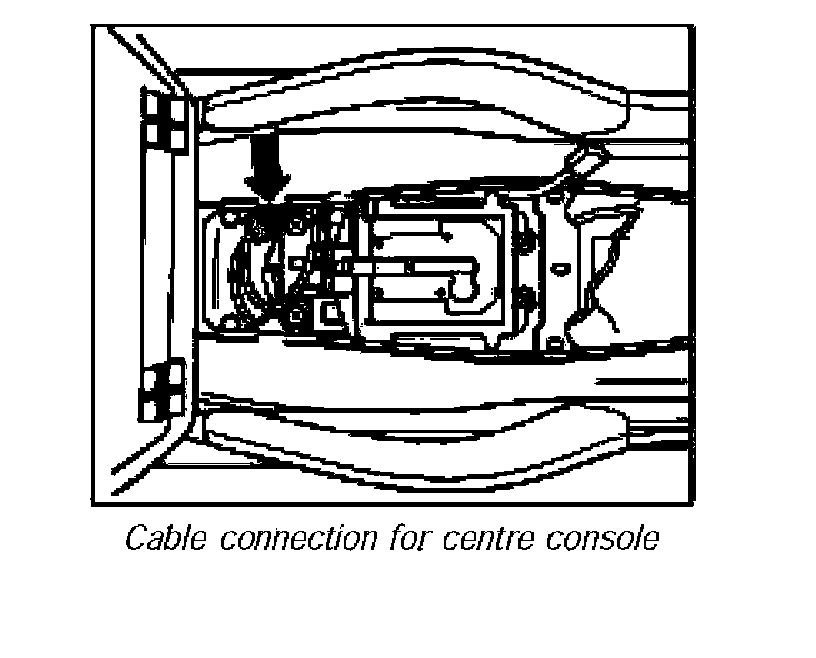
Cable connection for centre console
7. Pull off electrical plug connections -arrow-.
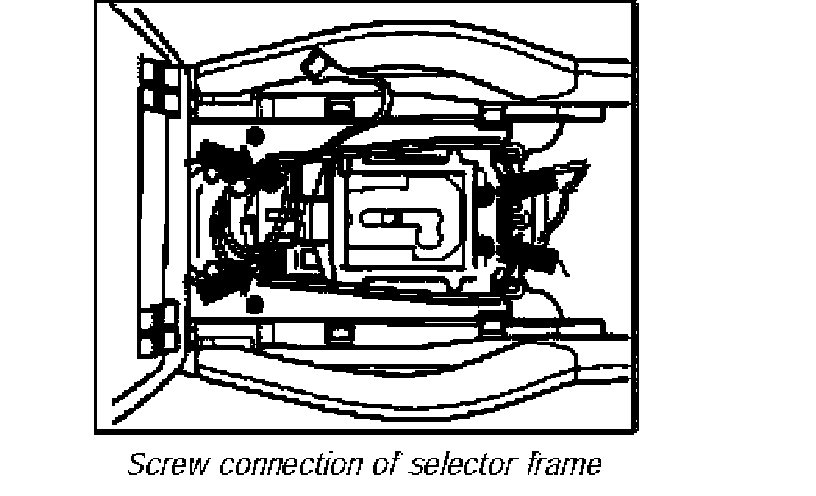
Screw connection of selector frame
8. Unscrew selector frame screws -arrows-.
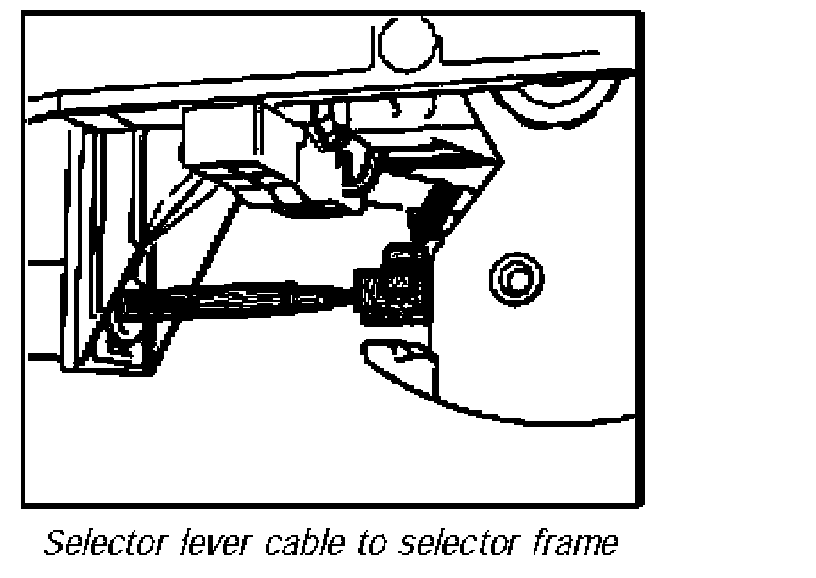
9. Undo selector lever cable screw connections on the selector frame -arrow- using the special inserts model AB NR.170tool. Selector lever cable to selector frame
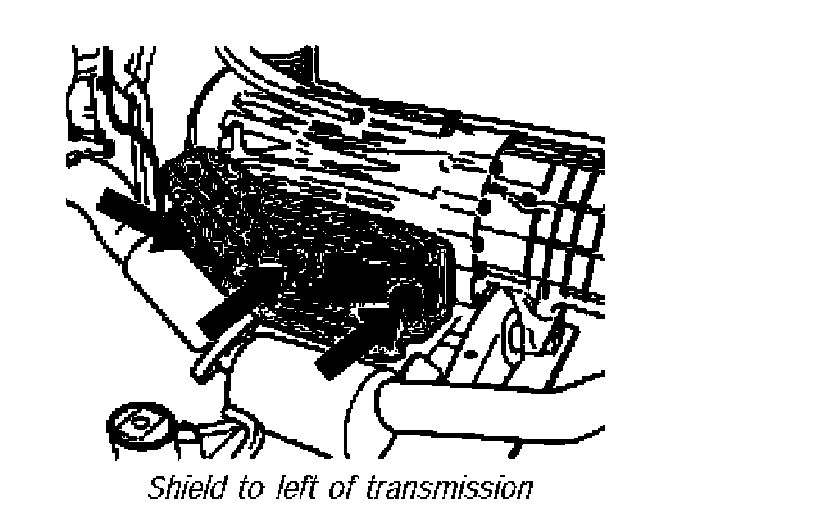
Shield to left of transmission
10. Remove shield on the transmission. To do this, unscrew three fastening screws -arrows-.
11. Move shift lever on the transmission to position P, the highest position.
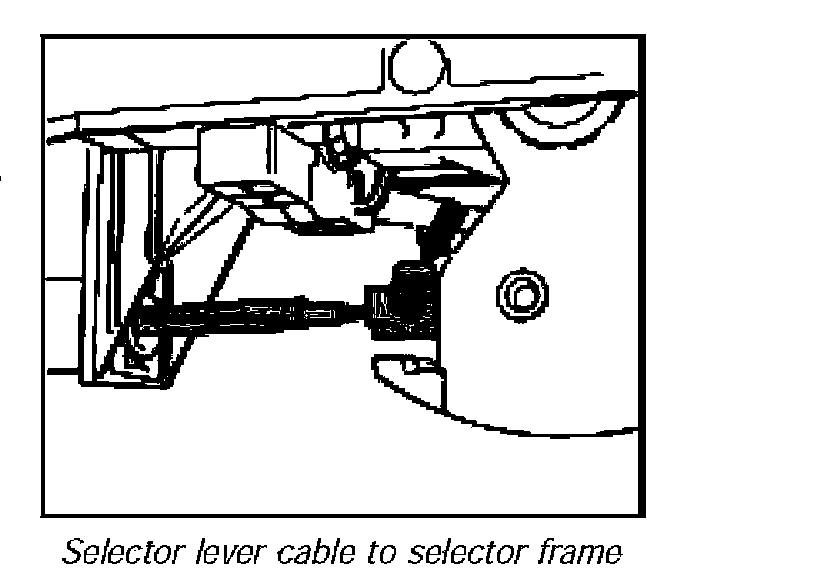
Selector lever cable to selector frame
12. Screw in selector lever cable screw connections on the selector frame -arrow- using the special inserts model AB NR.170 tool and the accessory for the torque wrench: open ring wrench insert a/f 13 + adapter NR.98-1. Tightening torque 7.5 ft. lbs.
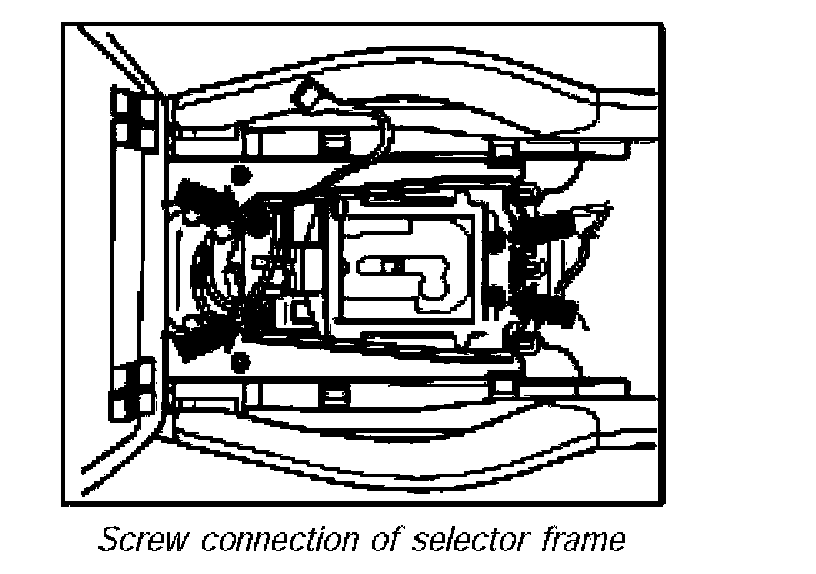
Screw connection of selector frame
13. Screw in selector frame screws -arrows-. Tightening torque 4.5 ft. lbs.
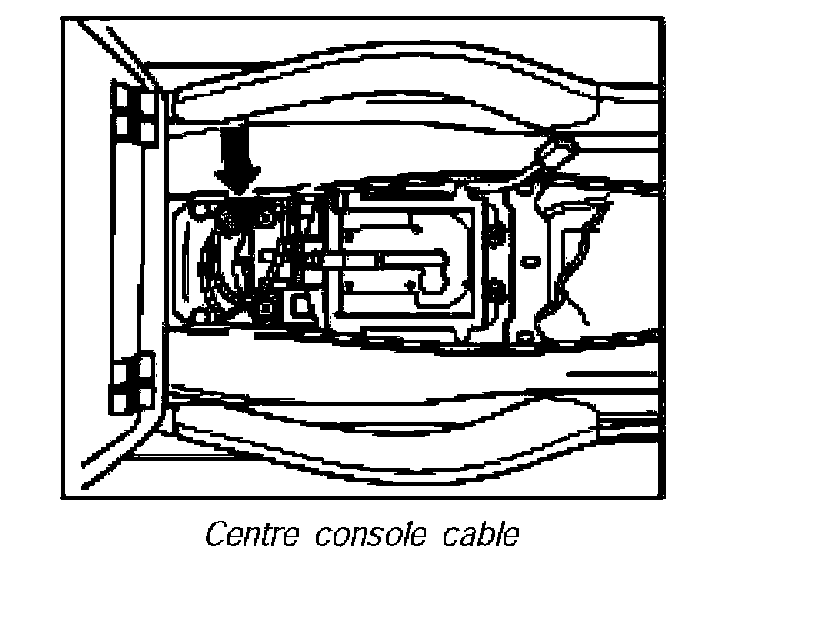
14. Position electric plug connection -arrow- on the selector frame. Centre console cable
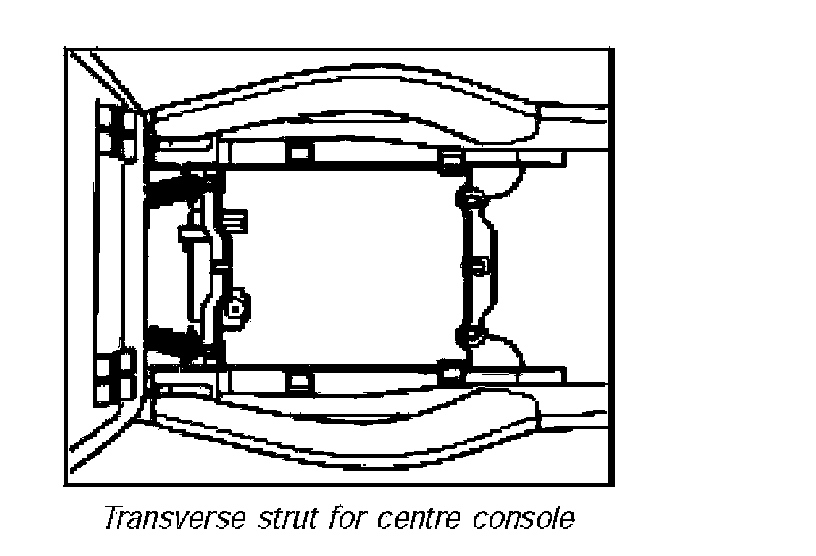
Transverse strut for centre console
15. Install the transverse strut of the centre console -arrows-.
16. Position cable connection on the underside of the selector lever cover.
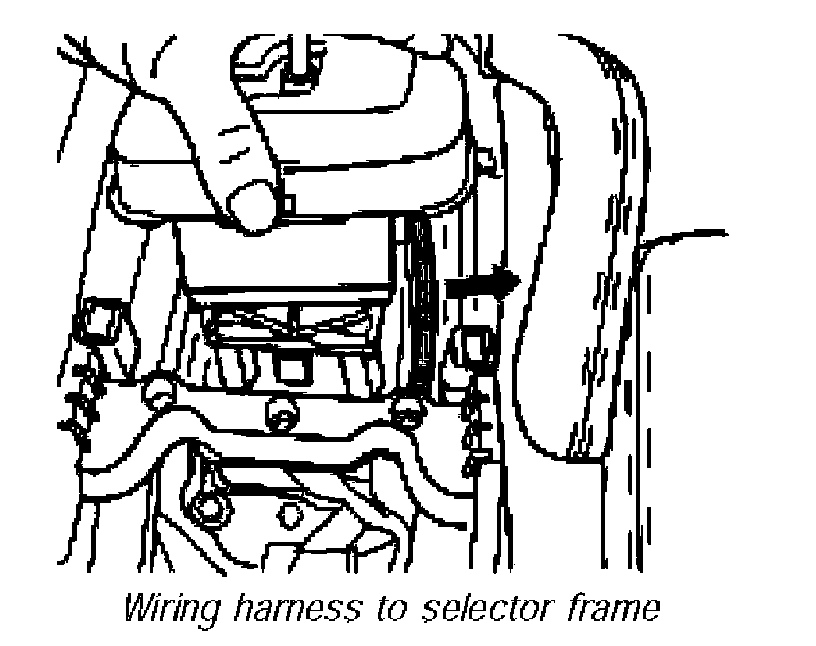
17. Install selector lever cover. Make sure that the wiring harness -direction of arrow- is not pinched in the selector frame. Wiring harness to selector frame
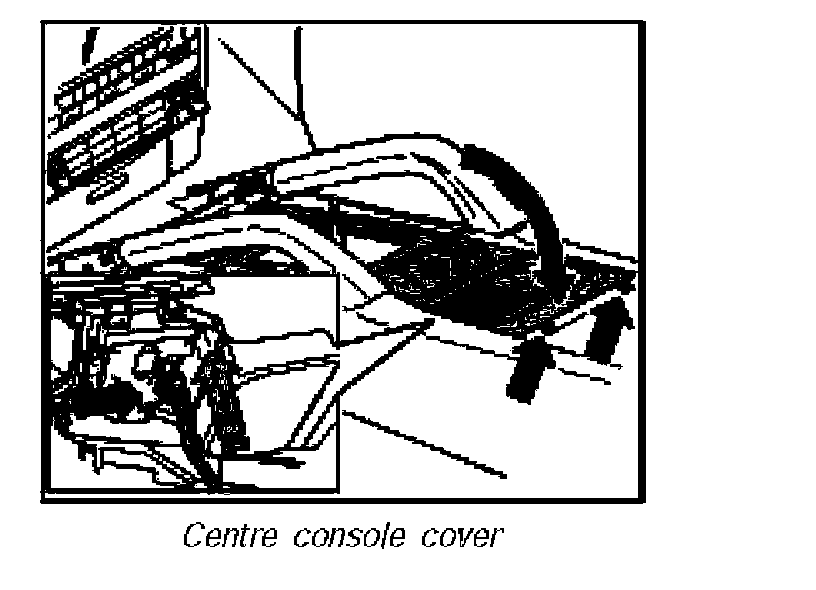
Transverse strut for centre console
18. Position cable connection on the underside -inset- of the Transverse strut for centre console
19. Insert centre console cover at the front and tip backwards. Screw in two screws -right arrows-.
20. Functional test of gear selecting system:
^ Will the vehicle start?
^ Do all the selector lever positions work?
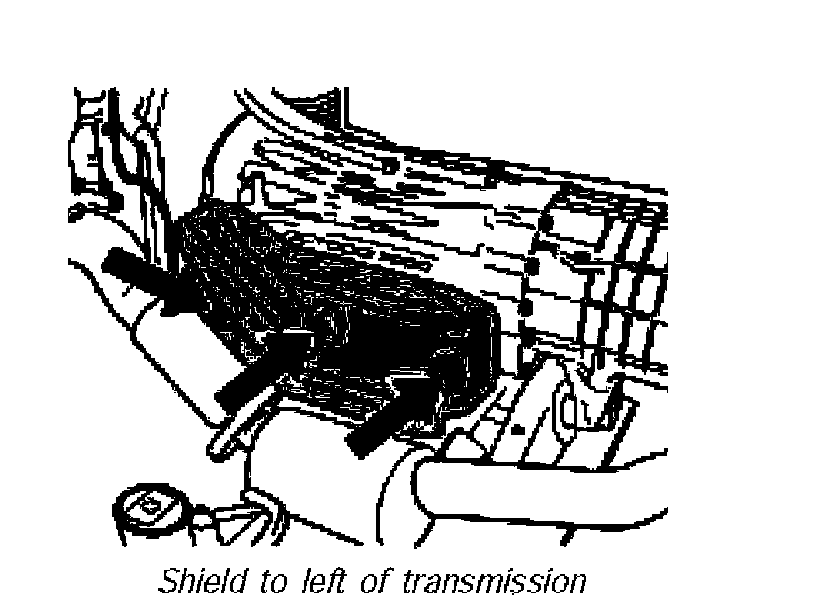
Shield to left of transmission
21. Install shield on the transmission. To do this, screw in three fastening screws -arrows-. Tightening torque 7.5 ft. lbs.
Adjusting selector lever cable
1. Pull latch (plastic pin) up and move selector lever to position.
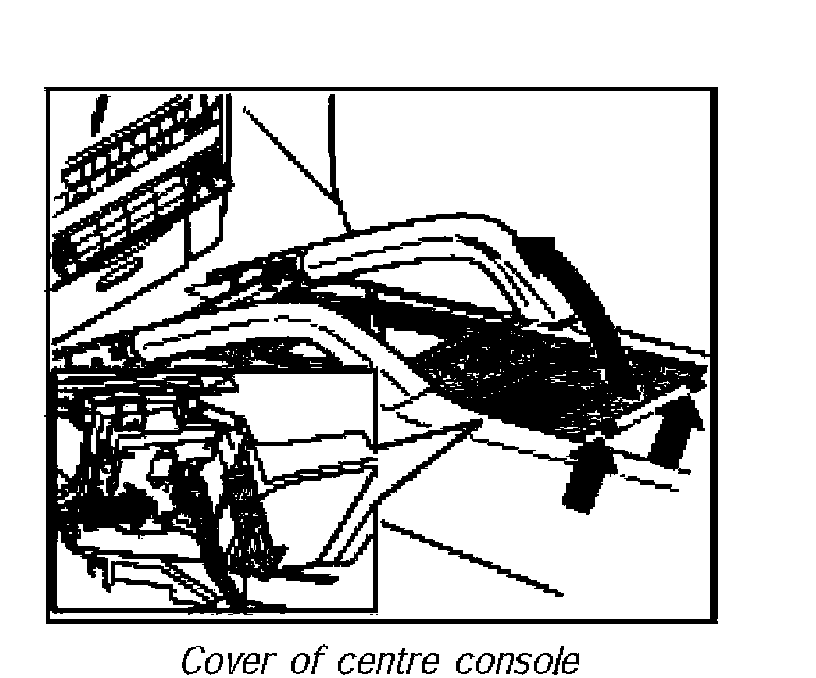
Cover of centre console
2. Remove cover of centre console. To do this unscrew two screws -arrows-, separate plug connection -inset-, tip cover up and back and remove.
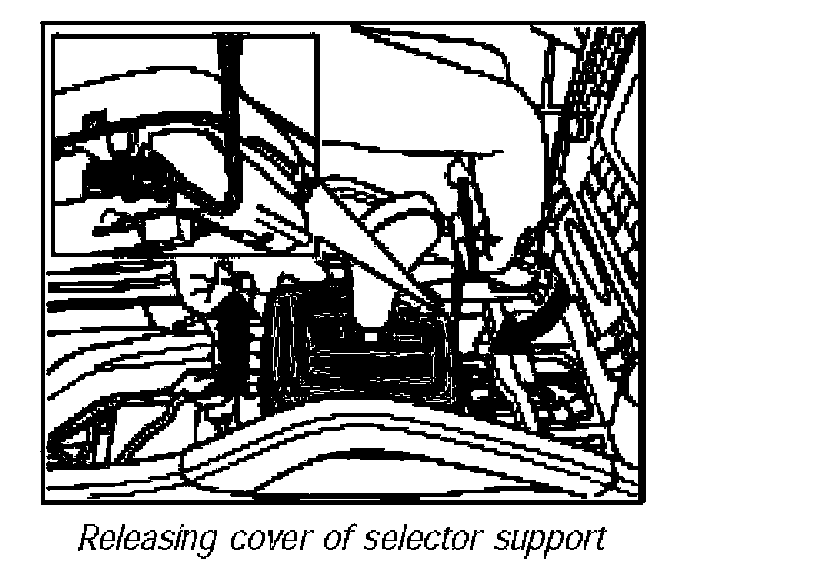
3. Remove selector lever cover with special tool release hook 9713. Do this from the front, hooking into the right and left of the release plate -inset-, and press outwards. Pull the cover upwards slightly at the same time. Releasing cover of selector support
4. Release the rear release plates in the same way.
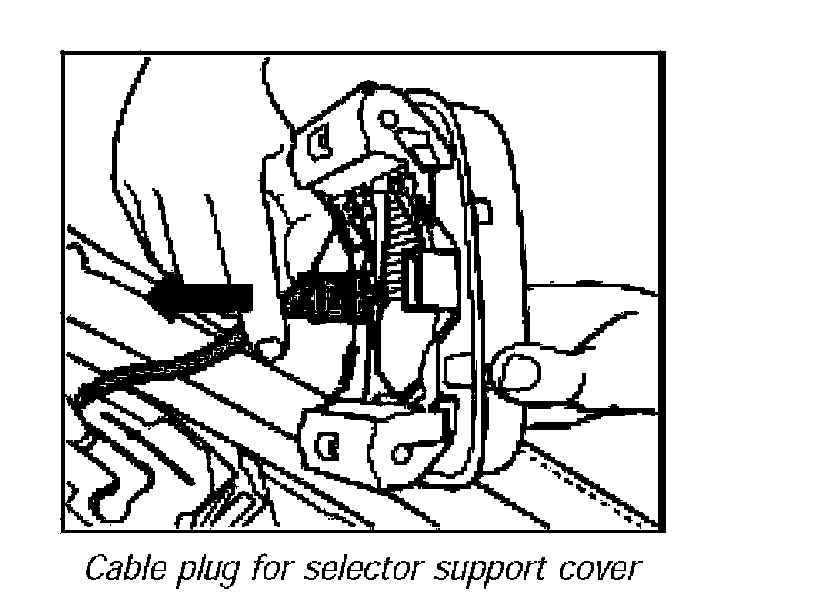
plug for selector support cover
5. Remove selector-lever cover and separate cable connection. Cable
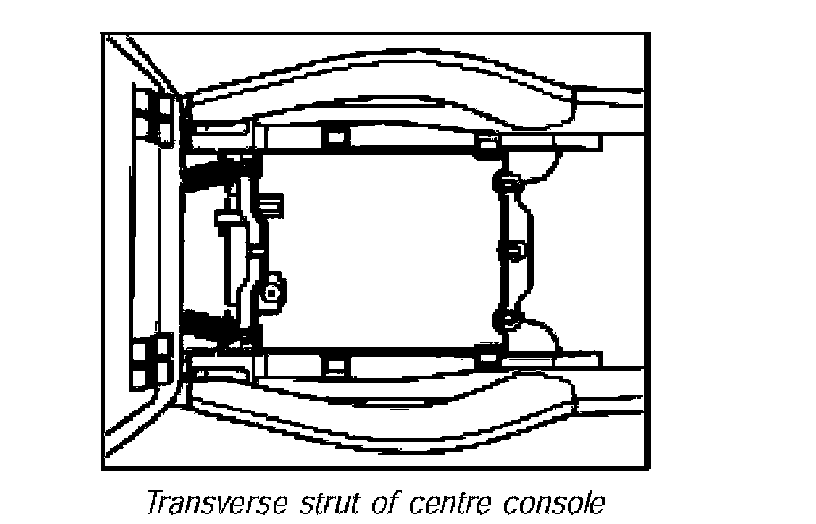
Transverse strut of centre console
6. Remove transverse strut of centre console -arrows-.
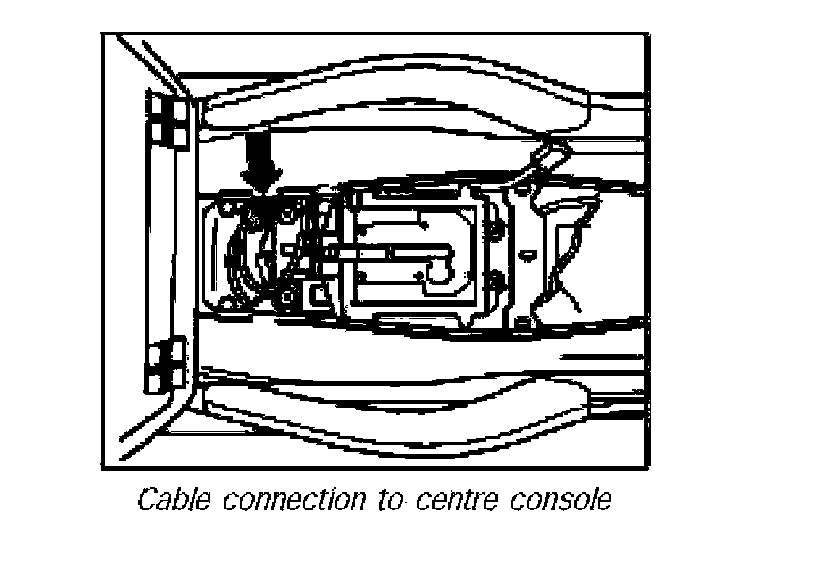
Cable connection to centre console
7. Pull off electric plug connections -arrow-.
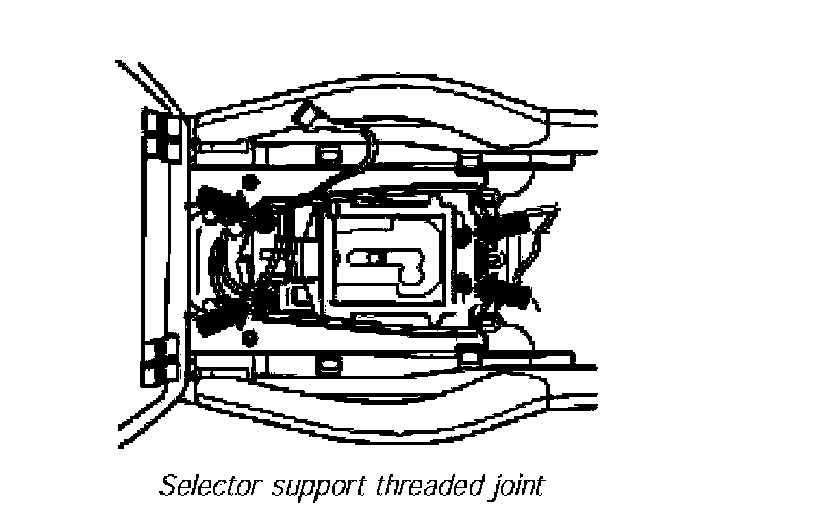
Selector support threaded joint
8. Unscrew selector support threaded joint-arrows-.
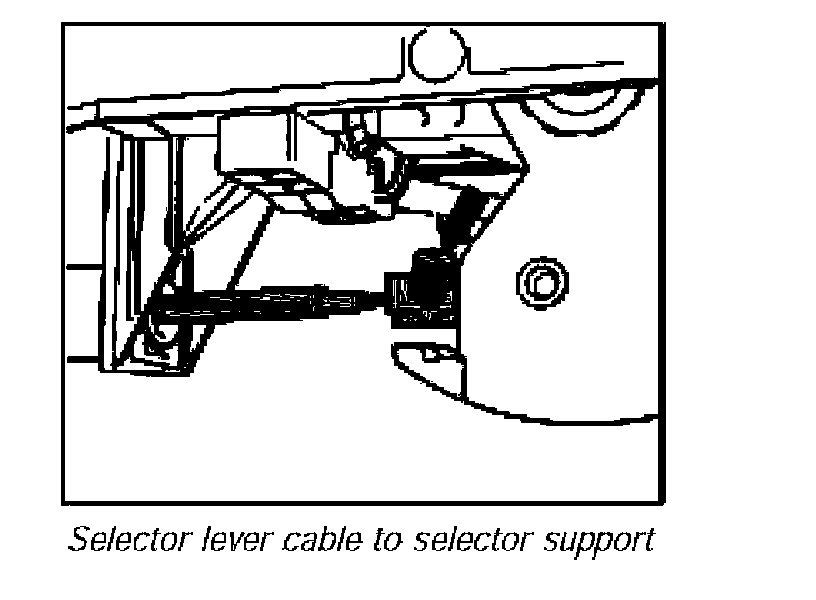
Selector lever cable to selector support
9. Undo selector lever cable threaded joint on selector support -arrow- using tool special inserts Mod. AB NR.170.
10. Move gearshift lever on transmission to position P, the highest position.
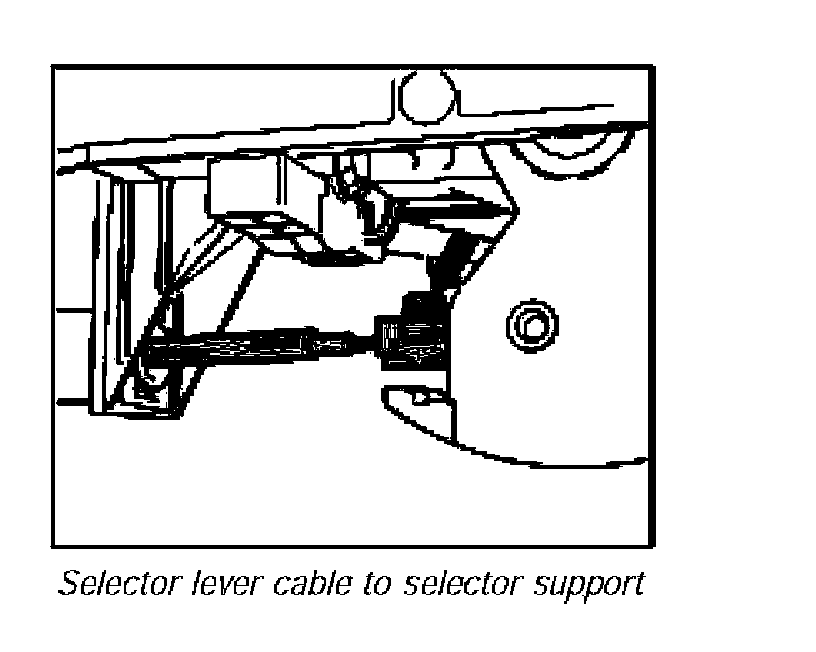
Selector lever cable to selector support
11. Screw in selector lever cable threaded joint on selector support -arrow- using tool special inserts Mod. AB NR.170 and accessory for torque wrench: open ring wrench insert a/f 13 with adapter NR.98-1. Tightening torque 7.5 ft. lbs.
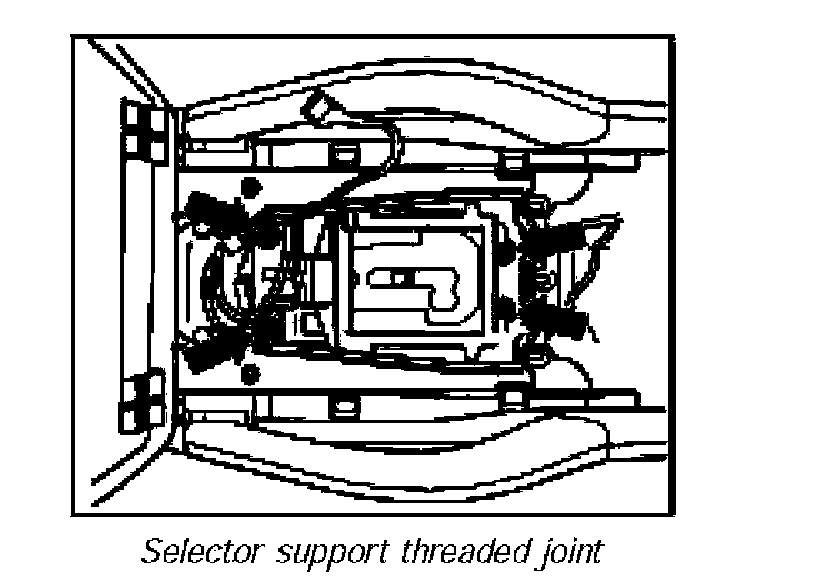
Selector support threaded joint
12. Screw in selector support threaded joint -arrows-. Tightening torque 4.5 ft. lbs.
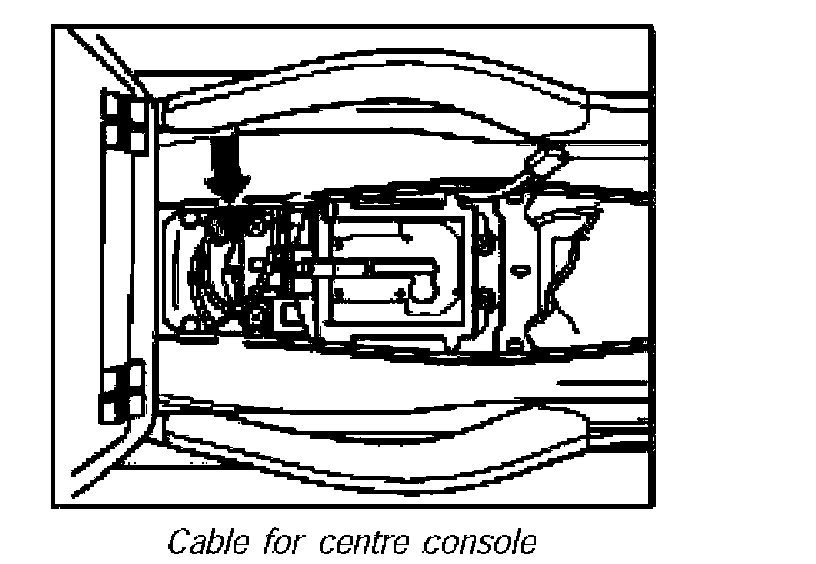
Cable for centre console
13. Connect electric plug connection -arrow- to selector support.
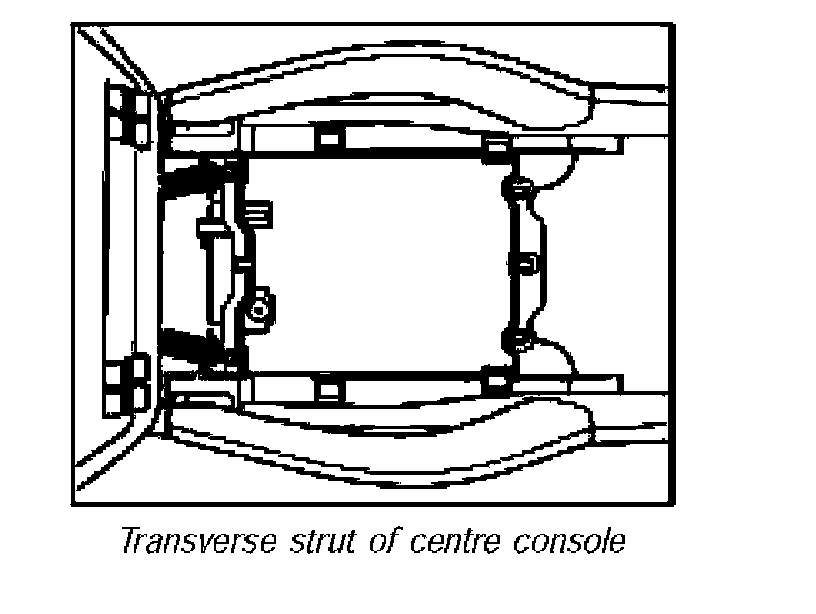
Transverse strut of centre console
14. Install transverse strut of centre console -arrows-.
15. Connect cable connection on underside of selector lever cover.
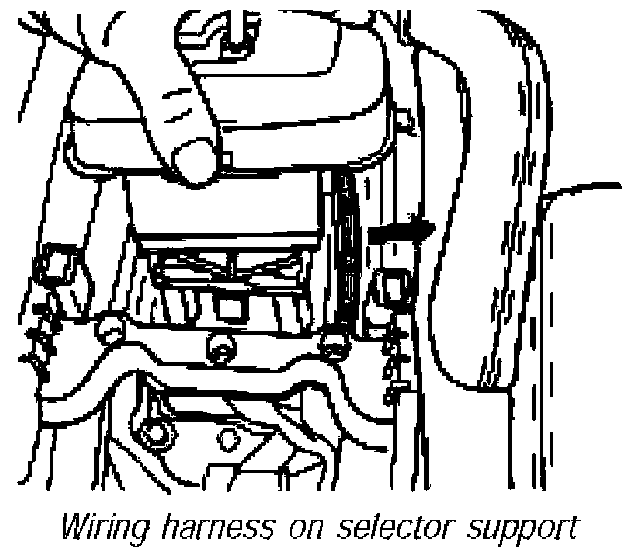
harness on selector support
16. Install selector lever cover. Make sure the wiring harness -direction of arrow- is not pinched in the selector support. Wiring
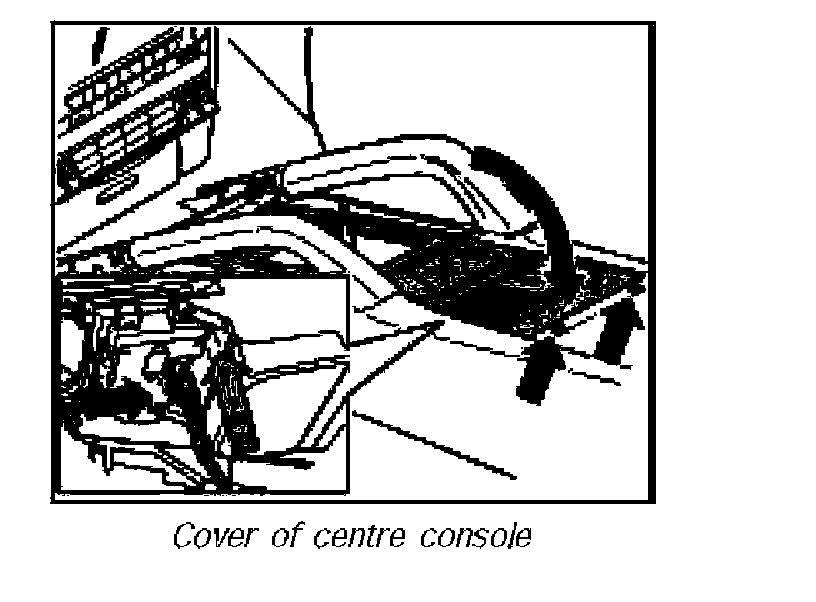
Cover of centre console
17. Position cable connection on underside -inset- of centre console cover.
18. Insert centre console cover at the front and tip backwards. Screw in two screws -right arrows-.
19. Functional test of gear selecting system:
^ Will the vehicle start?
^ Do all the selector lever positions work?
Subsequent work for selector lever cable
Reworking selector lever cable
1. Fit engine guard.
2. Install selector knob.