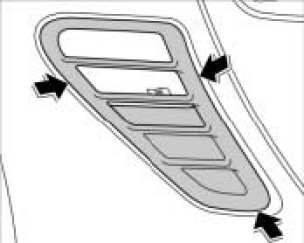
Removing and Installing Side Air Inlet
665619 Removing And Installing Side Air Inlet
Removing inlet grille
Removing right air inlet grille
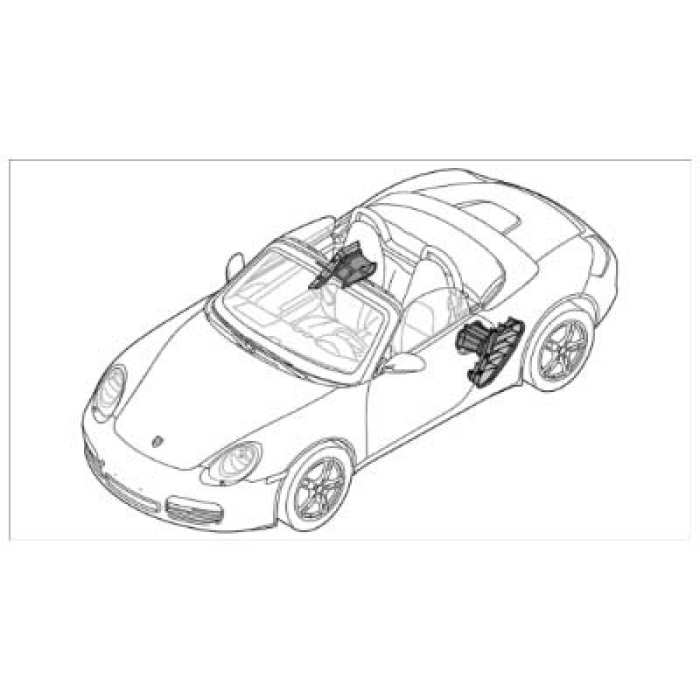
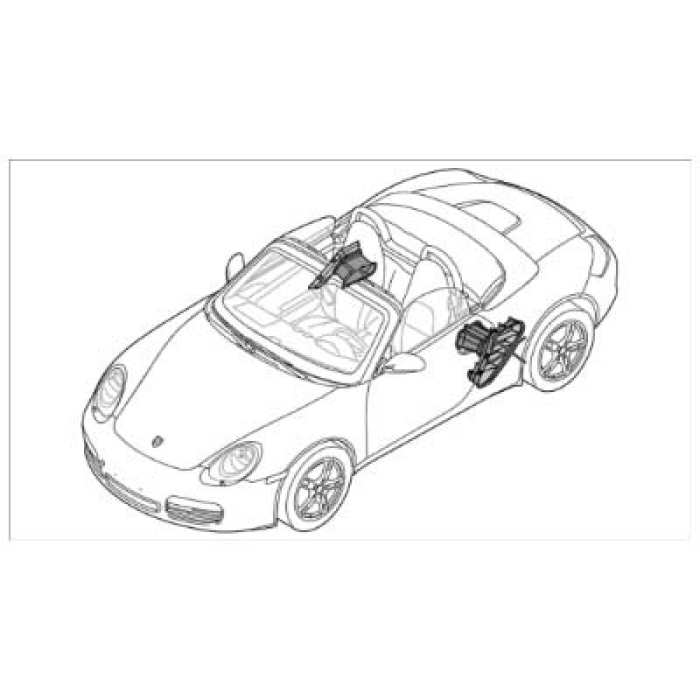
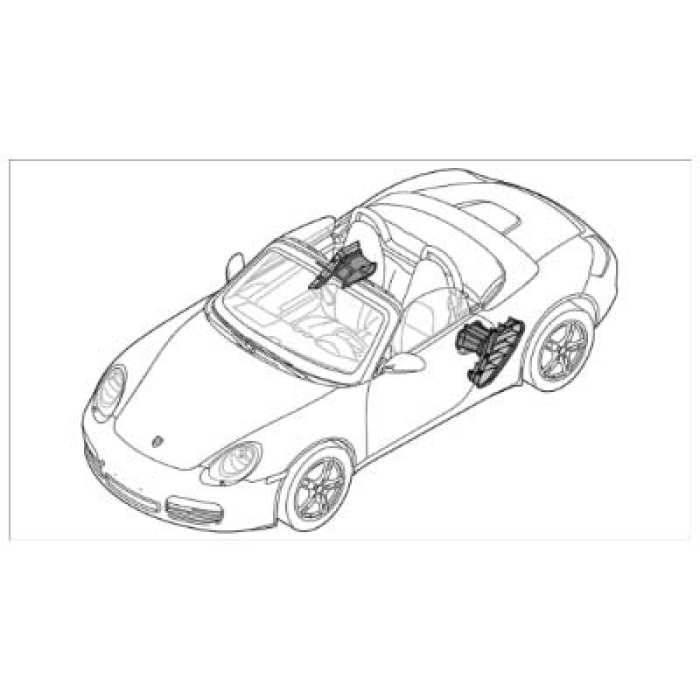
Installation Position Of Air Inlet At The Side:
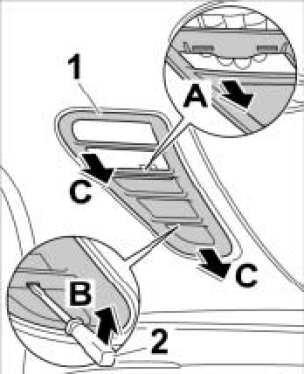
1. Remove air-inlet slat.
1.1. Release air-inlet slat -1- in the middle by hand -arrow A-.
1.2. Release air-inlet slat -1- using a screwdriver -2- (-arrow B-) and remove it -arrow C-.
Removing Air Inlet Slat:
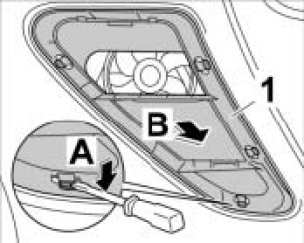
2. Remove air inlet grille.
2.1. Release locking tabs with a screwdriver -arrow A- and remove air inlet grille -1- (-arrow B-).
Removing Air Inlet Grille:
3. Check fixing clip.
3.1. Check fixing clip and replace if necessary.
Checking Fixing Clip:
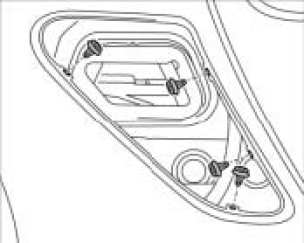
Removing left air inlet grille
Installation Position Of Air Inlet At The Side:
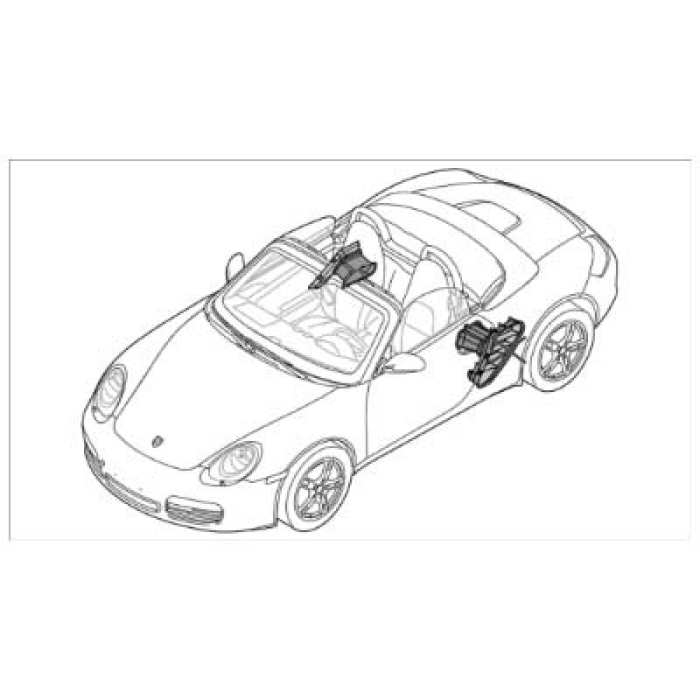
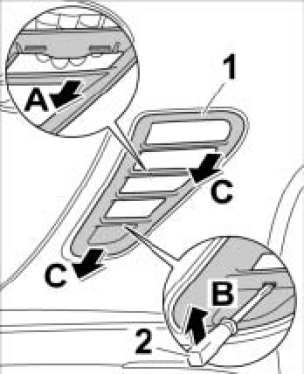
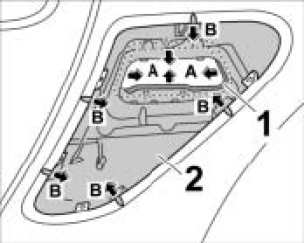
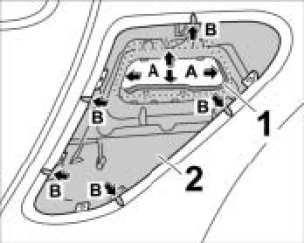
1. Remove air-inlet slat.
1.1. Release air-inlet slat -1- in the middle by hand -arrow A-.
1.2. Release air-inlet slat using a screwdriver -2- (-arrow B-) and remove it -arrow C-.
Removing Air Inlet Slat:
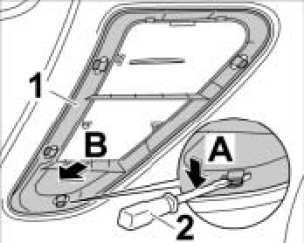
2. Remove air inlet grille.
2.1. Release locking tabs with a screwdriver -2- (-arrow A-) and remove air inlet grille -1- (-arrow B-).
Removing Air Inlet Grille:
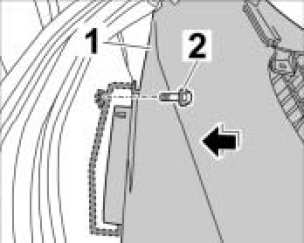
3. Check fixing clip.
3.1. Check fixing clip and replace if necessary.
Checking Fixing Clip:
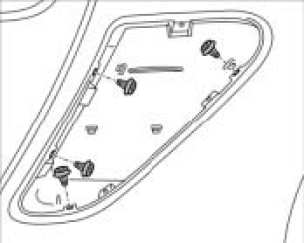
Removing inner air guide
Removing flow duct on the right
Installation Position Of Air Inlet At The Side:
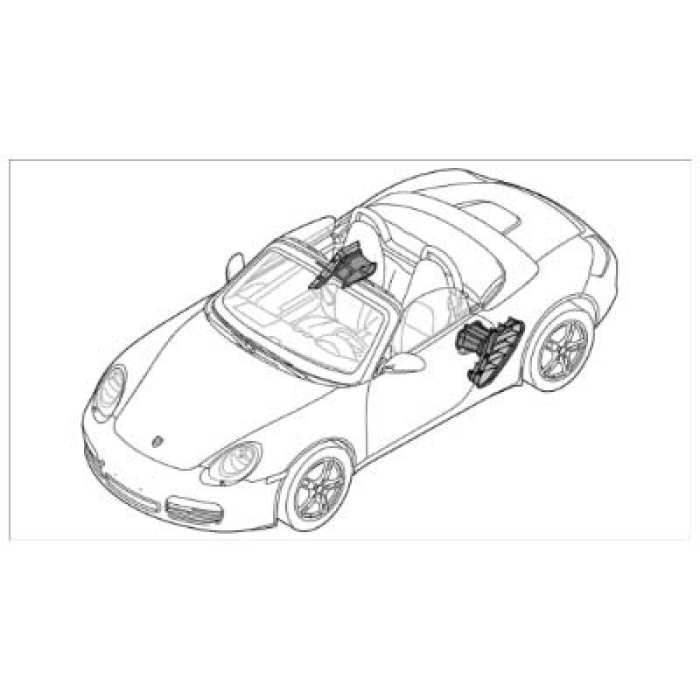
1. Remove electric fan.
2. Loosen right-hand fuel collection pipe and lay it to one side.
3. Remove air guide and connecting dome.
3.1. Unscrew fastening screws -1- and remove air guide -2-.
3.2. Unscrew fastening screws -1- and remove connecting dome -3-.
3.3. Check fastening nut -4- and replace if necessary.
Removing Air Guide And Connecting Dome:
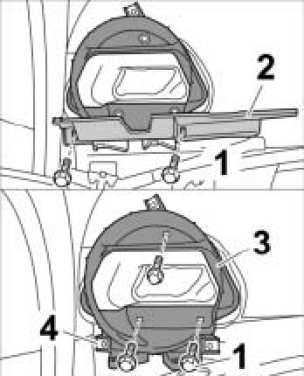
4. Disconnect plug connections.
4.1. Pull off temperature sensor -1- and set it aside.
4.2. Pull off plug connection for oil pressure switch -2-.
Releasing Plug Connections:
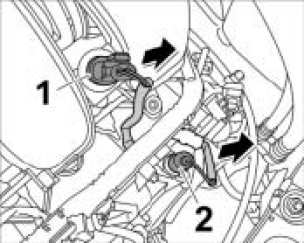
5. Remove flow duct.
5.1. Pull flow duct up and off.
Removing Flow Duct:
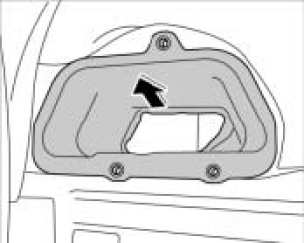
Removing inner left air guide
Installation Position Of Air Inlet At The Side:
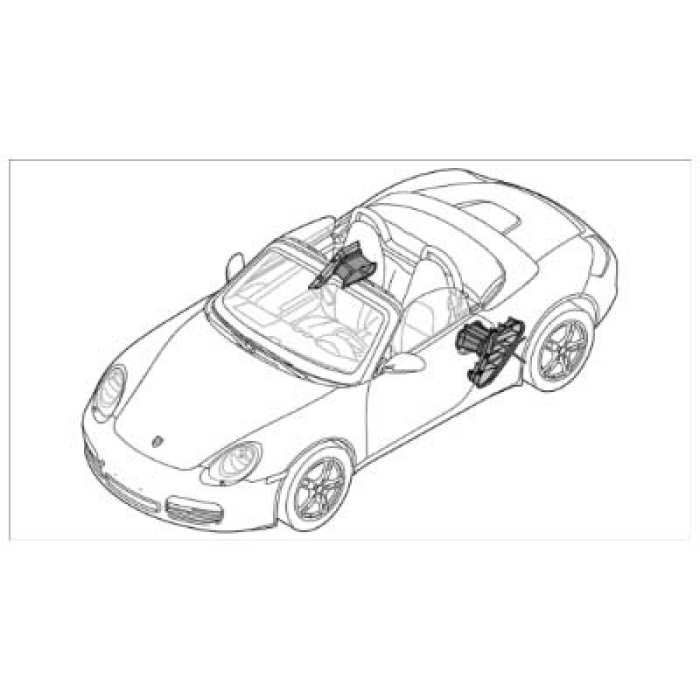
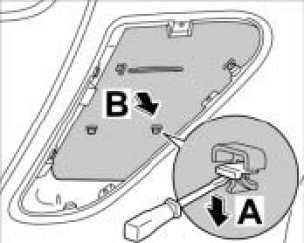
1. Remove impact protection element.
1.1. Release locking tab with a screwdriver -arrow A- and remove impact protection element -arrow B-.
Removing Impact Protection Element:
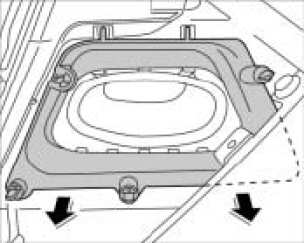
2. Remove reinforcement.
2.1. Pull out reinforcement.
Removing Reinforcement:
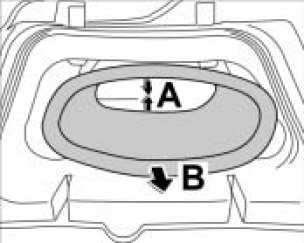
3. Remove intake-air pipe.
3.1. Press intake-air pipe together slightly -arrow A- and remove it -arrow B-.
Removing Intake-Air Pipe:
4. Remove air-cleaner element.
5. Remove left intake-air distributor.
6. Remove air flow sensor.
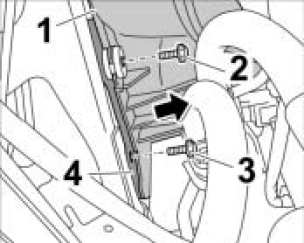
7. Loosen air cleaner housing at the bottom.
7.1. Lift the vehicle.
7.2. Unscrew fastening screw -2- at the bottom of air cleaner housing -1-.
7.3. Unscrew fastening screw -3- at the bottom of support frame -4-.
7.4. Lower the vehicle.
Loosening Air Cleaning Housing At The Bottom:
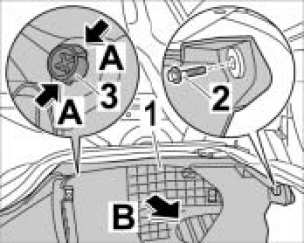
8. Loosen air cleaner housing at the top.
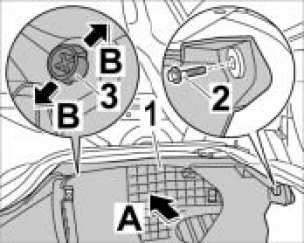
8.1. Unscrew fastening screw -2-.
8.2. Press fixing clip -3- together -arrow A- and swivel air cleaner housing -1- out of its position -arrow B-.
Loosening Air Cleaner Housing At The Top:
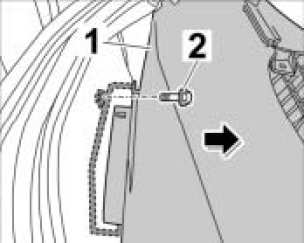
9. Loosen support frame at the top
9.1. Press the air cleaner housing -1- inwards until the fastening screw -2- is easily accessible.
9.2. Unscrew fastening screw -2-.
Loosening Support Frame:
10. Remove inner left air guide.
10.1. Press support frame -1- inwards.
10.2. Pull out inner air guide -2- (-arrow A-).
10.3. Loosen inner air guide -2- and remove it -arrow B-.
Removing Inner Air Guide:
Installing inner air guide
Installation Position Of Air Inlet At The Side:
1. Install inner left air guide.
1.1. Position inner air guide -2- between the support frame -1- and body -arrow A-.
1.2. Secure inner air guide -2- (-arrow B-) and check that it is seated properly (water drain).
Installing Inner Air Guide:
2. Secure support frame at the top.
2.1. Tighten support frame with the fastening screw -2-. Tightening torque 7.2 ftlb.
Securing Support Frame:
3. Secure air cleaner housing at the top.
3.1. Position air cleaner housing -1- on the body -arrow A- until the fixing clip -3- engages -arrow B-.
3.2. Secure air cleaner housing -1- with the fastening screw -2-. Tightening torque 7.2 ftlb.
Securing Air Cleaner Housing At The Top:
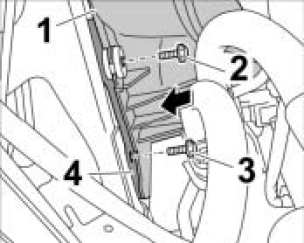
4. Secure air cleaner housing at the bottom.
4.1. Lift the vehicle.
4.2. Secure air cleaner housing -1- at the bottom with the fastening screw -2-. Tightening torque 7.2 ftlb.
4.3. Secure support frame -4- at the bottom with the fastening screw -3-. Tightening torque 7.2 ftlb.
4.4. Lower the vehicle.
Securing Air Cleaner Housing At The Bottom:
5. Install air flow sensor.
6. Install left intake-air distributor.
7. Install air-cleaner element.
8. Install intake-air pipe.
8.1. Position intake-air pipe -1- on the air cleaner housing and press in until it clicks into place.
Installing Intake-Air Pipe:
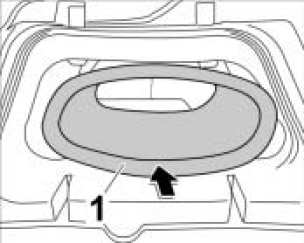
9. Install reinforcement.
9.1. Press reinforcement in.
Installing Reinforcement:
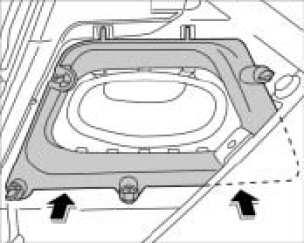
10. Install impact protection element.
10.1. Position impact protection element until the locking tabs engage.
Installing Impact Protection Element:
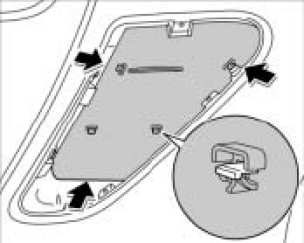
Installing flow duct on the right
Installation Position Of Air Inlet At The Side:
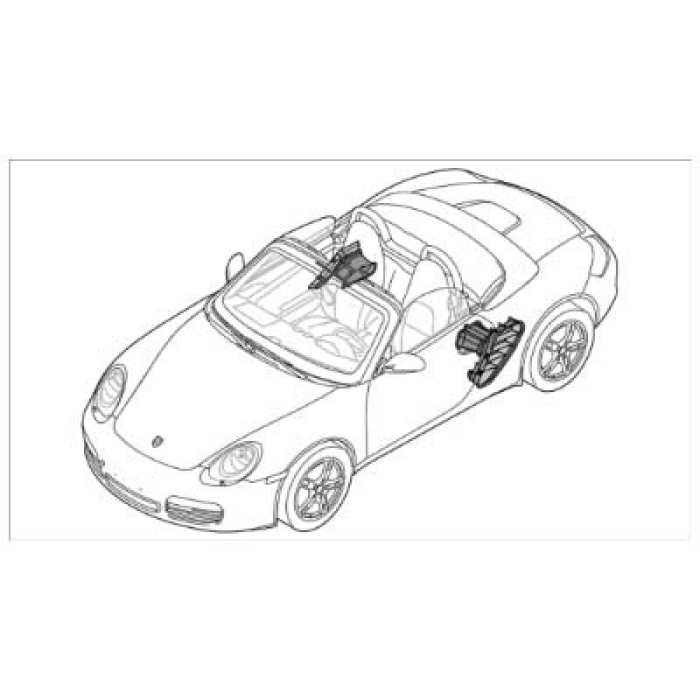
1. Install the flow duct.
NOTE: Stick commercially available body sealing strip in the marked area when replacing the flow duct.
1.1. Position the flow duct on the body and press in.
Installing Flow Duct:
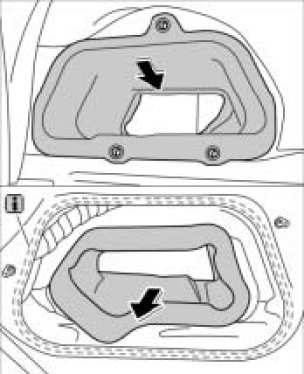
2. Install connecting dome and air guide.
2.1. Position connecting dome -3- and screw down using the fastening screws -1-. Tightening torque 7.2 ftlb.
2.2. Position air guide -2- and screw down using the fastening screws -1-.Tightening torqueTightening torque 7.2 ftlb.
Installing Connecting Dome And Air Guide:
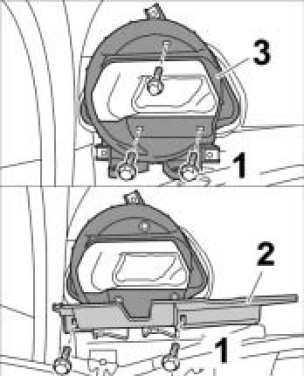
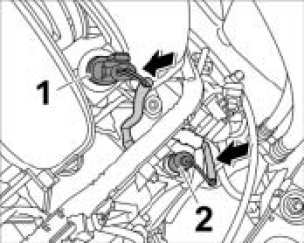
3. Connect electrical plug connections.
3.1. Insert temperature sensor -1- into the rubber sleeve.
3.2. Connect plug connection for oil pressure switch -2-.
Connecting Plug Connections:
4. Install electric fan.
5. Install right fuel collection pipe.
Installing inlet grille
Installing left air inlet grille
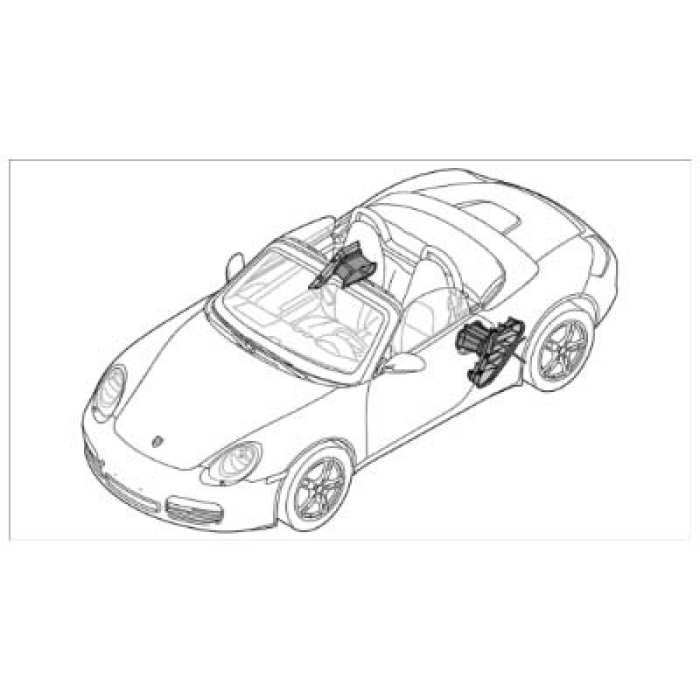
Installation Position Of Air Inlet At The Side:
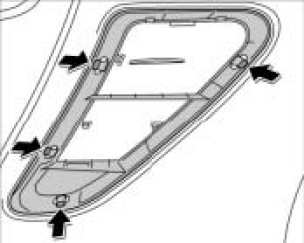
1. Install air inlet grille.
1.2. Press air inlet grille in until you feel the locking tabs engage.
Installing Air Inlet Grille:
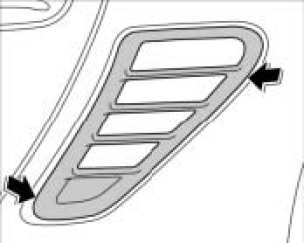
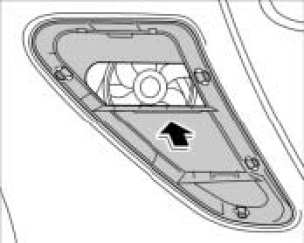
2. Install air inlet slat.
2.1. Press air inlet slat in until it clicks into place.
Installing Air Inlet Slat:
Installing right air inlet grille
Installation Position Of Air Inlet At The Side:
1. Install air inlet grille.
1.1. Press air inlet grille in until you feel the locking tabs engage.
Install Air Inlet Grille:
2. Install air inlet slat.
2.1. Press air inlet slat in until it clicks into place.
Installing Air Inlet Slat: