Installing Radiator
WM 197023 Installing radiator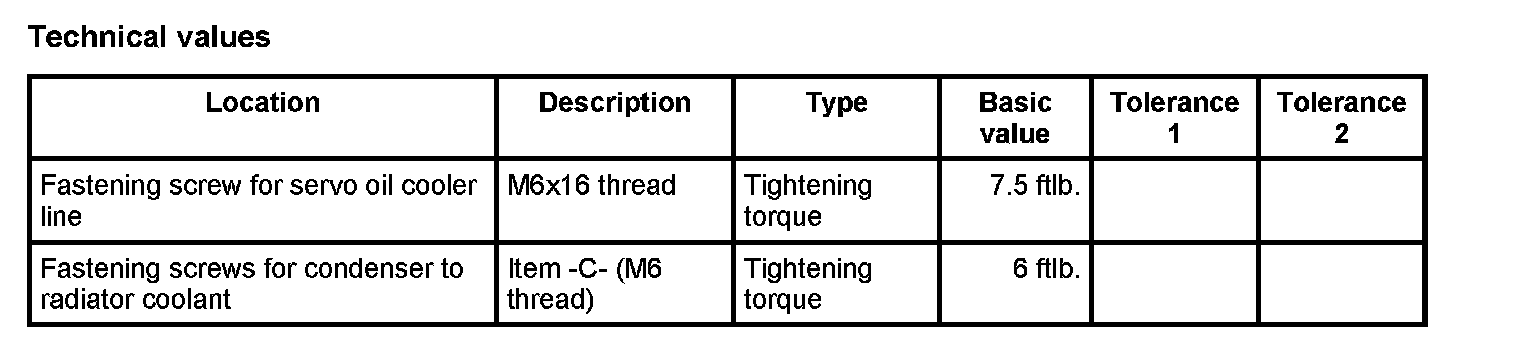
Information
Component overview
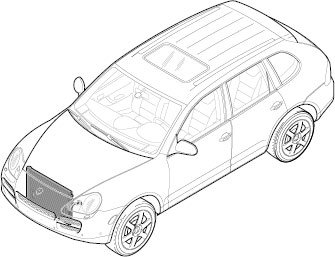
Overview of radiator
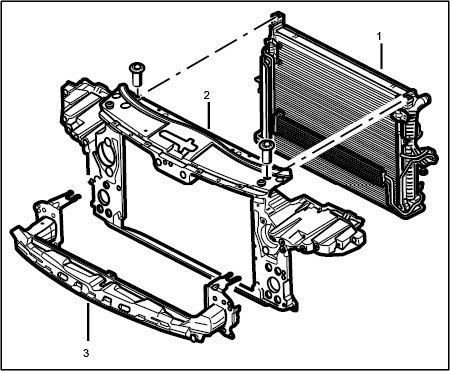
Component overview for radiator
1 - Radiator module (If at all possible, do not open the air-conditioning system. Do not bend the lines.
2 - Lock carrier
3 - Front bumper
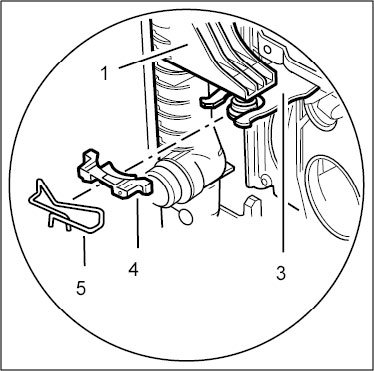
4 - 2 clamps
5 - Safety clip
Installing radiator
Information:
The retaining clips should be mounted again immediately so that they are not confused.
Do not open the air conditioner if at all possible when removing the - radiator module. Do not bend the lines
When installing the - radiator module do not bend the lines.
1. Insert the radiator from above on the right between the ATF cooler and the air-conditioning condenser.
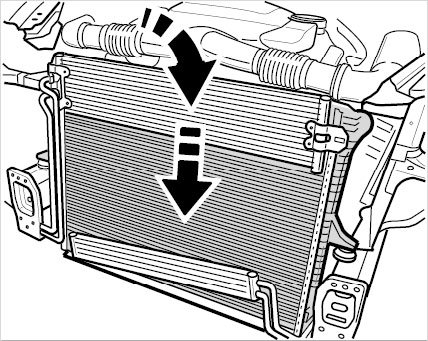
Inserting the radiator between ATF cooler and air-conditioning condenser
2. Move the ATF cooler into the installation position and push on the metal clips to fasten it.
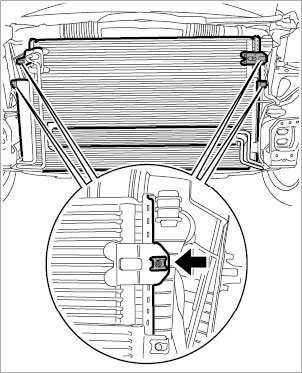
Fastening ATF cooler with metal clips
3. Fasten servo oil cooler. To do this, push the servo oil cooler from left to right into the support -A- and clip the lines into the support -B-.
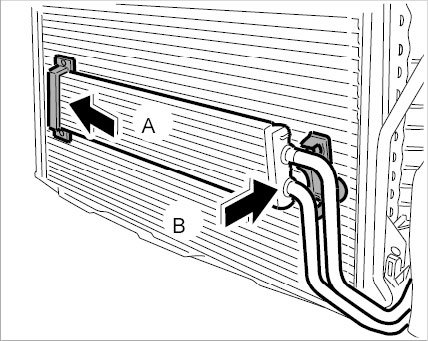
Lines in the support on the servo radiator
4. Tighten the fastening screw on the servo oil cooler line with a fastening screw. - Tightening torque: 7.5 ftlb.
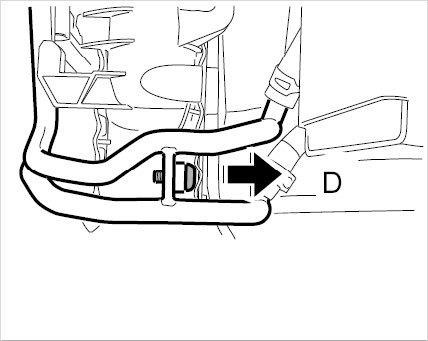
Fastening screw for servo oil coolant line
5. Screw in both fastening screws -C- for securing condenser to the coolant radiator (left direction of travel). - Tightening torque: 6 ftlb.
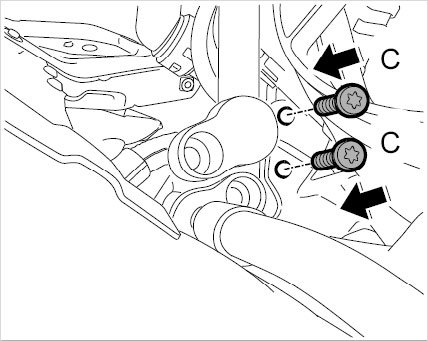
Fastening screws for securing condenser to coolant radiator
6. Push on the cooler vent line onto the right radiator side and fit the spring-band clamp.
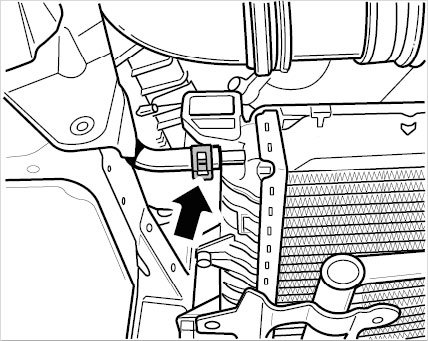
Spring band clamp for cooler vent line
7. Push on the two coolant lines. The retaining clips on the flange must engage audibly.
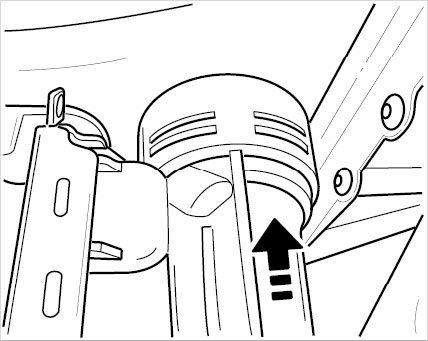
Pushing on coolant lines
Subsequent work
Subsequent work
1. Install the radiator frame.
2. Install lock mount.
3. Fill and bleed the cooling system.
4. Fit engine guard.
5. Connect the battery.