Disassembly
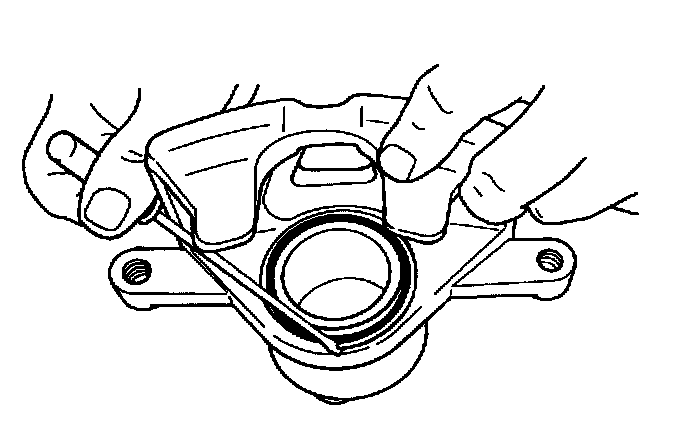
1. Using a small screw driver, remove piston boot ring (slowly pry up one end of boot ring) and piston boot from caliper.
CAUTION: TO PREVENT BODILY INJURY, MAKE SURE TO KEEP FINGERS OR OTHER BODY PARTS AWAY FROM PISTON DURING REMOVAL.
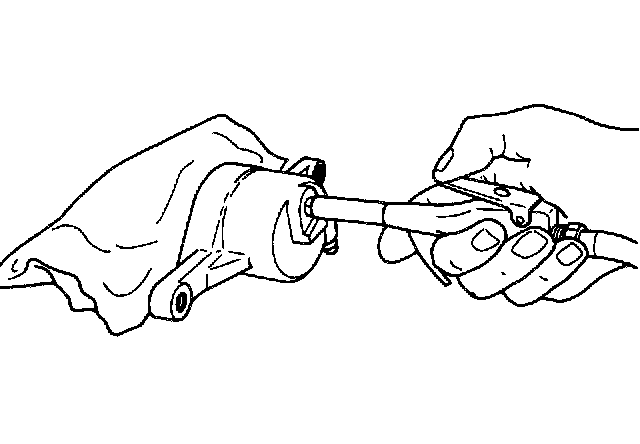
2. Remove piston from caliper body by applying low pressure, non-lubricated, compressed air into caliper inlet hole.
NOTICE: Pad interior of caliper body to provide a protective cushion for piston when it exits the caliper. This will protect piston from surface damage caused from piston/caliper body contact.
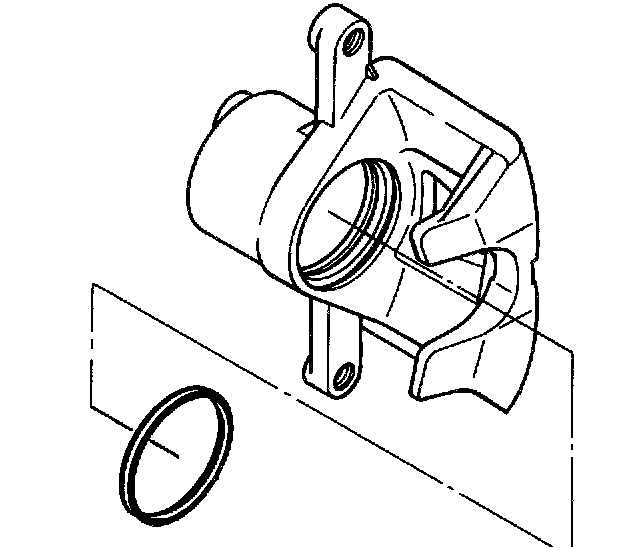
3. Remove piston seal from groove in caliper body.
NOTICE: To prevent damage to caliper body bore, use a small wooden or plastic (not metal) device to extract seal.
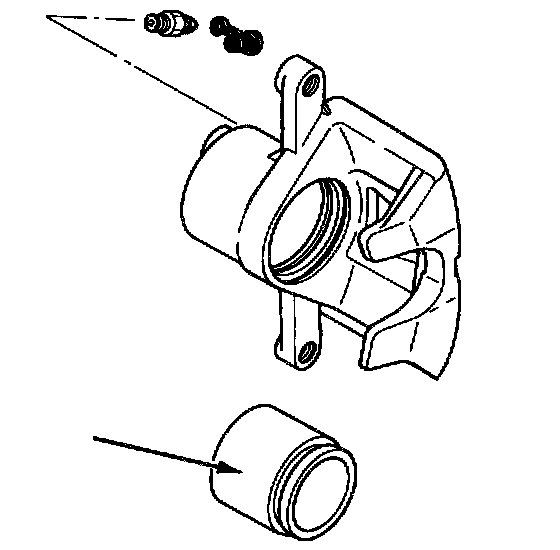
4. Remove bleeder valve and bleeder valve cap from caliper body.
5. Clean all parts in clean denatured alcohol. Dry with non-lubricated, low pressure, compressed air. Make sure to blow out all passages in caliper body and bleeder valve.
6. Inspect piston for scoring, nicks, cracks, wear or corrosion. Replace piston if any damage is found.
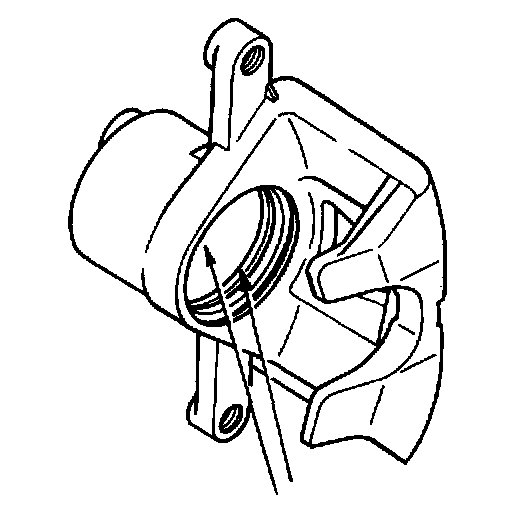
7. Inspect caliper body piston bore for scoring, nicks, wear, or corrosion. Crocus cloth can be used to remove light corrosion. If more extensive damage is present, replace the caliper.
IMPORTANT: Do not hone caliper bore.
8. Inspect seal groove in caliper bore for nicks or burrs. If present, replace caliper.