Master Cylinder Replacement
Master Cylinder ReplacementRemoval Procedure
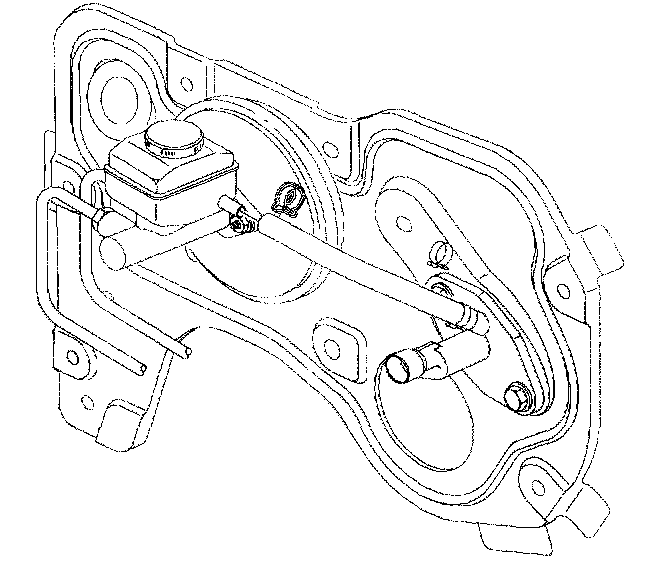
Caution: Refer to Brake Fluid Irritant Caution in Service Precautions.
Notice: Refer to Brake Fluid Effects on Paint and Electrical Components Notice in Service Precautions.
1. Vehicles equipped with manual transaxles must disconnect the clutch hydraulic feed line from the master cylinder reservoir. Plug the line to avoid leakage and contamination.
2. Remove the low brake fluid sensor electrical connector.
Important: After removing brake pipe nuts, do not excessively pull or bend brake pipes away from master cylinder.
3. Remove the brake pipe fittings from the master cylinder.
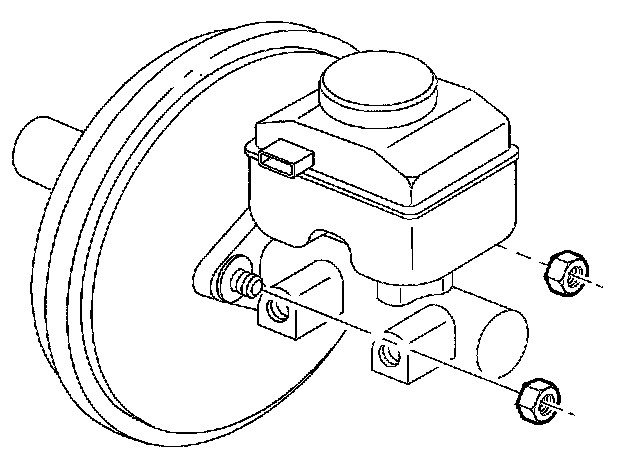
Important: Plug open brake pipes to prevent brake fluid loss and contamination.
4. Remove the master cylinder to brake booster nuts.
Notice: Do not bend brake pipes.
5. Remove the master cylinder.
Installation Procedure
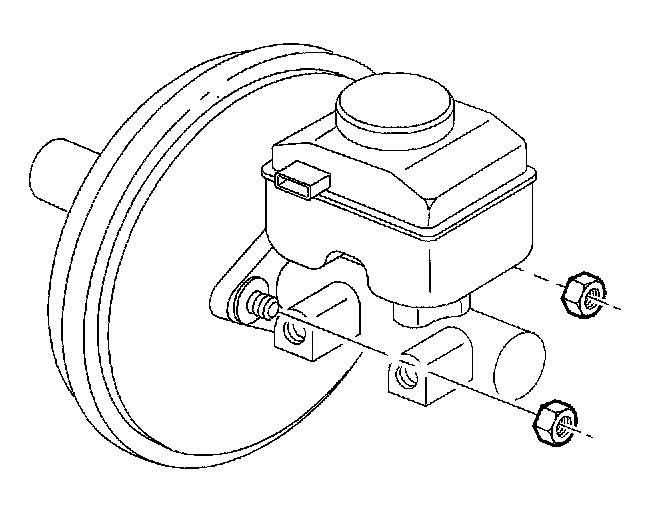
Notice: Refer to Fastener Notice in Service Precautions.
1. Position the master cylinder onto the booster studs and install the nuts.
Tighten the cylinder-to-brake booster nuts to 25 Nm (18 ft. lbs.).
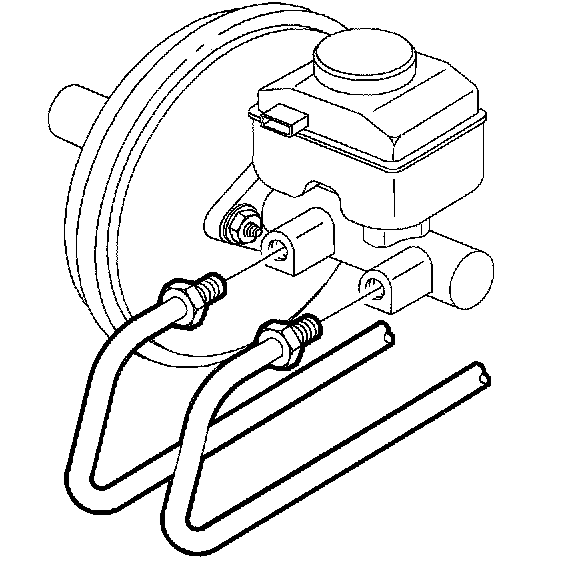
Notice: Do not bend brake pipes.
2. Position the brake pipes into the master cylinder and tighten the nuts.
Tighten the brake pipe-to-master cylinder nuts to 16 Nm (12 ft. lbs.).
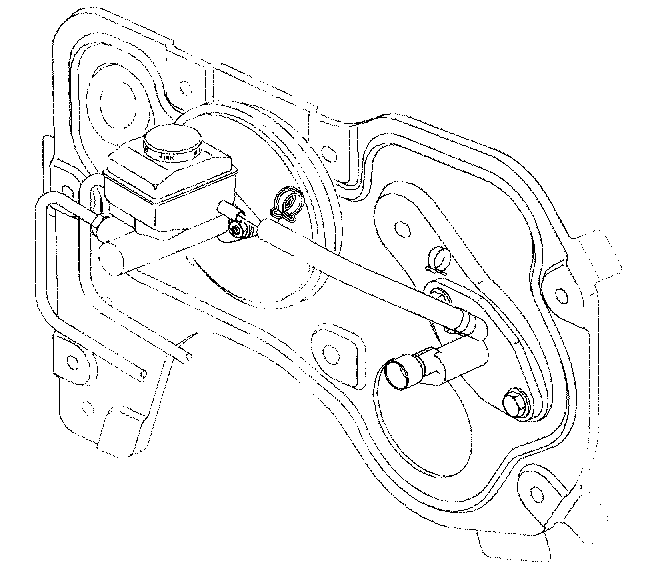
3. Vehicles equipped with manual transaxles must install the clutch hydraulic feed line to the master cylinder.
4. Connect the low brake fluid switch electrical connector.
Notice: Refer to Brake Fluid Caution in Service Precautions.
5. Fill the brake fluid reservoir with clean brake fluid up to the MAX mark on the reservoir.
6. Bleed the brake system. Refer to Hydraulic Brake System Bleeding (Manual) or Hydraulic Brake System Bleeding Pressure).