Valve Body: Service and Repair
A: REMOVAL1. Clean transmission exterior.
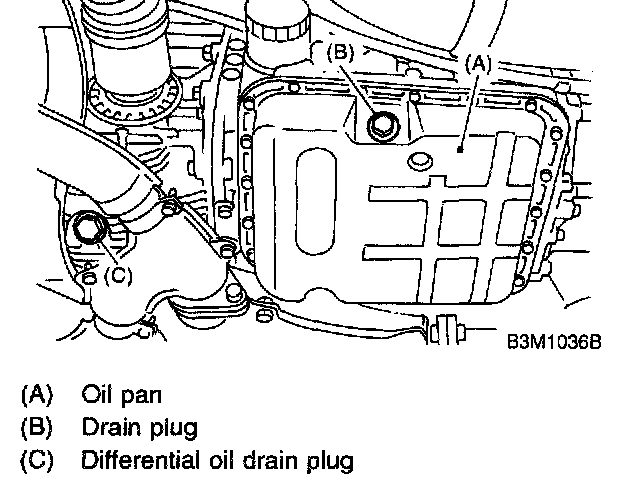
2. Drain ATF completely.
NOTE: Tighten ATF drain plug after draining ATF.
Tightening torque: 25 Nm (2.5 kgf-m, 18.1 ft. lbs.)
3. Remove the oil pan.
NOTE:
^ Remove and clean the magnet.
^ Remove the old gasket on the oil pan and transmission case completely.
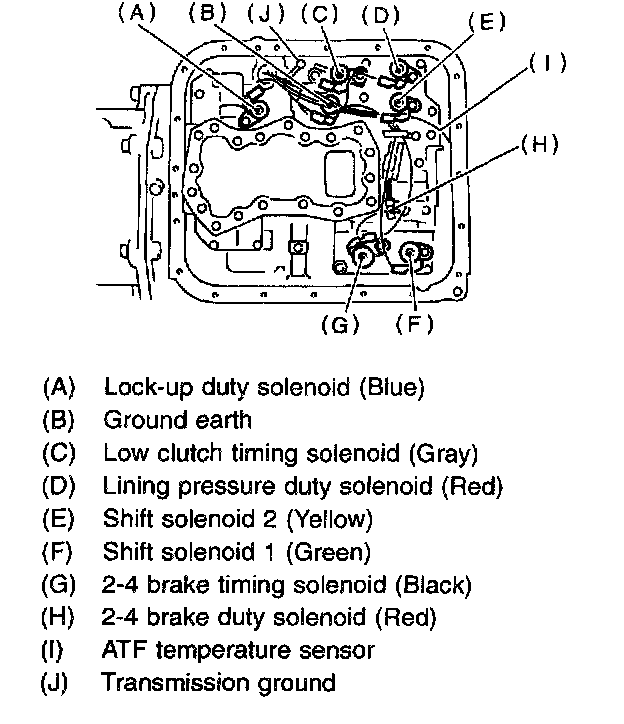
4. Disconnect duty solenoids and ATF temperature sensor connectors. Remove connectors from clip and disconnect connectors at 9 places.
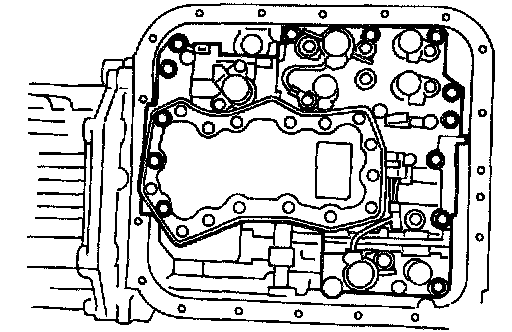
5. Remove the control valve.
CAUTION: When removing control valve body, be careful not to interfere with transfer duty solenoid wiring.
B: INSTALLATION
1. Set the select lever in "N" position.
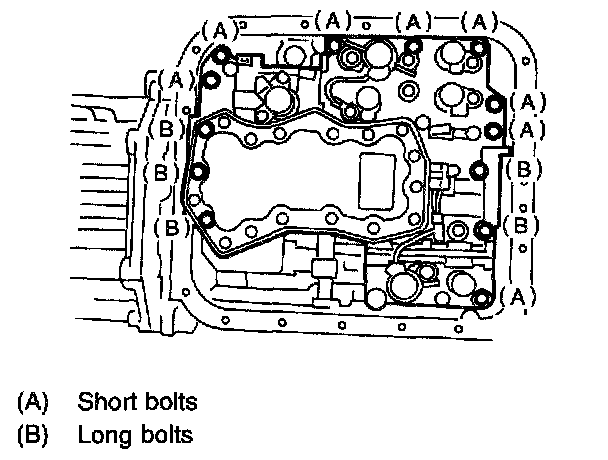
2. Install the control valve and ground earth connectors.
Tightening torque: 8 Nm (0.8 kgf-m, 5.8 ft. lbs.)
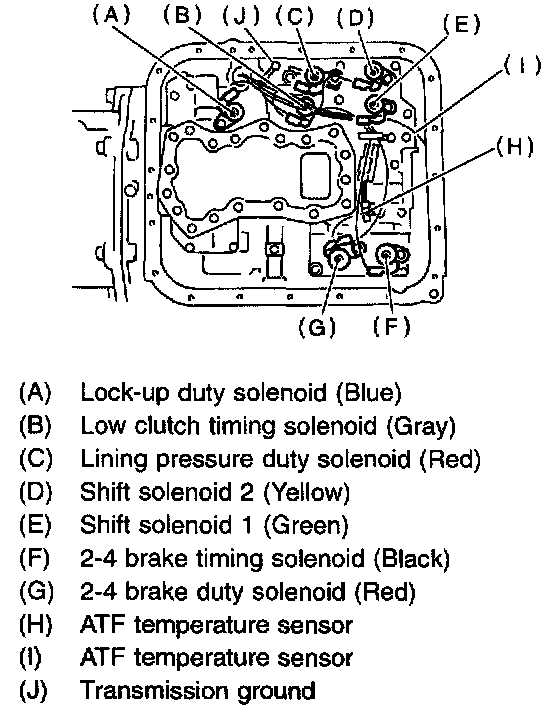
3. Connect all connector.
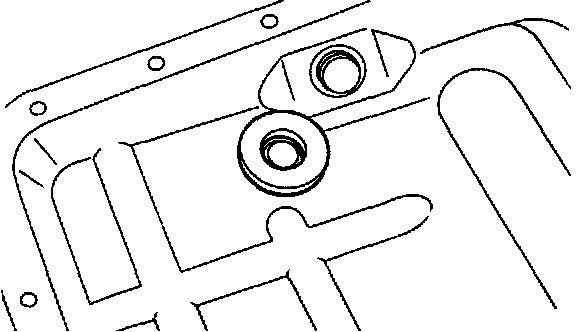
4. Attach the magnet at the specified position.
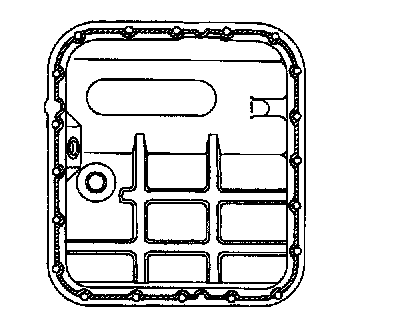
5. Apply proper amount of liquid gasket (THREE BOND Part No. 1217B) to the entire oil pan mating surface.
6. Install the oil pan.
Tightening torque: 4.9 Nm (0.5 kgf-m, 3.6 ft. lbs.)
7. Pour ATF into the oil charge pipe.
Recommended fluid: Dexron IIE or Dexron III type automatic transmission fluid
Fluid capacity: 9.3 - 9.6L (9.8 - 10.1 US qt. 8.2 - 8.4 Imp qt.)
8. Check the level of the ATF.