Steering Shaft: Service and Repair
Lower Shaft Assembly Removal and InstallationRemoval
CAUTION: Never turn steering wheel while steering shaft lower joint is removed. Should it have been turned and contact coil (on combination switch) have got out of its centered position, it needs to be centered again. Also, turning steering wheel more than about two and a half turns will break contact coil.
1) Turn steering wheel so that vehicle's front tires are at straight-ahead position.
2) Turn ignition switch to "LOCK" position and remove key.
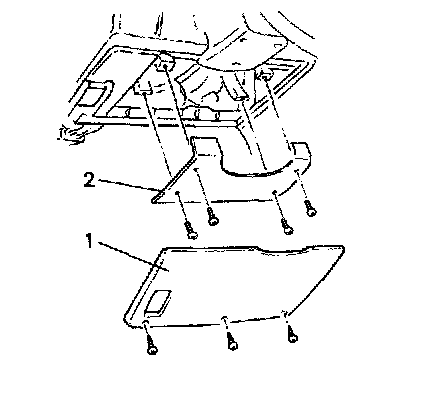
3) Remove hole cover (1) and knee bolster panel (2).
4) Pull off floor carpet at the foot of steering shaft and remove steering joint upper and lower cover.
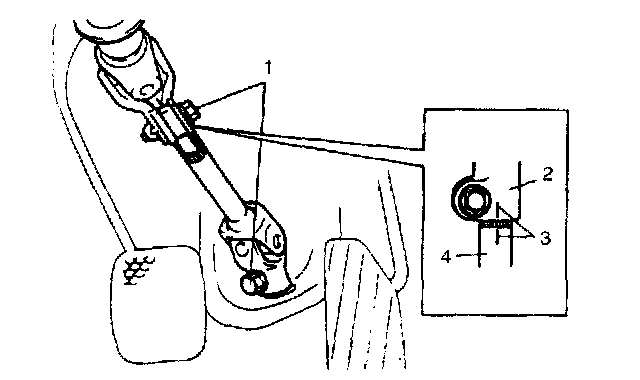
5) Make alignment marks (3) on lower joint (4) and upper joint (column side) (2) for a guide reinstallation, and then loosen steering shaft joint bolts (1).
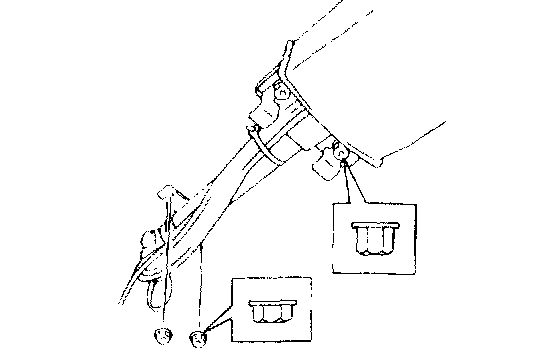
6) Remove steering column lower nuts, and then loosen upper nuts.
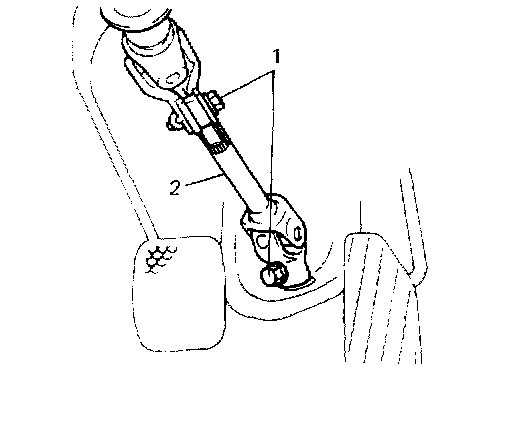
7) Remove steering shaft joint bolts (1) and then remove steering shaft lower joint (2).
Installation
1) Insert lower joint (2) into upper joint of steering column (1) by matching it to marks (4) made before removal.
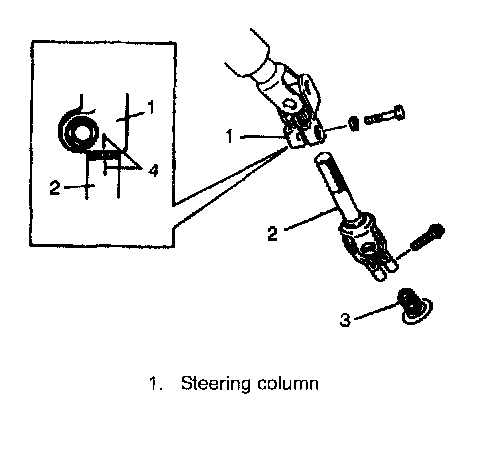
2) Be sure that front wheels and steering wheel are in straightforward state and insert lower joint into steering pinion shaft (3).
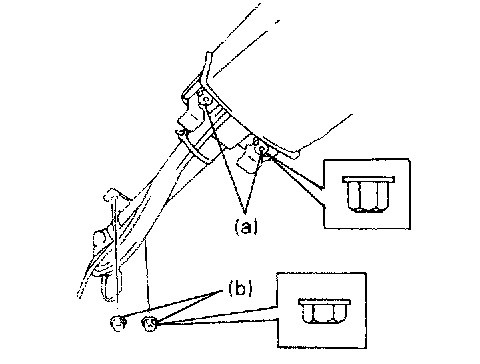
3) Torque steering column upper nuts first and then lower nuts to specifications.
Tightening torque
Steering column upper nut (a): 14 Nm (1.4 kgf-m, 10.5 ft. lbs.)
Steering column lower nut (b): 14 Nm (1.4 kgf-m, 10.5 ft. lbs.)
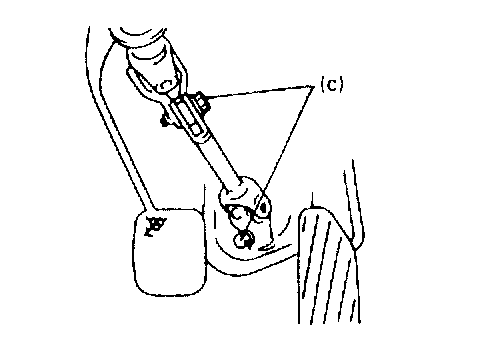
4) Torque steering shaft joint bolts to specification.
Tightening torque
Steering shaft joint bolt (c): 25 Nm (2.5 kgf-m, 18.0 ft. lbs.)
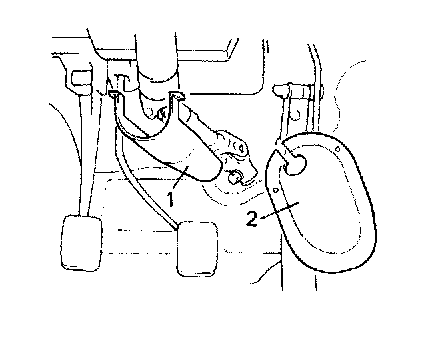
5) Install steering shaft joint lower cover (2) and then upper cover (1).
6) Reposition floor carpet.
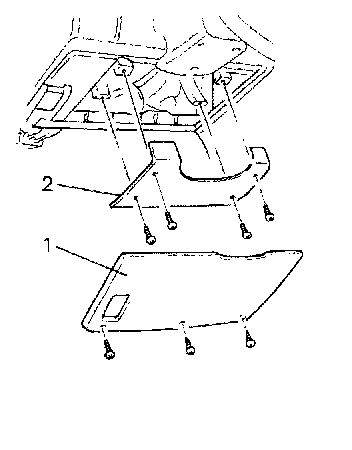
7) Install knee bolster panel (2) and hole cover (1).