Contacts In Contact Housing, Repairing
Contacts in Contact Housing, Repairing
- First, open or release if necessary the secondary lock of the contact housing. Refer to => [ Secondary Lock ] Secondary Lock.
- Release contact (primary lock) using the appropriate release tool. Refer to => [ Primary Lock ] Primary Lock.
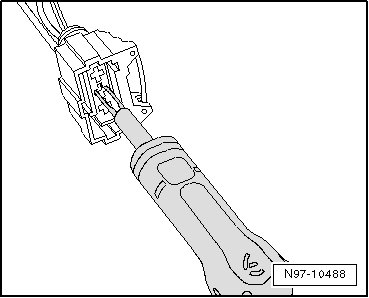
- Pull contact at single wire out of contact housing.
- Take the yellow repair wire with the correct contact out of the Wiring Harness Repair Set.
- Free up repair point of vehicle-specific wiring harness (approximately 20 cm to both sides of repair point).
- If required, remove wiring harness wrapping using a folding knife.
- Insert new contact of repair wire into contact housing until it engages.
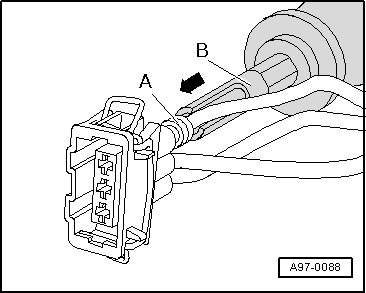
- Slide a single wire seal onto the repair wire.
• When doing this, small diameter of single seal must point toward contact housing.
- Slide single wire seal into contact housing using the correct assembly tool. Refer to => [ Single Wire Seals, Installing ] Removal and Replacement.
- Shorten the repair wire and the vehicle-specific wiring harness single wire as needed using the Wire Stripper (VAS 1978/3).
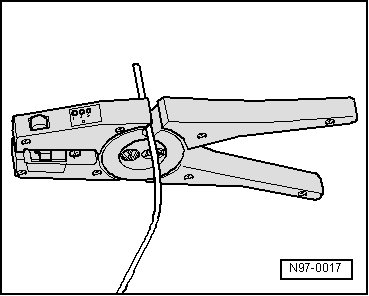
- Strip ends of repair wire and of vehicle-specific single wire using 6 - 7 mm wire stripper.
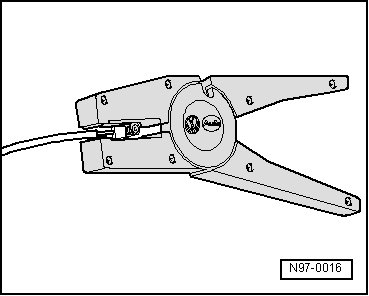
- Crimp the stripped ends of repair wire and single wire of vehicle-specific wiring harness using crimp pliers and a crimp connection as described in chapter => [ Wire Break with Single Repair Point ] Wire Break With Single Repair Point.
• Make sure that crimp connections do not lie directly next to each other when several wires need to be repaired. Arrange the crimp connectors at a slight offset so that the circumference of the wiring harness does not become too large.
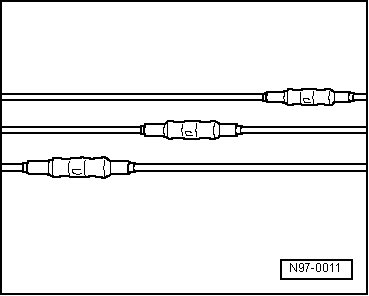
• In the event the repair point was previous taped, this point must be taped anew with yellow insulating tape after repairs.
• Secure the repaired wiring harness if necessary with a cable tie to prevent flapping noises while driving.