Front Axle Camber, Correcting
Front Axle Camber, Correcting
Special tools, testers and auxiliary items required
• Torque wrench (V.A.G 1332)
• Camber correction is required only after repair work on chassis. The camber is not adjustable, however it can be rearranged by sliding the subframe!
• Slide subframe only toward left or right, under no circumstances in or against direction of travel!
- Remove noise insulation.
- Loosen bolts - 1 - for subframe - 2 - to body on both sides.
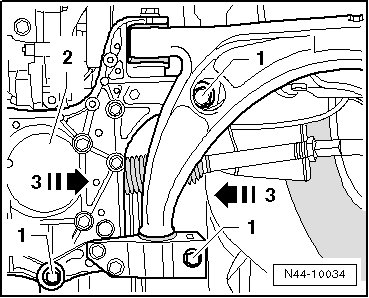
Adjusting the camber is limited by the subframe hole tolerances. If moving the subframe does not reach the specified value, then check the installation. Refer to => [ Evaluating Suspension of Vehicles Involved in Accidents ] Evaluating Suspension of Vehicles Involved in Accidents.
- Only specified value for camber can be adjusted by moving subframe - arrows 3 -.
- Bolt on subframe to body with additional torque angle using new bolts.
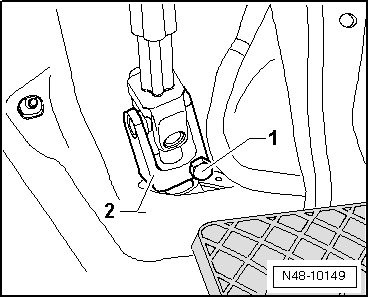
• After sliding subframe and steering gear along with it as well, clearance between universal joint of steering column and cutout of bulkhead must be checked.
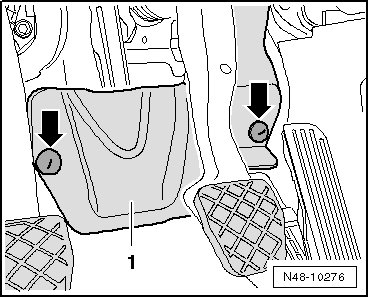
- Remove securing nuts - arrows - and remove foot well trim.
There must be at least 5 mm of clearance between universal joint - 2 - and cutout in bulkhead.
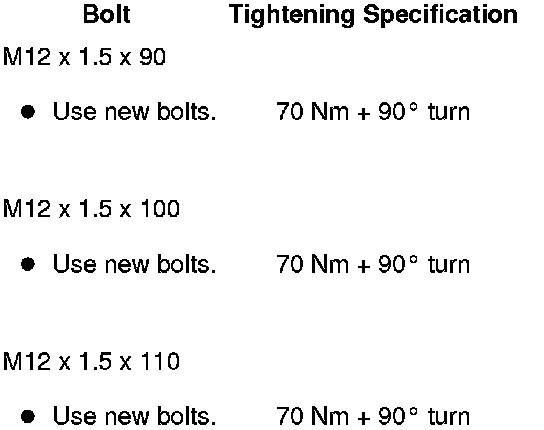
Tightening Specifications
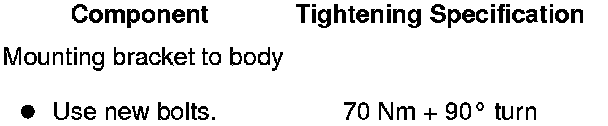
Tightening Specifications, Subframe to Body