Front
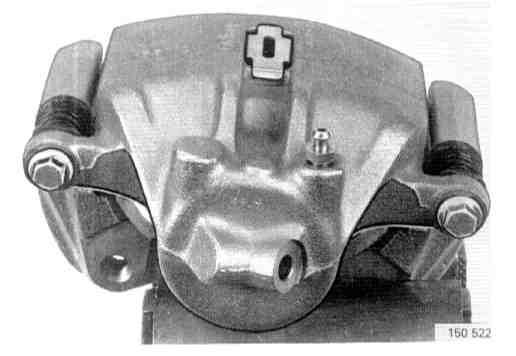
DISASSEMBLE
1. Mount caliper in vice.
2. Remove bleeding nipple and brake hose from caliper.
3. Remove guide pin retaining bolts and separate caliper from retainer.
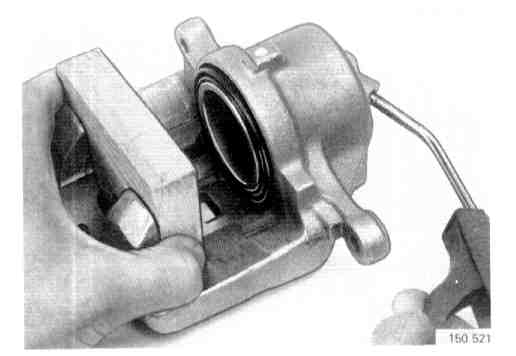
4. Press out caliper piston. Place wooden block in front of piston and press out piston carefully with compressed air.
NOTE: Ensure that fingers are not trapped when piston is freed.
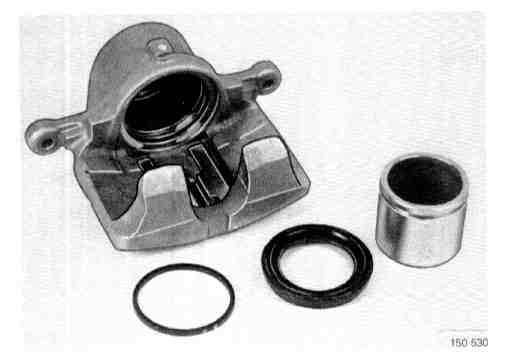
5. Remove dust seal and fluid seal from caliper. Remove fluid seal with blunt blade to avoid damaging groove edges. Remove bleeding nipple.
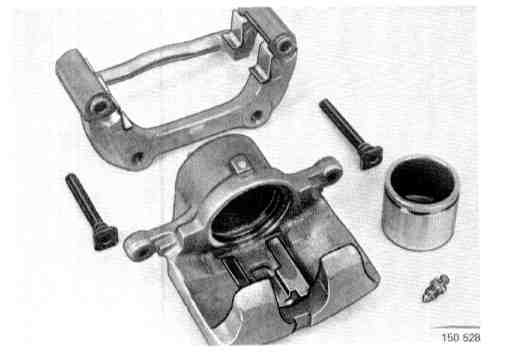
6. Cleaning and inspection Clean components in denatured alcohol, paying particular attention to passages, cylinder bore, seal seating grooves and dust seals. Blow clean with compressed air. Replace fluid and dust seals. Replace complete caliper if cylinder bores are heavily marked or scored. Minor corrosion in bores may be removed with fine emery paper. Inspect other components and replace damaged or worn items.
NOTE: Remove lower sliding plate, if fitted.
ASSEMBLE
1. Coat working surfaces of piston, cylinder bore and grooves, as well as seals, with genuine Volvo brake fluid.
NOTE: Never use grease or similar lubricants on brake system components, since this will damage the fluid and dust seals.
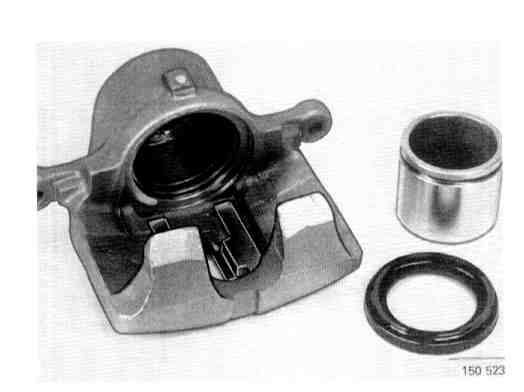
2. Install lubricated fluid seal in cylinder groove and dust seal on end of piston.
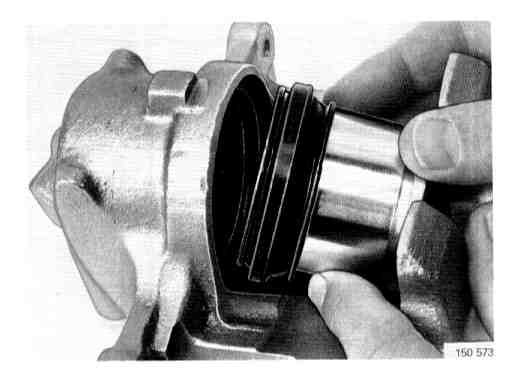
3. Fit dust seal in groove in piston housing.
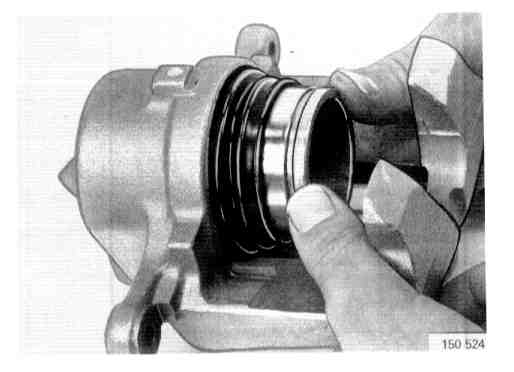
4. Press in piston carefully, ensuring that dust seal is seated in groove in piston. Press piston into bottom of piston housing.
5. Install bleeding nipple.
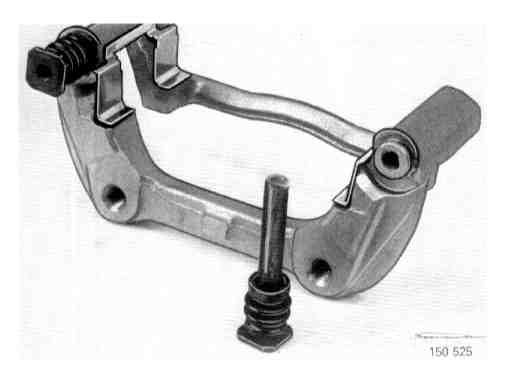
6. Install new guide pin gaiters.
7. Lubricate guide pins and holes in caliper retainer with silicone grease.
8. Install guide pins and rubber gaiters in caliper retainer. Ensure that gaiters are seated in grooves.
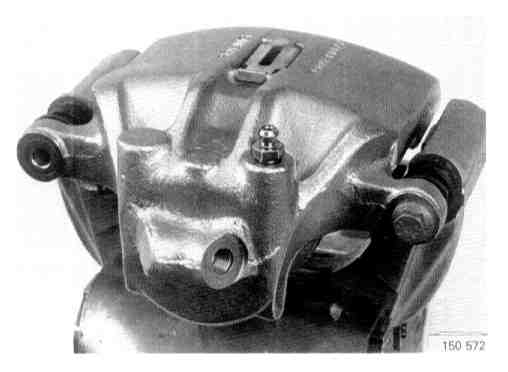
9. Reassemble caliper retainer and piston housing
10. Install upper guide pin retaining bolt. Do not tighten bolt at this point.
11. Install bleeding nipple and brake hose on caliper